6. Painting the Character (2): Hair
[1] Adding depth to the hair
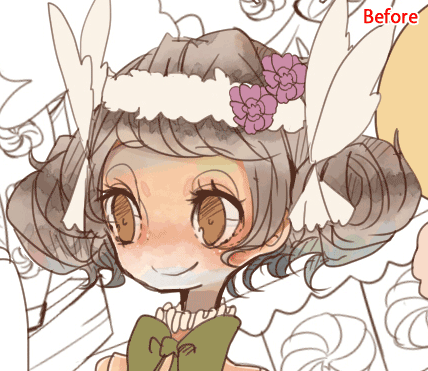
I brighten the hair around the face and gradually paint shadows using darker colors than the base.
I paint without thinking much about the direction of light.
[2] Adding variation to the hair color
Like before, I make a new layer above the base hair layer and turn on [Clip at Layer Below].
On this color, I add some deeper colors as well as hints of blue, green and pink. I use the “Blue skin” brush for this stage.
I add colors from nearby objects to add depth to the hair color and make it suit the surroundings.
[3] Finishing the hair
■ Blend the line art and hair color with the skin color
I create a new layer above the “Line art” folder and use the [Airbrush] > [Soft] tool to lightly paint with the skin color. I then reduce the opacity to 50%.
Note: The face and hair layers have been hidden in the below image to make this step easier to see.

■ Add extra hair strands
The hair look a little too solid line art alone, so I’ll draw some hair strands above the line art to bring out the softness of the hair.
I create a new layer above the airbrush layer and draw some individual strands with the “Line art” brush.
I pick up the colors from the the hair with the [Eyedropper] tool > [Obtain display color].
Finally, I return to the base hair layer and use the “Textured eraser” to make the color lighter at the tips of the hair.
Making the tips lighter creates a sense of transparency and will make the hair blend well with the surrounding colors.

Now I’ve finished painting the hair.


Comment