7. Final Touches
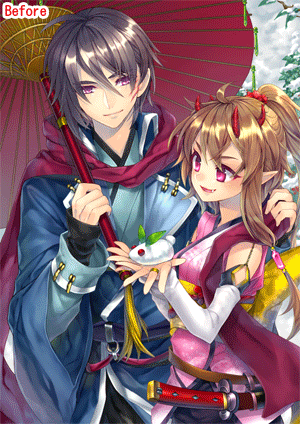
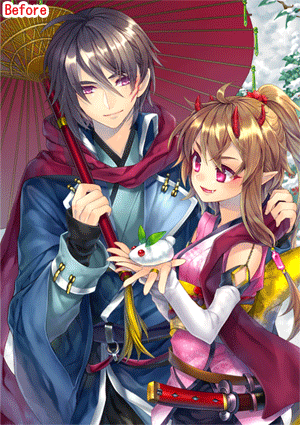
Now I’ve finished painting, so I’ll add some final touches.
I start off by merging some of the layers for the demon girl, sorcerer, and background. I still want to edit the snow, so I don’t merge all the layers yet.
Above the merged layers for each character, I created a new [Overlay] layer and added the following colors. Below, the colors are shown together, but I painted them on different layers.
I added more yellow to the highlights and dark blue to the shadowed colors.
Process GIF:

Next, I want to create an effect of distance between the characters and the viewer, so I create a new [Screen] layer and paint this ashy blue shape, then lower the opacity.
Process GIF:

I paint the detail of the characters’ breath to represent the chilly weather.
Next, I blur the snowdrops to create a sense of movement.
I select the “snow” layer and make a selection area with the [Layer] menu > [Selection from Layer] > [Create Selection]. Then I use the [Selection] tool > [Deselect] on the snowdrops I don’t want to blur.
I make the selection area a little bigger so that the blurred snowdrops will blend into the surroundings better. To expand the selection, I use the [Selection] menu > [Expand selected area].
Now for the blurring. I use the [Filter] menu > [Blur] > [Gaussian Blur] to open the blur dialog box. I adjust the blur intensity while looking at the preview.
Blurring doesn’t work well on layers set to [Lock Transparent Pixel], so I make sure to turn off this setting before blurring the snow.
At the top, I create a layer set to [Glow Dodge] mode and add some random bright spots like sparkles.
I used this brush, which is based on the default “Running color spray” brush. You can get a similar effect with the default [Droplet] brush. I use this to add some extra snow. Finally, I erase the snow in other areas where I feel it looks odd, and I’m almost finished with my illustration.


Comment