13. Creating the Evolution (1): Background
Next I’ll work on the evolution card using the same process as the standard card.
Preparing the file
I’ll start off by preparing my file.
I merge all of the layers in the “evolution” clip file I saved earlier to use as a draft layer.
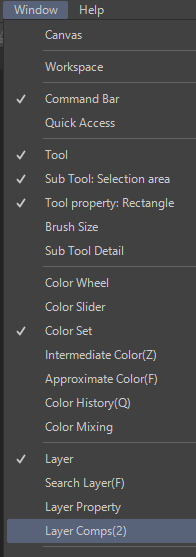
One tip for merging layers is to hide any unnecessary layers, then use [Combine visible layers]. This will only combine the visible layers.
When I’m done, I create a copy of the clip file for the standard card, then save it as the evolution card. (Currently, I have the two files open: one with the rough draft, and one with the finished standard card.)
I copy the rough draft layer from the draft file, then paste it into the file for the final piece. I don’t need the “character” layer for the standard card anymore, so I delete it.
I put the rough draft layer at the very top of the layer palette. I’ll work on the card while checking this as a reference.
For now I also hide the “color adjustments” folder.
Sky
I merge all the cloud layers and hide them.
Next I make a new layer above the “background base” layer and use the [Gradient] tool > [Night sky] gradient from the top-right to bottom-left of the canvas.
If the blending mode of the gradient is set to [Multiply] then the background base colors mix with it, so I lower the saturation of the “background base” layer before merging it with the “night sky gradient” layer.
Moon
I make a new layer for the moon.
With the [Selection] tool > [Circle], I hold down Shift and drag to create a perfect circle selection area.
I fill the selection area, then adjust it by enlarging it slightly and repositioning it.
Bats
I make a new layer and draw some bats.
Moonlight
I want to give the moon an eerie glow, so I make a new layer above the moon and use the [Airbrush] > [Soft] sub tool to paint the glow.
I then set the blending mode to [Screen] and lower the opacity.
Clouds
As with the clouds on the standard version, I paint the clouds and set them to [Multiply]. I don’t need the clouds from the standard version anymore, so I delete the layer.
Adjustments
The moon looked too sharp, so I blur it slightly with Gaussian blur.
I also adjust the color of the cherry blossom trees to match the background, and add some extra shadows.
For now, my background is done. I’ll make some more changes after I finish editing the character.


Comment