How to draw monochrome illustrations [Video]
I will explain how to draw monochrome illustrations.
If you turn on subtitles for the video, a commentary will appear.
(The order in which the videos are drawn may differ from the order in which the tips are explained, but please understand that the emphasis is on legibility.)
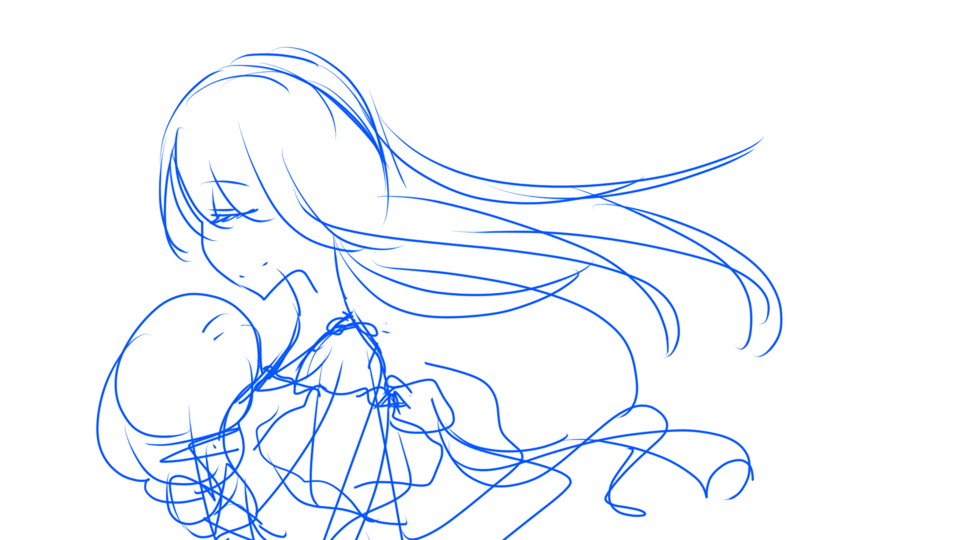
1. rough ~ rough sketch
First, draw a rough.
I don't draw much because I only need to understand the rough composition and atmosphere.
Make a note of the color.
Draw a rough sketch.
Reduce the opacity by shrinking the rough layer.
Create a new layer and draw on it.
I could draw a sketch.
This is enlarged and used.
2. Line drawing
Draw a line drawing.
I used a round pen.
For print illustrations, I draw without anti-aliasing
This time it's for web, so I drew it with antialiasing.
You can see that the smoothness of the line is different.
(No left antialiasing, right antialiasing)
I will draw a separate layer for each part.
First, draw the face-hair.
Hair will be painted black later, so only the outline should be drawn.
If you draw thin hair and thick outline, it will be sharp and easy to see.
Next, I will draw clothes.
(The rough layer is hidden for easy viewing.)
It is a good idea to draw the outline with a thick pen and then draw the wrinkles with a thin pen.
The line drawing of the person is over.
Next, draw a bouquet.
It takes a lot of time to draw flowers, so it is convenient to use a brush.
This time I used this "bouquet brush". ↓
Move the brush like a pompon and a dot.
At this time, let's draw from the outside to the center.
I think that it will look more beautiful because it gives a more three-dimensional effect.
(Outer from left center, outer from right center)
This completes the line drawing work.
3. Solid
Apply solid.
Paint on a layer different from the line drawing layer.
First, apply hair.
Apply with the fill tool and then add with a thin pen.
(The opacity is reduced for clarity.)
Create a new layer above the line drawing layer.
Add white to add delicacy to the hair.
Next, I will add flowers.
Make the line thicker or solid to blend in with the person's line.
(No left correction, right correction)
I painted the inner ribbon and attached a lizard.
This completes the solid work.
Next is tone work.
4. Tones
Apply the tone.
Create some new layers and paint them.
After painting in black, convert it to "tone" in "Layer Property" and adjust the density with layer opacity.
First, apply grade tone.
When the area around the person is selected and dragged with the "Manga Gradient" tool, only the selected area is graded. (Other parts will be masked.)
Just set the layer property to "Tone" and you're done.
Apply the lizard on the neck.
After painting, you can get a delicate impression by scraping the bottom with a layer mask.
If you erase with a layer mask, it is easy to start over if it fails.
A brush for tone sharpening is used for sharpening.
Finish by painting a lizard on your clothes.
5. Finish
I'll finish it.
Since the atmosphere is dark, make it bright and glitter.
Changed the opacity of the back gradient from 100% to 30%.
I think the atmosphere has become lighter.
Erase part of the solid hair with "4 shaving".
Erase using a layer mask.
4 Click here for a brush to clean up ↓
I also applied a slight kagetone to the flowers.
Add petals
It feels like the wind is blowing.
Brush used ↓
Add glitter with a splashing brush.
6. Finish
That's all there is to it!
Here is the final layer structure. ↓

This is the end of this course.
Thank you for reading this far!
If you like pixiv or Twitter, please take a look.


Comment