
Hello, this is Lostmemory. For this tutorial, I will explain in detail how to make these different retro papercraft.
I will give you the link to download the models at the end of this tutorial to practice at home.
We will start by drawing our models on Clip Studio paint and then finish on paper.
Papercraft
Paperart or papercraft uses paper or map as the main artistic medium for the creation of one, two or three-dimensional objects.
To make these maps, I work a lot on the 3D effect, so you have to think carefully about the different plans of our illustrations.
Illustration sur Clip Studio Paint
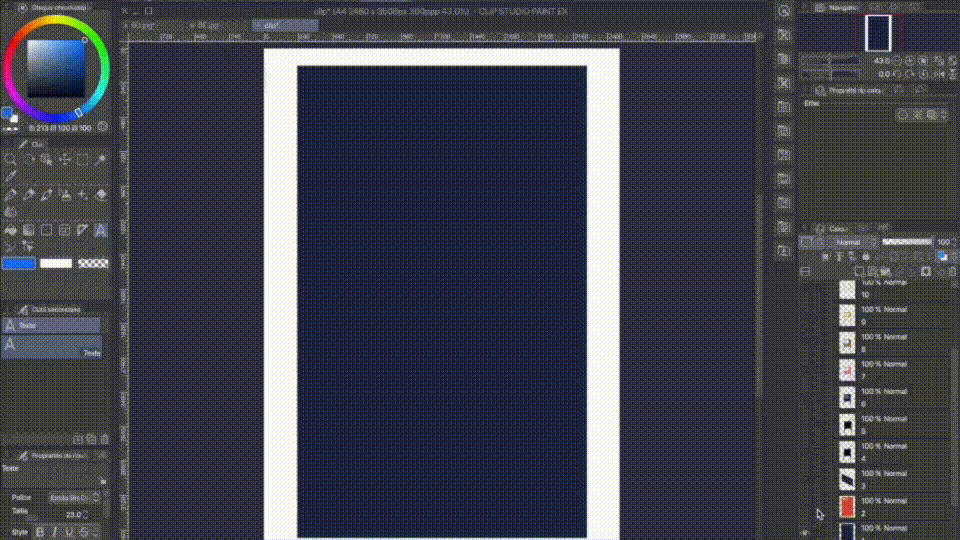
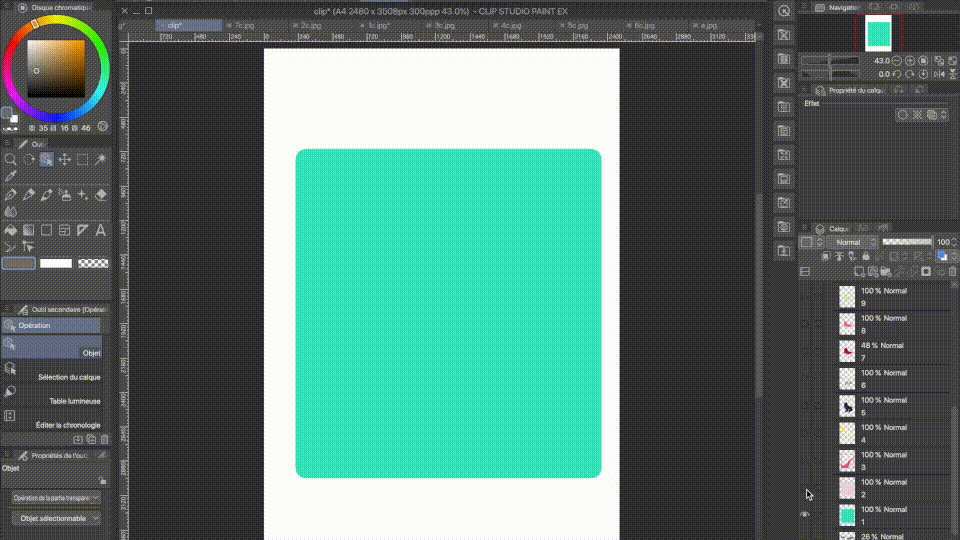
To make a paperart you have to work in layers, each element of our drawing must be on a separate layer, starting with the lowest layer and ending with the top layer.
For the cassette design, there will be 14 layers = 14 layers.
I start by making a sketch and I place the colors to get a general idea of my drawing.
Here is each layer / layer separated from lowest to newest.
Layer 1 will be the first (lowest) layer and Layer 14 will end up on top of the paperart.
Gif. Here are the items in their respective order.

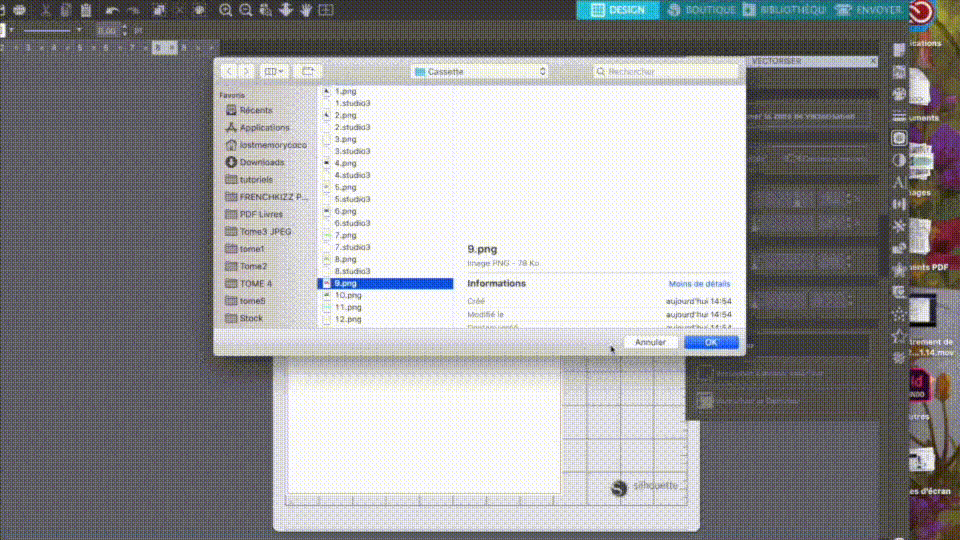
Save as PNG
Create a folder and save each layer as png in a new folder.
You will be easier to find them later.
Vectorize layers
Then, I integrate each layer in the software of my cutting machine.
You can also print and cut your model with scissors or a cutter.
On my side, I have muscle disease and I cannot use scissors thoroughly, so I opted for a cutting machine.
Cutout
Here is the material you will need.
-You can use a cutting machine.
or
-Print your layers and cut them with scissors or a cutter.
Ps: The colors may be a little different from your model, it will depend on your print or what papers you have.
The white dots are self-adhesive on both sides and in relief.
This material can be found in scrapbooking or design stores.
After you have cut out each layer, here are all the cuts.
You just have to assemble them by gluing the pellets between each element to have a depth effect.
TV
Now you can make as many models as you want by following the recommendations above.
I made a TV and a poster with rollerblades.
Gif
Roller
steps of creating roller skates.
Gif
Character
You can also make characters, sets, and whatever else you want, now that you've figured out how it works.
Example:
Models to download
I join you the files with the layers to practice on your side and to better understand how I proceeded.
Users who liked this post


Comment