WorkSpace Tips and Tricks
Intro
There are many things that I learned while using Clip Studio Paint. I want to share some of them that are hard to find or people do not talk about as much. I recommend watching the video because it is easier to follow.
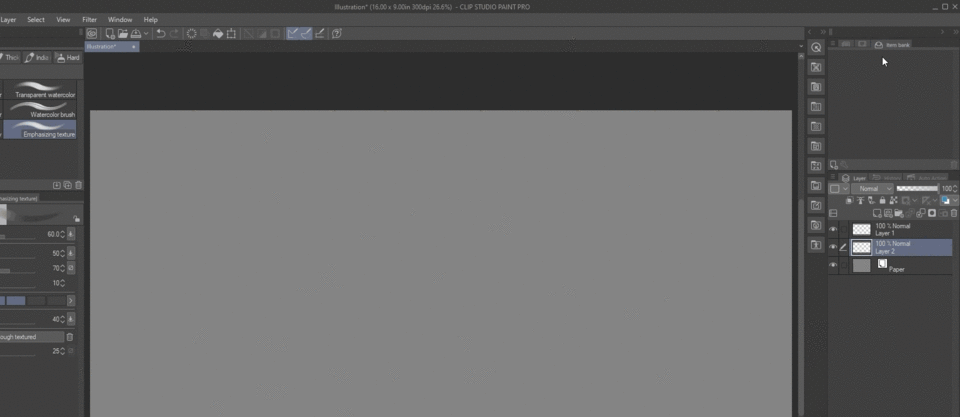
Item Bank
The item bank is a really cool way to save images that you use often in your paintings. For example, you can save logos, art signature, and social media links. It helps because then you do not have to look for one specific file every time you are using Clip Studio Paint.
To use it click on the bottom left to add new images. It will open a folder and let you choose what you want to add. After you added it you can use the wrench next to it to rename it. Just drag and drop it to your canvas. It will be added to your painting.

SubView Tool
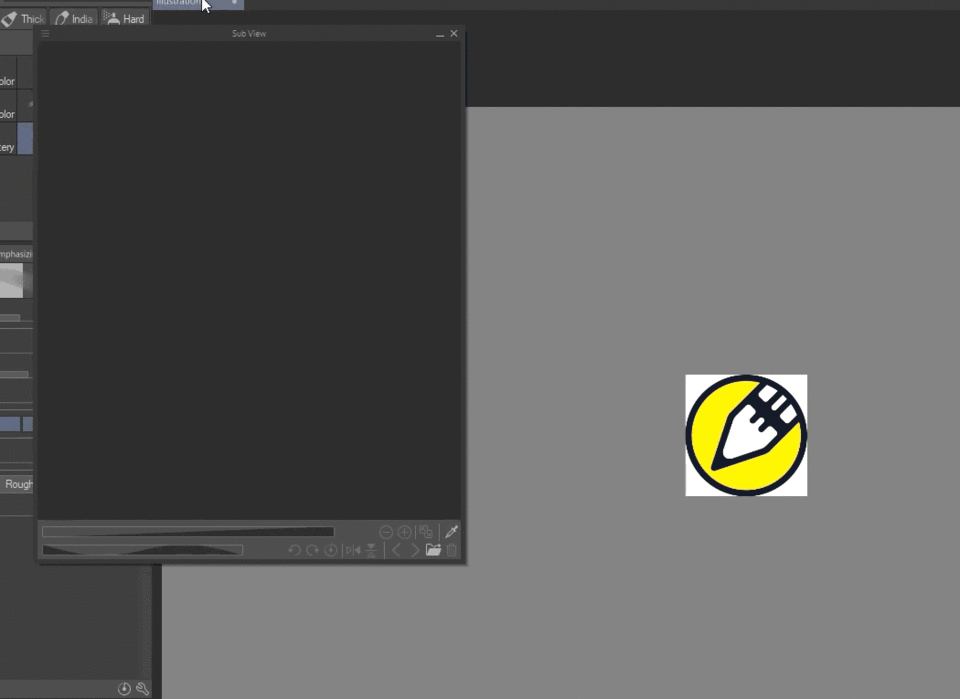
This is a great tool that can help you load references for your painting. You can load images to it that show up in a separate window. You can add more than one and cycle through it with arrow buttons. If you click on eyedropper tool you can also color pick from your reference.
In order to use it, you can just click on the folder icon and add images.

You can also flip it horizontally and zoom in if you want to. You can also drag it to another monitor if you have one. This can greatly increase your productivity.
Auto Action
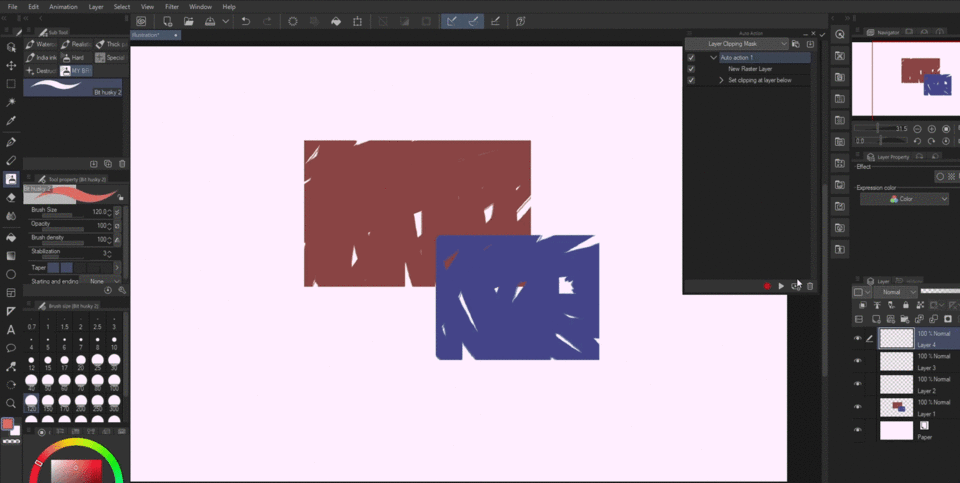
This is by far one of the coolest tools you should use. Auto Action is a set of things you can record in Clip Studio Paint for repetition. There are things that could be saved for later and not worry about it ever again.
The most common action I can think of is setting up noise for your final painting.
In order to do that you need to create a new action
Hit the big red button for record
Create a new layer
Set the color to 50% gray
fill
Filter - Render - Noise - adjust the size
Set the layer to Overlay
Set opacity to 10-15%
Done!
This will make noise immediately in your drawing. A long process usually, but it only takes one button click with auto action.
Here is a quick demonstration

Also, I do not like that you have to double-click to activate the action. There is a solution for that! If you click on the left top corner for settings of that tab, you can activate button mode. This will force the actions to be a one button click only :)
There are some actions that are already there for you. You can check it out and see what they do. It can help you to see what the actions are capable of. My favorite is usually setting up one click export for it.
Quick Access
This a great addition to auto action. It is one-button access to any tool you would like to use! It already comes with some shortcuts that are available to you. The most useful one is probably Flip Horizontal to check if your image is skewed.
You can add color swatches, brushes, make a new layer, cut and deselect. Anything that you want could be accessed there. The most cool feature is that you can also add Auto Actions too! Anything you want could be recorded and then accessed with Quick Access later in one place.
So how do you add it to quick access? Pretty easy. Just go to the wrench and click it.
After you click it you will see a promt that will let you add things
From here you can add anything you want! Do not forget to check out the menu tab to see more options
You can also drag and drop your items. You have a favorite brush you like? Just drag and drop and it will be next to you at all times.

The possibilities are endless. I like to add actions and brushes there.
Grouping Brushes
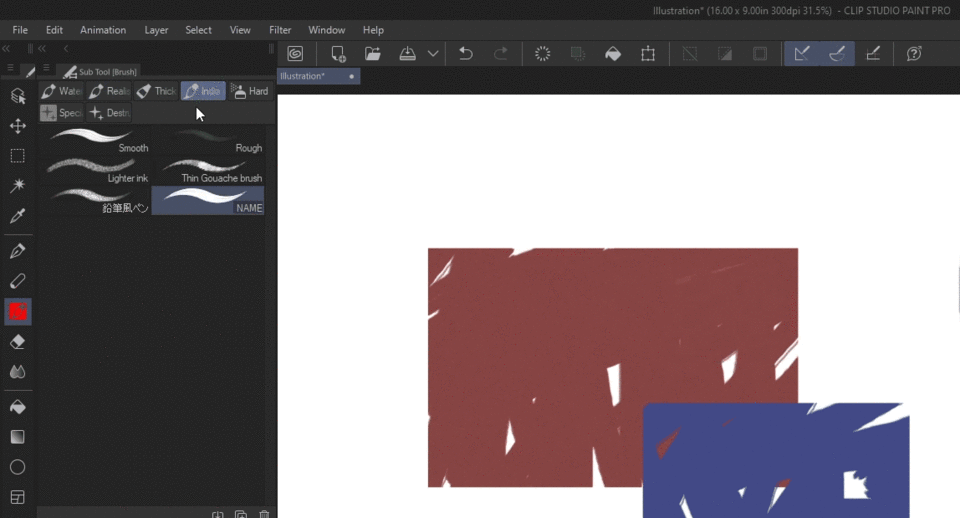
This is one thing I love to do when I open Clip Studio Paint. In order to create a new group. Just duplicate the brush. You will see this promt.
You can name it. The tool icon could be selected from the list. If you want, you can upload your own images into it with the second tab. You can also add background color for that icon to make it stand out. After you click okay, you can just drag and drop a new group.

You can add more to that group if you want with any other brush.
Using Brushes as erasers
This is a quick one. In short, you can use any brush you have as an eraser by going into transparency.
To switch between front and background color you can just hit X
In order to switch from color to transparency, you can just hit C
This will allow you to use any ink brush or watercolor brush as an eraser without going into the eraser tool every time.
Pop Up Palletes
In the shortcut menu, you can access pop-up pallets. It is an easy way to open tabs quickly without any effort. In order to set it up, you need to go to shortcut settings.
Make sure you are on the pop-up palette
This will allow you to summon any tool you need for just a few seconds without looking for it. An easy example is a color. I set it to "U". This allows me to get the color wheel with just one button click. At this point I can just remove the color wheel from my workspace completely.

Settings
These are quick preferences I like to change when I open use Clip Studio Paint. You can access it with Ctrl + K or File -> Preferences
I think 200 undo is a little bit of overkill. Putting it down to 100 is a better choice for people who have slow computers. For allocate to application is good to have around 80 if you have a lot of RAM. If you have 8gb, then I do not recommend it. For Virtual memory path I suggest chaning it to the drive that is more empty. The more space you have the better.
Another important one s Auto-Recovery. It saves a copy of your file in case it crashes or anything goes wrong. If your computer is slow then increase the time or turn it off completely. If you are paranoid about your work then switch it to 5 minutes or less. It will be saved a lot more often.
This is purely cosmetical. Interface Scaling is good to mess around with if you have a very small screen or a very big one. Scaling could help you organize your workspace better. Just keep in mind that you need to restart Clip Studio Paint to take effect.
You can also change the color of the interface. To do that just change Color in Interface Color. You can make it darker or brighter. Helps to see what colors better
The end
Thanks for reading or watching. This was a very hard article to write because I wanted to share as much information as possible. I hope you learned something! Let me know if you have any questions. The video explains things way better if you are confused. Here are my social media links if you want to check it out.


Comment