Three Simple Lighting Effects for Character Portraits
Hello! My name is Liz Staley and I’m a long-time user of Clip Studio Paint (I started using the program back when it was known as Manga Studio 4!). I was a beta-tester on the Manga Studio 5 program and for Clip Studio Paint, and I have written three books and several video courses about the program. Many of you probably know my name from those books, in fact. I write weekly posts on Graphixly.com and on CSP Tips, so be sure to come back every week to learn more Clip Studio Tips and Tricks from me!
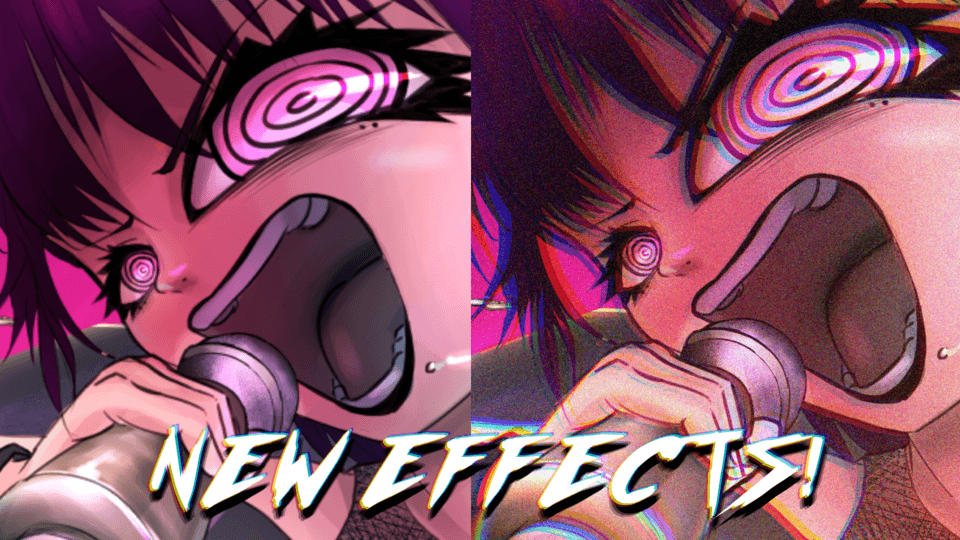
One of the most dramatic things you can add to a character portrait is a lighting effect. In this article we are going to look at three easy ways to add some dramatic lighting to a character portrait and add visual interest to your piece.
In this article we will cover the following topics:
Dappled Light
Spotlight
Colored Light
Let’s not waste time and get started!
Dappled Light
Let’s start with making dappled light. Dappled light is light that shines through something that breaks it up, like sunlight coming through the leaves and branches of a tree. In photography this term also seems to cover light coming through other patterned items, such as window blinds, lace, or holes in a fence even.
Below is the character portrait with basic shading and highlighting that I’ll be using as an example through all three parts of this tutorial.
I want to make this look like the character is sitting under a tree with light coming through the leaves.
To start this process, make a new layer and set it to the Multiply blending mode. Then I’m taking a dark blue-green color and, using the Lasso tool, making random shapes across the portrait to look like shadows from trees. We’ll refine these shapes later so don’t worry too much about getting them perfect, but be sure to keep in mind the shape of the surface the shadows are falling on and try to follow the contours.
Now let’s add some variation to these shadows, because right now they look like our character has a strange illness! Using the Soft Eraser tool with a Brush Density of 35, add some lighter areas in the middle and some edges of the shadow shapes to show where the leaves are less dense and more light is coming through them. In the image below you can also see that I used the soft eraser to lighten the majority of the shadow across the eyes and cheeks.
The edges of our shadows are too sharp, so let’s soften them. Go to Filter - Blur - Gaussian Blur. Make sure the Preview box is checked so you can see the amount of blur on your image in real time. Your settings will depend on the size and resolution of your image, but I used a Strength of 25 on my image.
At this point I also decided to lower the Opacity of the shadow layer to 80%. Starting to look more like shadows now!
If, like me, you get to this point and realize that you don’t like the color you picked for your shadows, don’t panic! Simply use Layer - Tonal Correction - Hue/Saturation/Luminosity to adjust your shadow layer to your heart’s content.
Now that we have our shadows done, it’s time for some sunny highlights. Make a new layer and set the blending mode to Add (Glow). Then, using a light yellow and the soft airbrush tool, paint in some highlights. Add them not only to the parts you’d normally highlight on your character portrait, but also add some lighter areas where the sun is coming through empty spaces in the leaves and hitting your character as well. If you want a few brighter highlights, you can also use white to paint in some “hot spots”.
Now let’s add some floating dust spots in the light. Create a new layer and set it to
Add (Glow) again like we did the previous layer. Take your bright yellow color again and the Spray subtool for the Airbrush tool and put some yellow dots on the side of the image that the light is coming from, like in the screenshot below.
Use the Gaussian Blur filter again to make the dust spots not as harsh around the edges. I also dropped the opacity of the dust layer down to 65%.
Now our dappled light portrait is done!
Our next lighting effect will emulate a spotlight on our character, and is even easier to do than the dappled light.
Spotlight
A spotlight can be a simple way to add some drama to a portrait without distracting from your art too much. You can also use a spotlight to draw the viewer’s eye to a certain portion of the image, like the face or hair.
To start with, create a new layer and set it to Multiply. Then use a dark color (I’m using a very dark blue below) and the Soft airbrush to create a shadow along one side of the image, opposite where your light will be coming from. In the image below I’ve added the shadow in a curve to the left side of the image. I’ve also darkened up just the background on the right side of the image, behind the character, but left the actual character untouched by the darker color.
Next we’re going to add some deeper shadows to the character for some added drama and to make the lighting more realistic. Using the same color from the previous step, mark out shadows in appropriate areas that are opposite the side the spotlight is coming from.
Realistically, the eye of this character should be much darker than it is. But I like being able to see a character’s eyes (unless they’re shaded out for drama!), so I took the soft eraser and erased out most of the shadow directly over the eye so it could be seen more easily and the face wasn’t just covered in a dark shadow.
Now it’s time for highlights. Create a new layer and set it to Overlay. Then, using white and the Hard airbrush tool, add some highlights.
You can see that I even added a tiny bit of lighter color on the shadowed side of the face, just at the edge, and on the shadowed arm. This adds just a little bit of detail to the image and separates out the features. Next I took the Blend tool and softened a lot of the edges of the highlights so they weren’t all so sharp.
Now our dramatic spotlight portrait is complete! For our next portrait we’re going to add some fun and funky colored lighting!
Colored Light
Colored lighting can be a lot of fun to play with. For pleasing results, make sure you choose your light colors carefully. Some color combinations that almost always look good are pink/red and blue, blue and yellow, blue and orange, and even purple and yellow. Be careful using green because sometimes green light can look sickly or unnatural. If that’s the mood you’re going for, then go for it!
For this example I’ll be going with the classic blue and pink combination. To start, create a new layer with an opacity of 15% and the Color Burn blending mode. Fill the layer with a bright blue color.
You’ve probably noticed in the image above that there’s a weird looking lighter area across the character’s face. This is the Color Burn layer interacting strangely with my colored character art. I ended up fixing it later by blending the edges of the area out on the face so that it wouldn’t show up like that. If something like this happens to you, you may have to use the Blend or Blur tool and adjust the character art to make it “play nice” with the lighting effect.
Next, make another new layer and set it to Pin Light with an opacity of 40%. Using either a soft brush or the “Foreground to Transparent” gradient tool, add a bright red color at an angle on one side of the portrait.
Then create another layer and set the blending mode to Overlay. Take a bright blue and pink color and add some blue and red color to areas of the skin, hair, and clothing that would have the colored light bounced onto it. I put most of the blue areas on the left side of the face and on the chest and arms, while keeping the pink mostly on the hat, hair, and back. You can also see that I put a little bit of pink inside the ear and a tiny bit on the brim of the hat for some bounced light.
To make the color effect more dramatic, duplicate your overlay layer to up the strength of it.
Now it’s time to add some more dramatic color! Create a new layer and set it to the Color blending mode. Then use bright blue and bright red to add more areas of color and highlight. In the image below you can see that I added some more red to the right side of the shirt, the brim of the hat, the background arm, and a tiny bit on the hair on the left side - as well as adding more red to areas of the hair on the right side too and adding some red to the closer cheek. I added more blue to the bangs and the ends of the hair on the left, as well as a bit up under the brim of the hat. Use the Blend tool to soften edges as needed.
This is also when you can add some more dramatic shadows for added depth, if you need to. I ended up using some dark blue and black on the Color layer and on another Multiply layer to add deeper shadows up under the hat and bargs, under the hair, along the band of the hat, and along the bottom of the shirt and under the far arm. You’ll see the results of that in the next screenshot!
For our final step, create a new layer and, using a hard edged round brush of your choosing, add some blue and pink highlights for more drama. Experiment with putting bits of one color in the opposite color, too. For instance, if you look at the hair in the following image you can see that there are pink highlights in the “blue” side of the image on the left, as well as blue highlights in the “red” side too. This provides visual interest and makes the art pop!
If you need to, you can also add some white highlights at this stage as well. I added a little more white in the eyes to make them stand out more (because, again, I like my characters’ eyes to be visible unless I’m shadowing them out for a reason!) I also took the Blur tool and softened some of the highlights, like the ones on the shirt and the brim of the hat.
Conclusion
Adding some dramatic lighting is a great way to “spice up” a character portrait and turn it into something special. Use these techniques to develop your own looks and incorporate them into your artistic arsenal!
For more information on CLIP Studio Paint, please visit https://www.clipstudio.net/en or https://graphixly.com


Comment