
I. Canvas Preparation
First, we need to consider the size and resolution of our canvas. By default, I prefer to work on my customized 3200 x 3800 with 300dpi resolution.
Choose what character you would want to draw on your canvas. My process would be looking for references first. While doing so, I make it a point to try to visualize what kind of setting I wanted my character to be situated in. Doing so will help in establishing the environment and source of lighting. That way, you will better realize a good illustration with respect to the environment and the target source of light.
below is a timelapse of my drawing process for the character.
art is a time intensive process :)
II. Space Composition
Understanding the basics and importance of Landscape & Photography (yes! photography) when doing Illustrations is what makes art more interesting. Learning them is a must for artists if I must say^^,
You can see below a simple illustration of the 3 important elements(planes) in a picture.
to make it simpler and brief,
the Foreground is the visual plane that always appears to be the closest to the viewer; Middleground would be the center, and the Background being the furthest visual plane that is important for its role of giving context to the scene or setting (i.e a sunny place, gloomy sky, etc.)
Depending on the scale, view, and focus of the camera, the Foreground could be larger in size as it appears to be the closest to the viewer. Its color is usually darker and the texture, more refined. The Background, on the other hand, is the opposite of the former.
As the image recedes to the background, the scale gets perceptually smaller with thinner lines & less clarity of details.
III. Application
Now that we know the basics of composition, let's apply them on our illustration :)
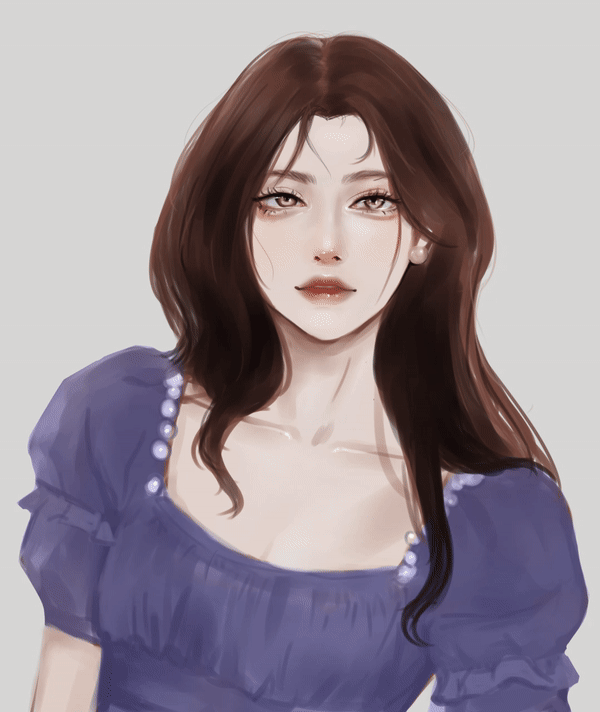
Here is our Character without any special feature :D
What we want to make is for it to look catchy. So we will do a focus blur(camera effect) using Gaussian Blur (Filter-->Blur-->Gaussian Blur.) This type of blur filter allows us to measure the amount of blur we want the image to appear.
---- III.a Painting the Background
First, make a new layer under your character's layer(if you are working on multiple layers, merge or put them in a group.)
Paint your background on that layer!
[In this tutorial, our setting would be outside, with just simple trees and sunlight as the background.]
Of course, don't forget to locate your source of lighting according to your preference :)
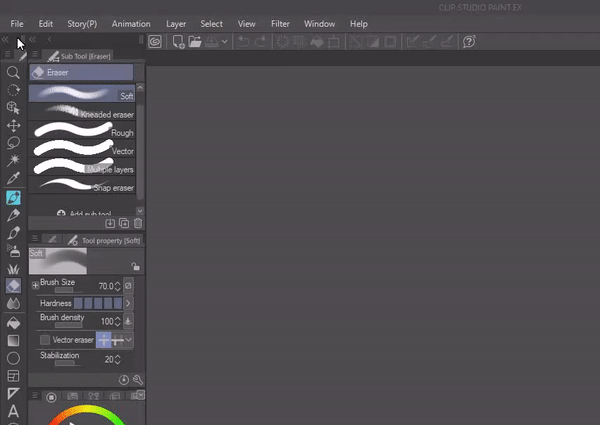
I am using a default brush [Oil Paint] for the background.
Just dab the brush in a natural stroke, you can simply paint over with various colors of nature too. No need to be detailed tho^^,
---- III.b Using Gaussian Blur
To make our character pop from the background, we will use Gaussian Blur to achieve a camera focus blur effect.
Select Filter -->Blur -->Gaussian Blur--> then you can adjust the blur strength to your liking.

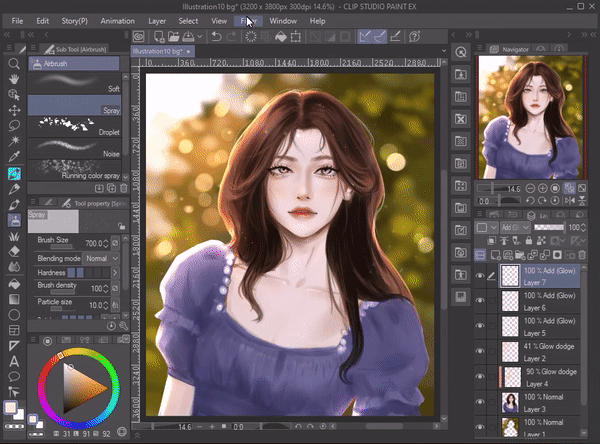
---- III.c Lighting & Bokeh Effect
Now let's add dramatic lighting on our scene.
Brush used: Default Soft Airbrush and my favorite Paint Brush from Clip Studio Assets(link below)
Please refer to the video for the lighting tutorial^^
---- III.d Applying Correction Layer
To adjust the overall lighting exposure of our illustration, we are applying a correction layer by using Tone Curve.
You can play around with the tool for whichever outcome you wanted for it to appear. In my case, I wanted to make it appear a bit darker because the character is standing against the light.
---- III.e Painting the Foreground
It would be nice to add some simple foreground too so I drew some flowers and did the same process of using Gaussian Blur so that our character is the main focus of the illustration^^
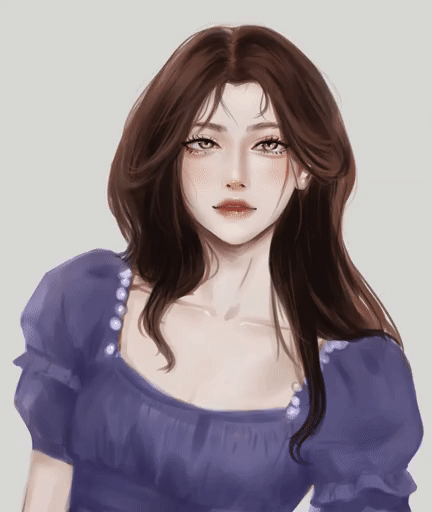
IV. Final Output
Users who liked this post


Comment