Draw Faster Using Gradient Maps
3 ways- gradient line, gradient map, gradient map layer
Uses- background, color correction, grayscale to color, atmosphere colors
INTRO
Hello. I’m Rose, and in this tutorial I will show you how to color, shade, light, and highlight quickly using gradient maps. There’s a 3-in-one lighting method I discovered at the end of this article that you might be curious to try out. I always try to find the most efficient way to draw and so far, this is it.
I’ve never seen anyone use a couple of these methods before so hopefully they’re new to you all. This tutorial is also useful for artists who don’t like using a lot of layers.
Here's the video link: https://youtu.be/Imad0U8qUTc
METHODS & USES
So there are three ways you can do this: gradient, gradient map, and gradient map layer.
1. Gradient
You can create a gradient with a gradient map by using the gradient tool. It allows you to create a gradient out of nothing, making it the fastest method (the rest color corrects what you have already drawn). There’s a line you drag to apply the gradient and the further you drag it out, the longer and more gradual the gradient is.
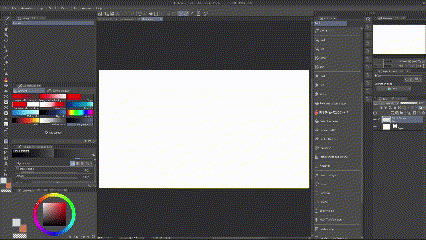
Click "add sub tool" to import gradient maps from assets.
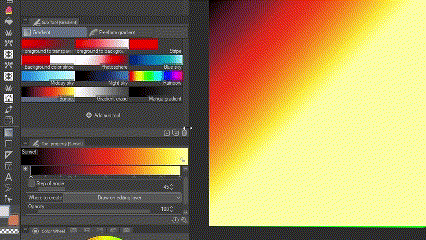
I use this tool for skies
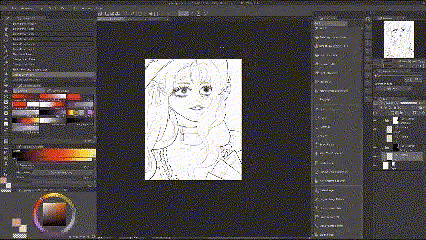
or for a little color variation using the foreground to background sub tool. It uses your main and sub colors. Make sure to lock transparent pixels or add a clipping layer while you’re doing this.
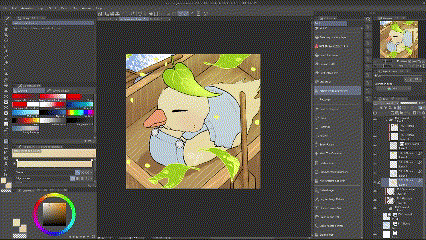
This gradient is not a correction map so it covers everything unless you check “not draw” in tool properties. You can also choose from three shapes.

This is such a strange method of applying blush. I don't know why anyone would want to do this but I guess you could if you want. (Please don’t, you will not get it to sit right the first time, you will suffer.)

2. Gradient Map
(top menu bar > edit > tonal correction > gradient map)
(quick access settings > edit > tonal correction > gradient map)
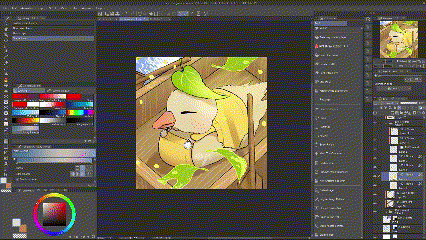
Let’s say you want to change the color of these suspenders. You can apply a gradient map directly onto that layer (only that layer is affected).

Only use this if you know you are not going to change the color again because even though you can apply more after that first one, it doesn’t use your original color values, it uses the one that you changed it to last, so it’s not the same. (See how the color barely changes the second time.)
3. Gradient Map Layer
(right click layer > new correction layer > gradient map)
(top menu > layer > new correction layer > gradient map)
(quick access settings > layer > new correction layer > gradient map)
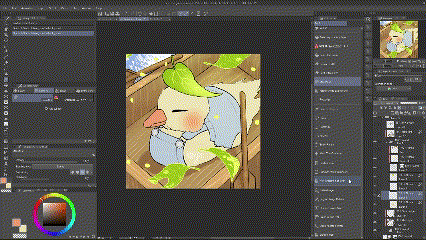
A gradient map layer is a gradient map on a separate layer that applies the gradient to all the layers below it. Yes, having a lot of layers is inconvenient but sometimes it is less inconvenient to have a layer that allows you to change your colors anytime instead of having to spend more time fixing it when you change your mind. It’s a nondestructive method so unlike the gradient map, it lets you change your colors using your original values.
Unify/color correct example:

To import from assets on the gradient map/gradient map layer interface, click on the tool icon, then “add gradient set”.
Grayscale to Color: Background & Flat Color
If you already know what flat colors to use, obviously do that, it’s faster depending on how you do it, but if you are using grayscale, you can color it using a gradient maps.
If I haven’t decided on the time of day for my drawing, I just draw the sky in grayscale and add a gradient map to the layer. You can also obviously do this with a gradient map layer too.

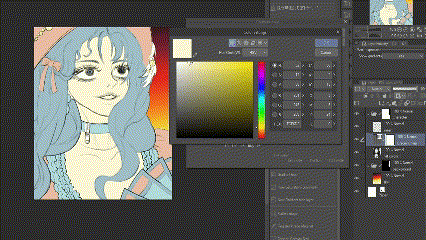
Flat Color Example: I applied a gradient map on a grayscale character.
(I used 6 colors and they don't need to look like solid blocks to work, I just happened to click on that set.)
3-in-One Lighting (shade, light, highlight)
Are you a noob who still shades on each layer by finding a suitable shade color for every color on your canvas? Do you shade on multiple character layers?
I realized recently that you could just have one layer for all your atmosphere colors by using a gradient map layer. It’s technically two but I've never seen anyone use this method before so I hope this is new and interesting for you.
First, pick a shade color and add another point on this map because we’re not trying to be basic here. Then pick some other color in the environment so this can be prettier and lastly pick a highlight color. I just color picked them from the background.

Then clip this layer onto your lighting layer (a normal blank raster layer).
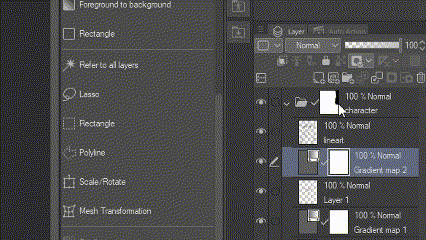
So you’re going to shade with black, light with gray, and highlight with white all on this one lighting layer, and they will all appear to be the colors you chose on your gradient map layer. Set the layer mode of your lighting layer (I recommend overlay or hard light) and paint on that layer, not your gradient map layer. You can paint transparently to erase.

Example:
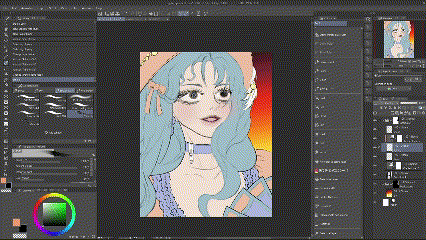
I say 3-in-One because I used three colors but obviously you can use more.
And then we can add another gradient map layer to unify everything.
(I can't add any more gifs for some reason, I had three more ;~; maybe there's a limit. The youtube link is up top if you want to watch that instead.)
You can save the sets you create, which I recommend for flat coloring or for lighting. I think these methods could help a lot, especially if you’re making webtoons or ocs, it could save you some time coloring, shading, and highlighting all your characters.
Was this informative? I hope it was helpful. Thanks for reading.
Instagram: https://www.instagram.com/lc._.c__/
Youtube: https://www.youtube.com/channel/UC4rNzqnv8COmX7UBhXHhXFg






Comment