Spin Blur Filter Explained
Hello! My name is Liz Staley and I’m a long-time user of Clip Studio Paint (I started using the program back when it was known as Manga Studio 4!). I was a beta-tester on the Manga Studio 5 program and for Clip Studio Paint, and I have written three books and several video courses about the program. Many of you probably know my name from those books, in fact. I write weekly posts on Graphixly.com and on CSP Tips, so be sure to come back every week to learn more Clip Studio Tips and Tricks from me!
The new spin blue filter is a fairly simple but welcome addition to Clip Studio Paint. This filter will make it a lot easier to add motion to some items in your comics and illustrations. So let’s take a look!
In this article we will cover the following topics:
Using the Spin Blur Filter
Let’s get started!
Using the Spin Blur Filter
Before I got started on an illustration for this article I did a little experimentation with this filter to see what the possible applications for it could be. I found that it works best for spherical objects such as balls. On other items the results don’t look as good.
So with that being said, let’s use the spin blur on the tennis ball in this drawing I did of a golden retriever dog playing catch!
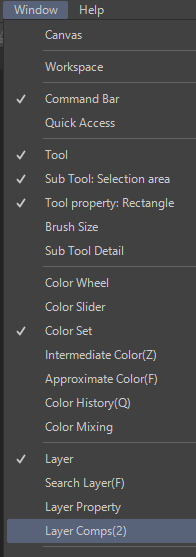
After making sure that the object I want to apply the spin blur to is on its own layer, I was ready to start. Go to Filter - Blur - Spin Blur.
This will bring up the Spin Blur options. Check to make sure that the Preview checkbox is checked so that you can see in real time what the filter is doing. (Depending on your computer speed, having Preview active may cause lag)
The first option is Strength. This controls how much of an effect the filter has. In the image below the strength is set to fairly low.
But if we turn the Strength option up to almost half, notice how much blurrier the tennis ball is.
I chose a fairly low Strength value for my tennis ball, but you may want to choose a higher value depending on the look you’re going for.
The next setting is the Direction. In the images above it was set to “Rotate right”, but below it’s been changed to “Rotate left”.
The final option in the Direction dropdown is “Both Directions” which is shown below.
The way that Direction changes the look is a bit hard to see in these screenshots, I think. If you can, I feel like it’s better to try this filter out for yourself and look at each of the Direction options and how they change. They really do look quite different when you change from one to the other and see the preview update!
Now let’s move to the next option, which is the Shape slider. This slider controls the amount of vertical or horizontal blur. For instance, when the slider is more to the left, the shape of the spin blur goes more vertical.
But with the slider pulled to the right, the shape of the blur is more horizontal.
The final option is the Tilt setting. As far as I can tell, this setting controls the rotation of the blur and adjusting it changes the angle of the blur effect from side to side.
Below are the settings that I ended up using for my final illustration. The settings you use will be different depending on the look you’re going for, but this will give you an idea of the settings that I used.
And below is the full finished drawing!
Conclusion
For the right applications, this filter is a lot of fun! I hope you get a chance to try it out!
For more information on CLIP Studio Paint, please visit https://www.clipstudio.net/en or https://graphixly.com


Comment