River Animation "The Lazyman's Way" File Object
The FILE OBJECT function in Clip Studio Paint is a powerful feature for animation, in this tutorial I'm going to create a river animation, made so easy that I call it The Lazy man's Way. I hope you like it.
The entire process can be seen in this video:
.
Create the painting of the river and make a mask for the water, to create the animation it is necessary to find a seamless texture of water reflections, or you can create your own. In the Asset store, I find these two options for free if you want to use it.
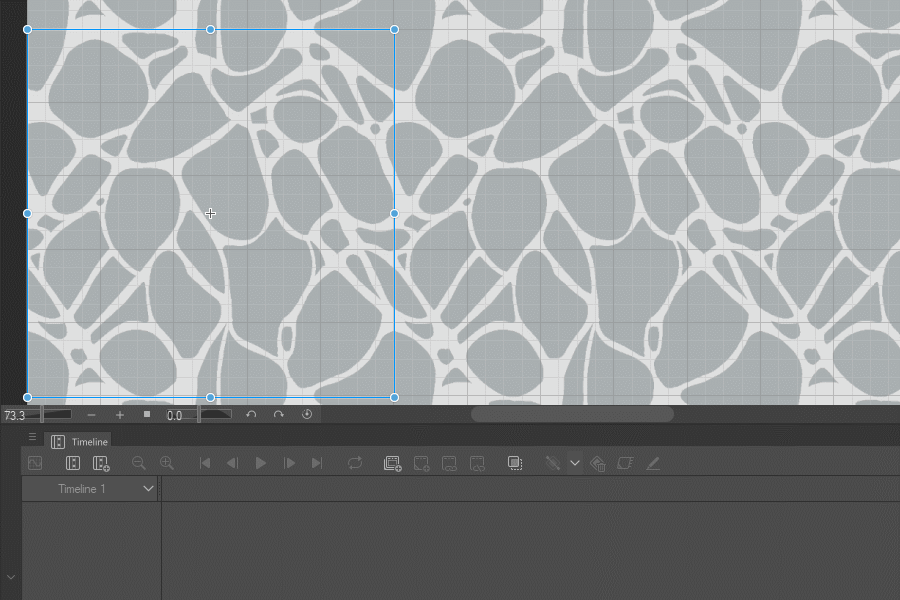
Create a new file, big enough to cover the river in perspective (I crate a file 3800 by 1080 pixels but this need to adjust to you needs). Drag the texture from the material panel, over the file and adjust the scale, use the grid as reference (grid can be activated in /View/Grid).

Now create a new timeline, enable the keyframes in this layer, and with linear movement, place the first key, and in the last frame of the timeline move the texture until the left part of the texture reaches the right part of the first frame as seen in the animation. Move the keyframe in frame 30 to the next frame, frame 31 in this example.
Because a distortion effect will be applied to the animation, the animation must be a sequence of images, so create a new animation folder and create cells in two’s in this example 30 cells.

Using the auto-select tool, select the ripples unit these settings in the tool properties:
Close gap: uncheck
Area scaling: check and between 3 of 4
Refer multiple: Check
In the first frame the animation cell is filled with white color, in the video is black to make it clear. Continue this process until you finish the 30 cells.
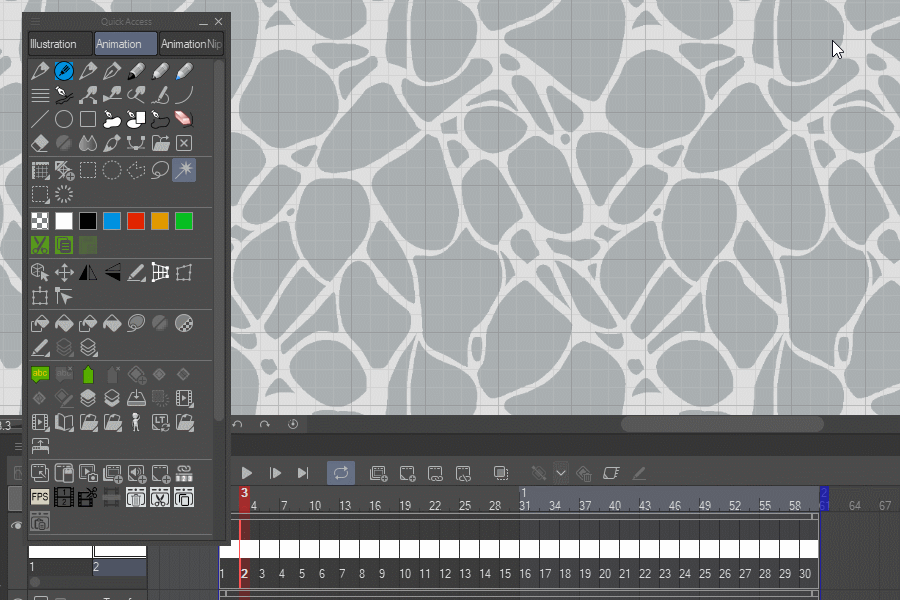
I created an auto action for the previous step and the next one, download it here:
What the first auto action does is to fill, un-select, and advance to the next frame, but you need to select the ripples first. The next auto action applies a ZigZag distortion to all the 30 frames, the distortion settings are, Angle 90, Number of waves 4, and wave height varies between 1.4 and 3.4, but the change is soft, so the movement is calm (the auto action vary this value 1.4, 1.45, 1.5, 1.6, 1.8... until 3.4 and back to 1.4). The animation moves like waves that make the animation feel more natural. Now the animation is ready, just erase the paper layer, erase the keyframe layer and save the file with just the image sequence in a place you can find easily for the next step.

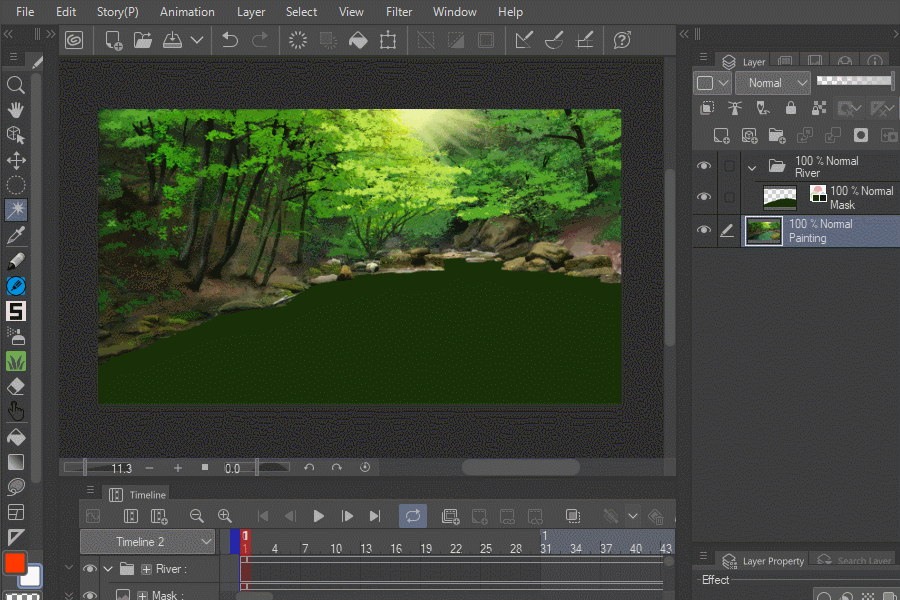
Now, in the main file import the wave file by going to File/Import/Created File Object, adjust the proportions CTRL+SHIFT+T, to match the perspective of the river. Place the file object over the mask and select Clip to layer below, adjust the transparency and play the result.
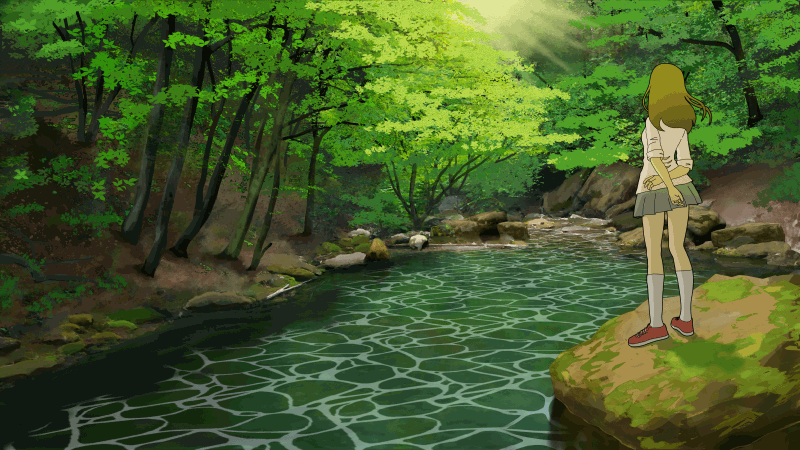
That's it, a fast way to achieve a complex animation and the result is quite useful especially for establishing shots.
Thank you, If you have any questions please ask, I will try to answer all of them.





Commentaire