
Hello there! My name is Grace. And this is my 2nd tutorial! Honestly speaking, I’ve been encouraged by many people to teach art, but since I graduated from pharmacy; art is just my hobby. But you know when passion of art running in our vein; we will become unstoppable and just love art more than anything else.
So ever since I came across Clip Studio Paint app; introduced by my lovely @Futopia; I decided to play around and found it’s good to create beautiful artworks with Symmetrical ruler as well as 3D figures!
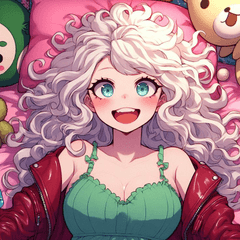
This tutorial is about manipulating 3D Figure to create Chibi Character Concept Art and Design. It's ONLY created with Clip Studio Paint from scratch to finish!
You’ll find how easy and wonderful to build any Character Design, play with its built-in function of pose, camera, and of course manipulate your 3D figure! Along with tips and tricks PLUS downloadable CSP resource file (.clip) and 3D figure included by the end of this tutorial!
【 Credit to Original Author for 3D Figure: 黄鼠 on step 2 】
1. Canvas Setup
In this tutorial, I will create a blank document with 1000 x 1000 pixel Width & Height. Since my computer still on low-end performance, that’s why I will just go with this default setting
At least I have a minimum Resolution of 300 dpi (dots per inch). If you’d like to increase or decrease the dpi, you should consider to remember what’s the end result for you; if it's for print purposes; stay on 300 dpi or more resolution.
it’s not always about dpi but also pixel size. I keep on 300 dpi, if the pixels only below than 1000 (for example 100 x 100), it’s not a wise decision to be printed.
Additional note: the Paper color is Gray 15%
R: 217 G: 217 B: 217
2. Downloading 3D Figure for FREE!
Clip Studio Assets service offers you a wide variety of FREE downloadable materials such as brushes, patterns, 3D figures, and many more! Some of them officially from CSP, but others from users such as this 【ミニキャラ 女の子】 material from 黄鼠
Below is my 'how to' download the valuable asset to help us on this tutorial project and saved to your Material folder for later use.
Note: Also by the end of tutorial, you could download my (.clip) file for FREE along with 3D figure inside of it. Plus other bonus perks such as posed 3D Figure with post-rendered character positions.
❶ Go to Clip Studio Assets. On the search column, type this: ミニキャラ 女の子
So you can go directly to material shown above.
❷ This section is for the tags (usually for related keywords), it shows 3D character, Clip Studio Paint Pro/EX and so on. By clicking on the tags provided, you can check other's creations.
❸ Simply click the Download button and you're all set!
[ Optional ]: as you can see, I respect the owner of this material so I give her/him my ❤ and ★ to mark it as my favorite! By doing so, we support the creator's effort to share their creations and boost their rank too. Feel free to do as you wish.
▼ This link below is the official help from Clip Studio Paint on how to locate your downloaded materials whether it's Free or purchased by Gold; as it's already been covered there.
3. Drag & Drop 3D Figure
Open [Window] then find Material ➞ Material [Download] to locate your downloaded materials.
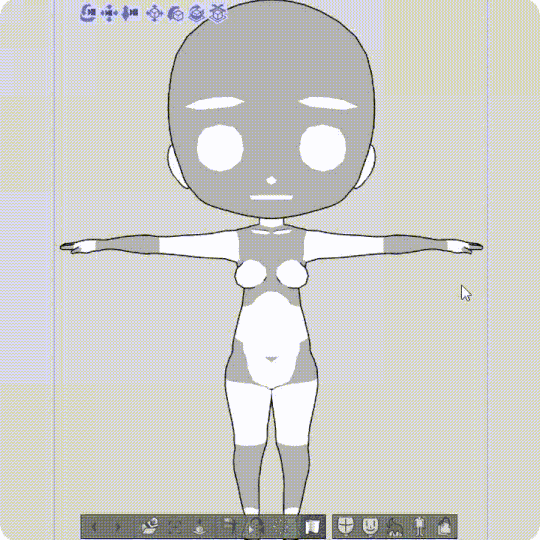
❶ Drag the 【ミニキャラ 女の子】 material in the [Download] folder of the material palette onto your canvas.
❷ The result of your drag & dropped material (default position).
❸ Layer contains 3D Figure is now ready to be manipulated.
4. Understanding 3D Figure Controls
❶ Left click on [Operation] tool on your 3D Figure layer.
❷ Notice those icons will show whenever you Left click/use [Operation] tool on your 3D Figure layer. Those icons along with their functions will be shown to you with animated GIF below ▼
Now feel free to try it by yourself, whenever I think the pose is not correct, I use undo (CTRL + Z) before manipulating it again.
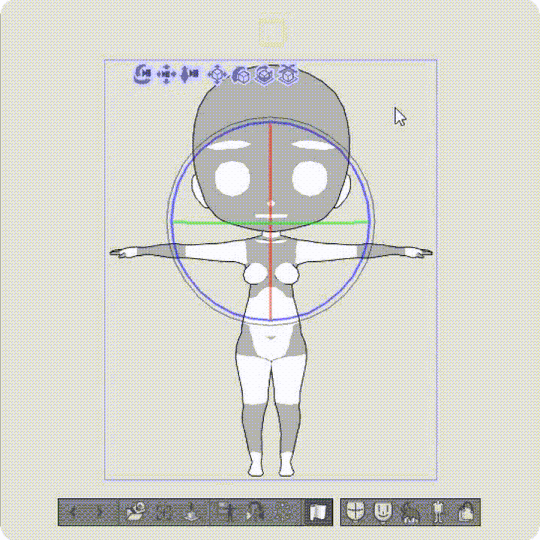
If you Left click on any of 3D Figure body parts, it will gives you the ability to move it around. But you'll notice there are limitations for any of the parts to move around such as head, hands, legs as GIF shown above.
For this tutorial, we will focus on making our Chibi Caracter position as default (center) then we will duplicate and trace it afterwards.
5. Preparing 3D Figure Turnaround
❶ Left click on [Operation] tool on your 3D Figure layer and move down the right arm (or left arm as you wish) slightly 45 degree with RED LINE as image above.
❷ Use the icon to rotate the 3D Figure from front position to back.
❸ This is the back position of 3D Figure.
▼ Below is a GIF to guide you through the process of making a simple character turnaround only with [Duplicate Layer] then use [Specify camera angle] to change object positions to side view and back view, a little adjustment to correct the back view position to fit the center of image.
6. Sketching
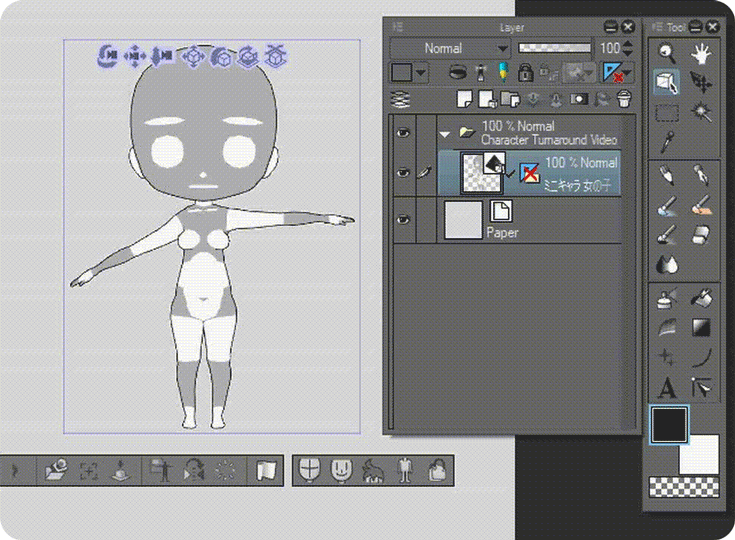
Now we're having 3 different views of 3D Figure layers, it's time to trace & create our Chibi character turnaround!
❶ Before sketching, usually I decrease the opacity of 3D Figure layer around 30%
❷ Create new layer on top of my 3D Figure layer.
I use Pencil ➞ [Thick pencil] brush to sketch.
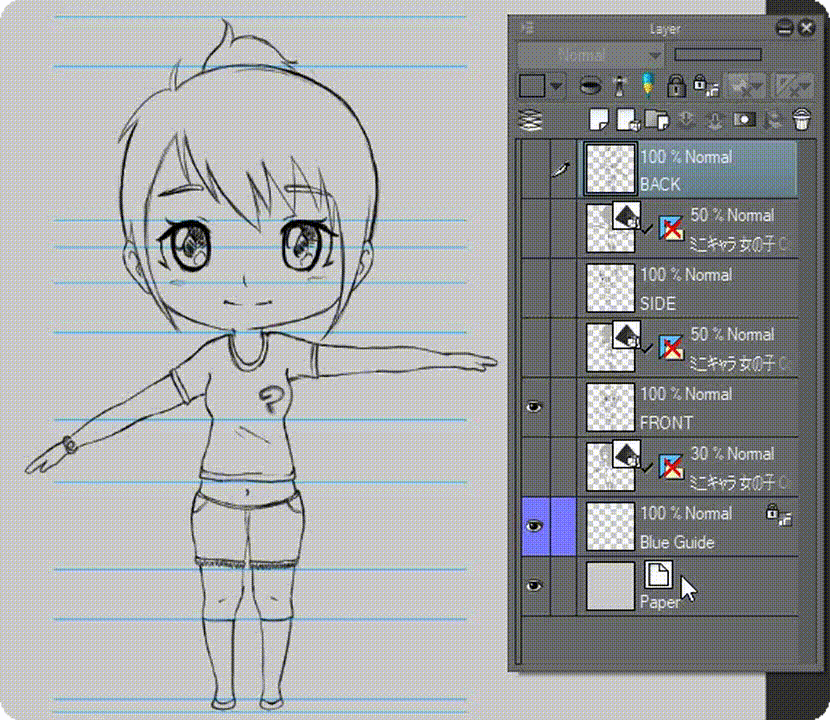
7. TRICK for Turnaround Composition
After done with first sketching of Front view, I use [Direct drawing] ➞ [Straight line] with 2.0 [Brush Size] to add specific marks for character's features as image shown.
For Side view, I usually draw by turning off and on my Front view sketch layer. But thanks to the blue guideline I made earlier, now I can draw efficiently without too much time consuming.
As for another time saving trick; I duplicate my Front view sketch. Turn off the original Front view layer. Using transparency (red box on image above), I remove some unwanted parts then draw the rest to finish my back view.
8. Character Sheet
For this final step, let's prepare our Chibi Character Sheet!
Create New Document, File ➞ New ➞ Canvas: 1500 Width x 1000 Height with 300 Resolution.
▼ If you haven't make a Layer Folder of [Turnaround], please see GIF below.
Now that you have a [Layer Folder] ➞ [Turnaround], copy that folder into your new document (1500 x 1000 pixels) directly and you can use [Layer Move] to carefully separate front, side, and back view as image below ▼
▪ TIPS: Inside [Turnaround Layer Folder], there should be separated 3D Figure layers as well as your sketches. Before finalizing with ink and colors, you could always add something else for details to create your personal concept art design like clothes, accessories, facial expressions, hair styles, etc.
❣ BONUS DOWNLOADABLE CONTENT ❣
As promised; feel free to download my FREE resource! The project file within this whole tutorial has been packed with many content inside: neat and separated 3D Figures thanks to Original Author, variety of pose as well as rendered "Gles" Chibi character you might notice on some of the step-by-step images! ▼
Important Note: there is NO virus or zombie worm inside my (.clip) file using above cloud service. Nothing suspicious nor dangerous; I mean no harm; only sharing my promise to you so that you could work faster if you just need the 3D Turnaround with blue guideline.
この投稿を「いいね!」したユーザー


コメント