How to draw Shoujo Manga Style eyes
Hello everyone!
This is my first video tutorial, and today we’ll be drawing eyes in the shoujo manga style. I grew up reading a lot of shoujo manga, and I love how soft, fluffy, and glowing the eyes look. In this video, I’ll show you how I create that effect using Clip Studio Paint.
Video Tutorial
1) Steps Break Down:
Here’s an overview of all the steps. From start to finish.

2) Tools and Techniques
(A) Pen > Real G Pen
We’ll be using the Real G Pen for the outlines. It gives a traditional manga look with smooth, clean lines.
(B) Hatching > Gauze Cloud / Gauze
We will mainly use Gauze Cloud to do filling, then Gauze to erase/soften the edges. Here’s a quick video example.

(C) Bokeh Brush
I’ll be using this bokeh brush which I downloaded from CSP asset site. The bokeh brush create highlight with different intensity, creating a glowy effect. We will also be working with Tone Effect ( Layer Property ).
Here’s a sample video of the difference between creating highlights on top of a Raster Layer vs A Raster layer with Tone Effect turn on.

(D) Layer Property > Tone Effect
In this tutorial, we will be creating shadows using the Layer Tone effect. Above is a simple diagram showing how layer opacity affects the shades of the screentone.
To understand how Tone effect works, I recommend going through the tutorial below.
3) Let's Get Started
Outline the Upper & Lower Eyelids
Start by opening a new vector layer. I like vector layers because they let me adjust my lines easily.
Next, select Real G-Pen, we will be working mainly with this brush today.
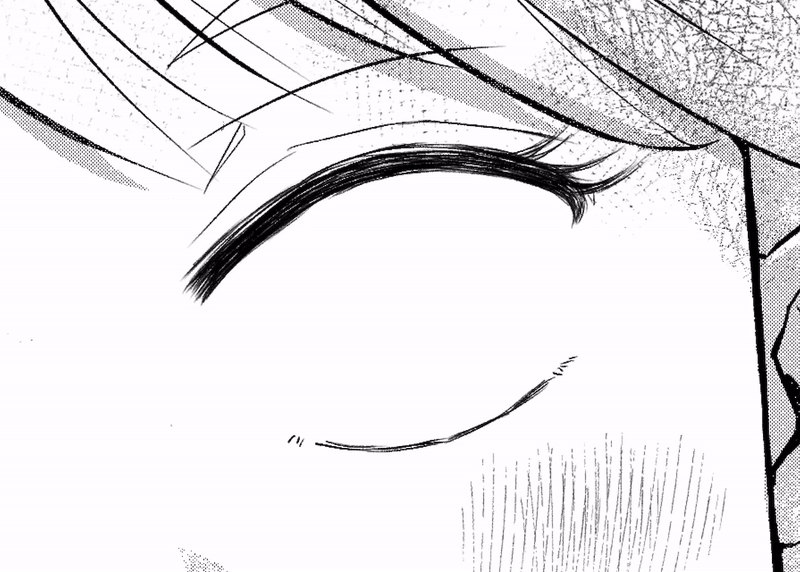
Let’s begin by working on the upper eyelid. Use light, thin lines to slowly draw the outline. This will give the artwork a soft, airy feeling.
You don’t need to be perfect right away. Just build up the lines slowly. Loose lines will help create that soft, glowing look we’re going for.
Last, outline the lower eyelid and we'll work on the iris, collarette, and pupils.
Drawing the iris, collarette, and pupil
Start by lightly outlining the top part of the iris with the Real G Pen.
Next we want to add a soft, fluffy edge around the iris using tiny, delicate lines. To keep everything uniform and round, we'll use the Radial Line ruler to guide us.
Place the ruler in the center of the iris, and the lines will align with it. If it's not centered, you can adjust it with the Object Tool.
Work slowly, varying the length of the lines to give it that soft, airy feel."
Let’s fill in the collarette. Once the lines are done, select the ruler with the Object Tool and press 'Delete' to remove it.
Next, let’s quickly add the pupil. I like to keep it simple—just lines and crosshatching will do.
Fill in the iris and add highlights
Using the Lasso Tool, make a selection around the iris, leaving some extra space around it.
We’ll use the Gauze Cloud Tool to fill in the iris. I want the color to be light, so I’ll lower the brush density. You can also reduce the opacity if needed. Oh! And don’t forget to create a new raster layer for this step.
Lightly fill in the iris, gradually building up a darker color at the top.
Now, with the Gauze Tool, select the transparent color swatch.
Using a smaller brush, gently soften/erase the edges. This will give the iris a glowy effect.
Let’s move on to adding highlights and glitters to the iris. Create a new raster layer, turn on clipping to clip to the layer below.
Go to layer property > turn on tone. Set frequency to you liking, I normally go with 70 or 85.
Next, select the bokeh brush that we will use to create highlights with.
Gradually build up the highlights and glitter, keeping the top darker while concentrating the brighter highlights towards the bottom.
⭐ You can experiment with different brushes to your liking. Below are the link to the brushes I use above.
Our iris is almost done! Now let’s move on to add highlights and reflections!
Add highlights and reflections
Using the Mapping Pen, add highlights and reflections in white on a new raster layer.
Since eyes are reflective, there are no strict rules for where to place the reflections—just follow your instincts!
Our iris is now complete! =D It’s already looking soft and glowy, isn’t it? Now, let's move on to the final step.
Adding Shadows
Create a new raster layer above, enable Tone Layer, and adjust the frequency to your preference.
Lower the opacity so the tone shows through while we paint in black. (More details on the tutorial’s page.)
Using the Mapping Pen, add shadows around the creases of the eye, below the upper eyelid, and along the lower eyelid.r
Make sure to paint over the eyelid too, as we'll scrape the tone later to soften the edges along the eyelid outline.
Here’s the eyes completed with shadow. We will now proceed to our last step!
Select the Gauze Cloud brush / Gauze brush, choose white as your brush color.
Gradually soften the edges to create a soft, glowing blur.
⭐ Painting on top of the eyelid will also soften the dark outline, giving more dimensions to it.
And we are done! A soft, glowing shoujo manga eye, full of life!
4) Final Artwork
Close up!
I hope you enjoyed the tutorial. Thank you for following till the end!


留言