
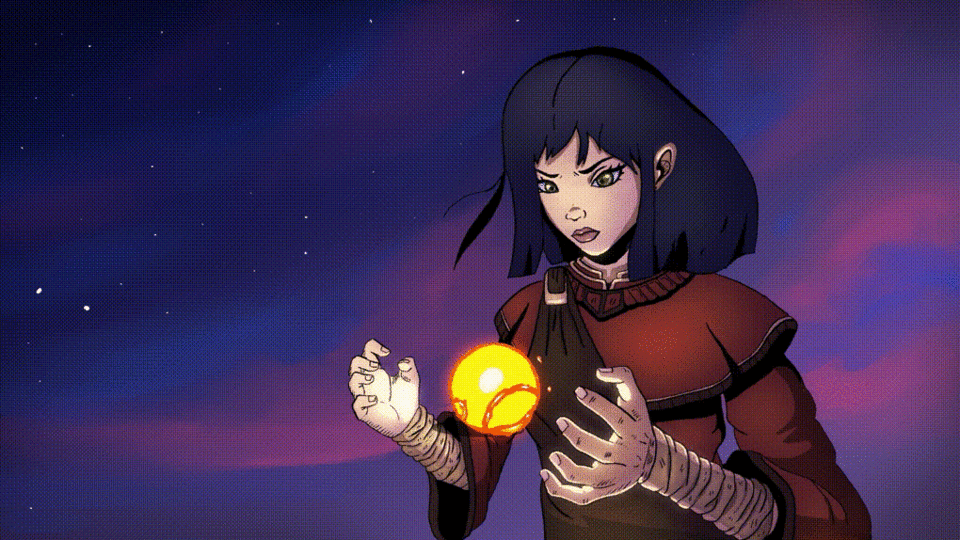
hello, this time we will see how to make a special effect of fire, here in clip studio Paint.
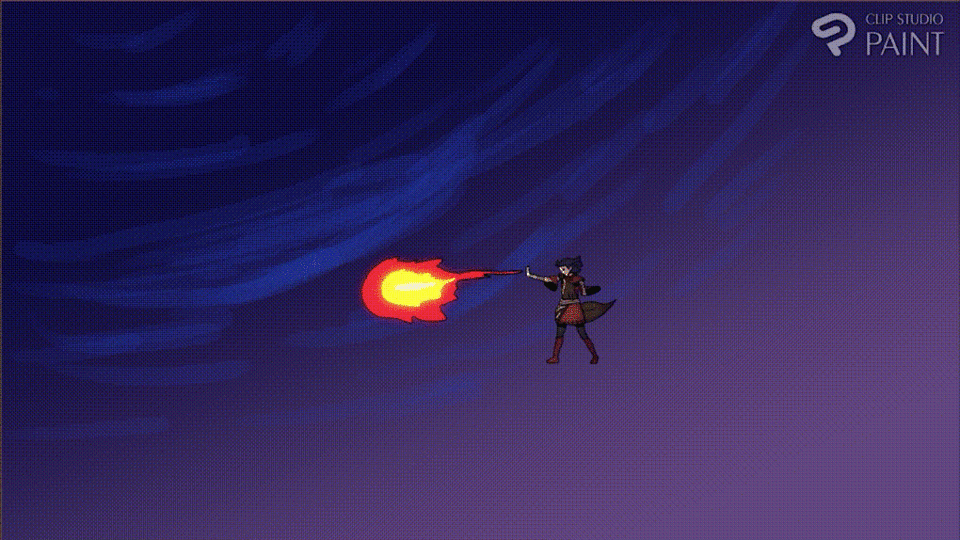
We will be making this animation
Video Tutorial
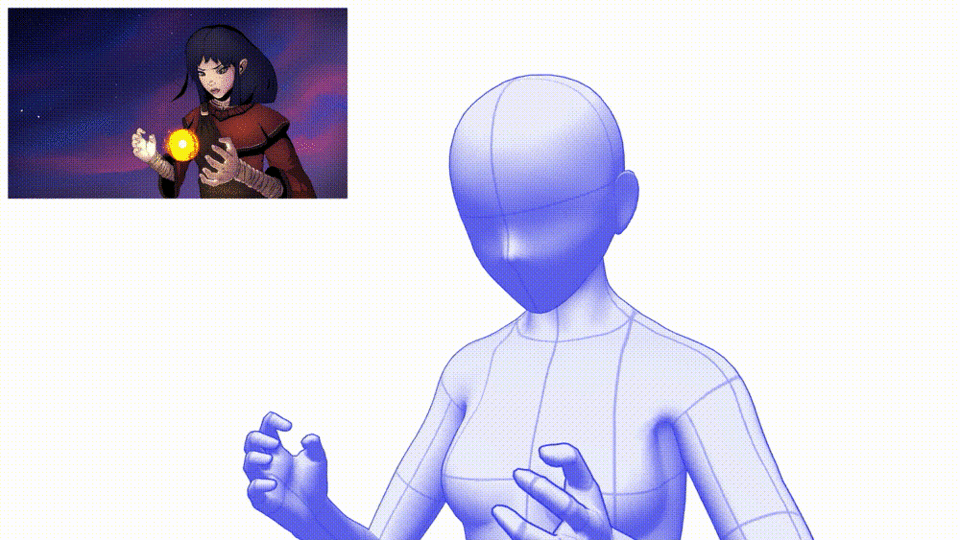
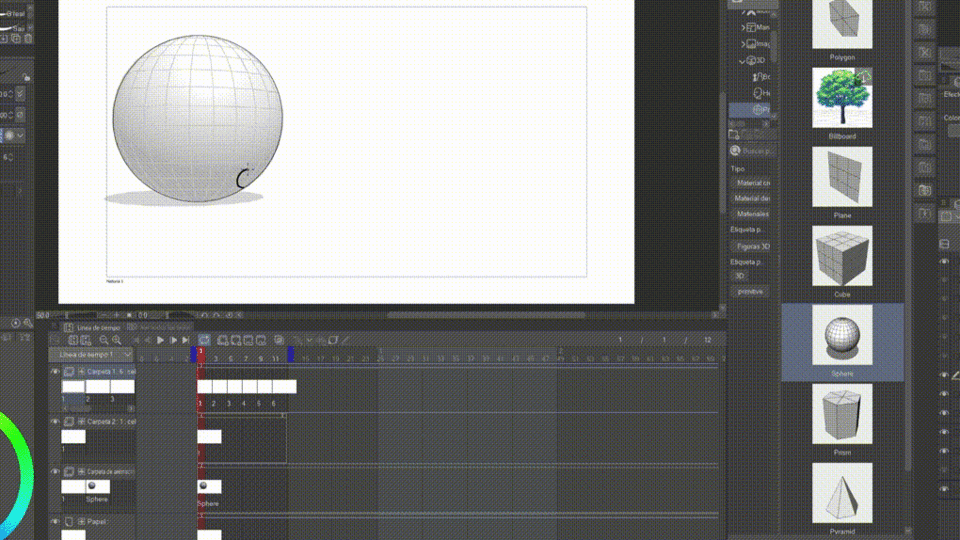
3d figure animation
First of all we need a reference of an animated character, for this we drag our female mannequin to the time line and create a new animation cel for each pose. Using the controllers and activating the onion skin we will refine the character's movements.

reference animation
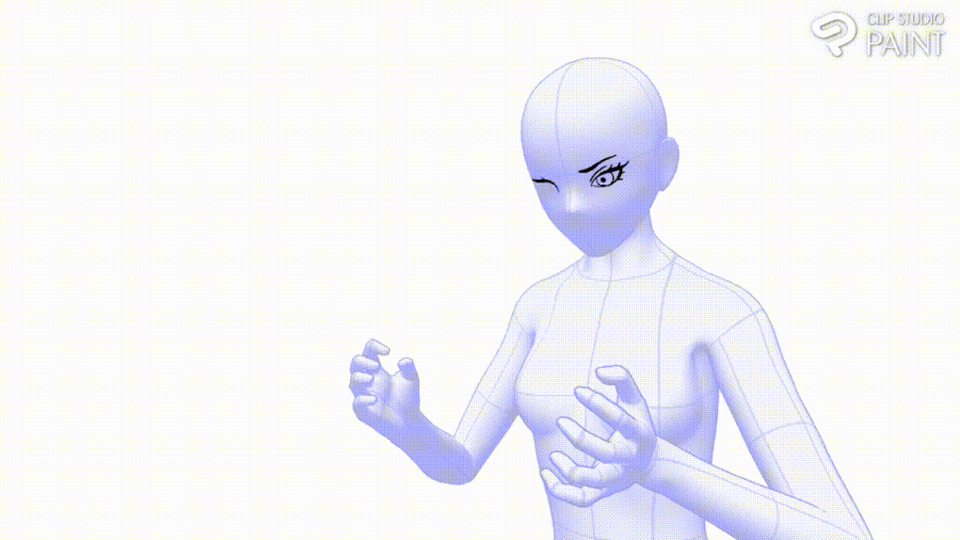
Once the animation of our 3d figure is finished, we create a new folder and animation cel to directly perform the line art on the reference figure, we animate each element in a cycle that is repeated several times and then continue with the color process
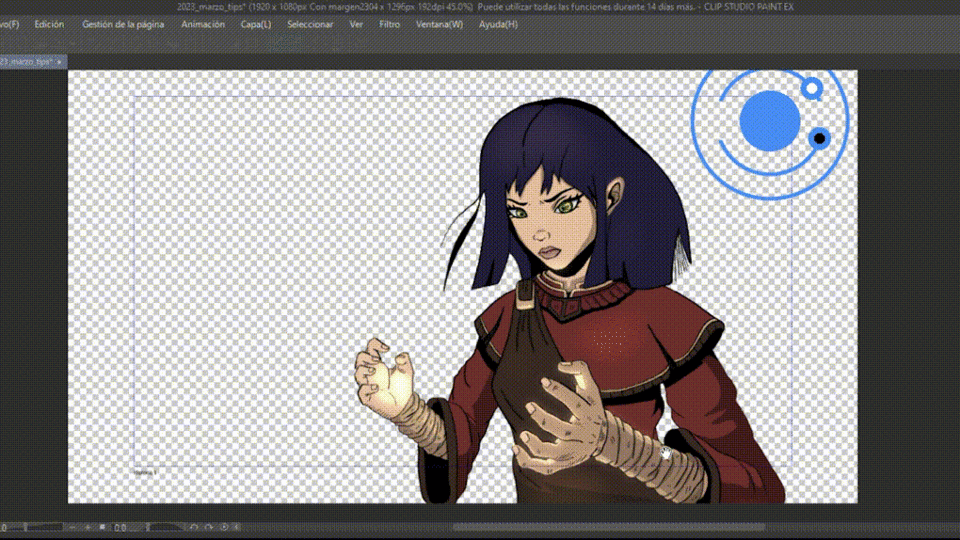
To finish off the color process, I've added light and shadow using the new feature, automatic shading, in Clip Studio Paint version 2.0.
Once the animation, line art, color, and shading process is finished, we are ready to continue with the special effects, in this case it is a ball of fire that is concentrated in the palm of the character's hand and then thrown with a lot of power, according to its movements.
VFX animation 2d fire
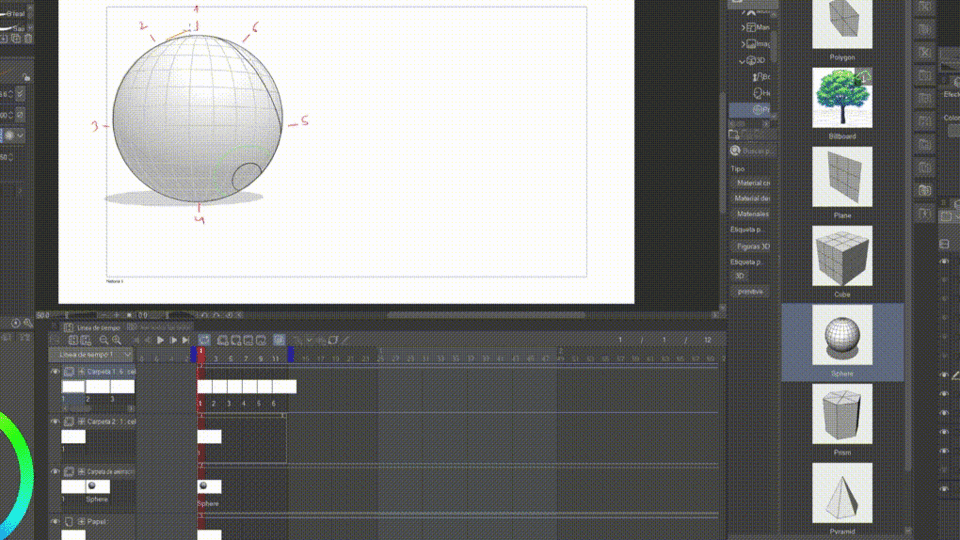
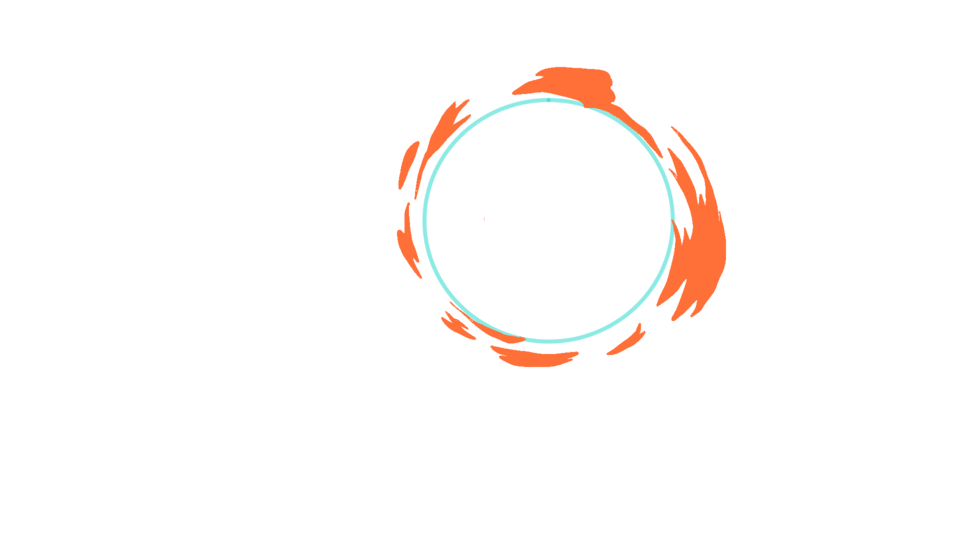
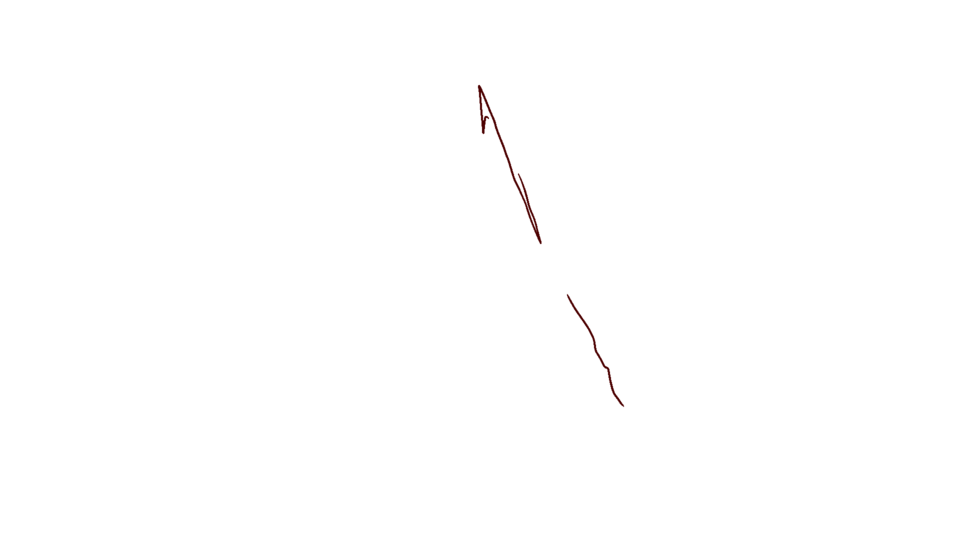
To make the energy ball, we're going to start with very basic shapes and lines, so we're going to create a six-frame animation loop that will repeat almost throughout the entire video.
the lines can be random, but in this case we will do it this way.
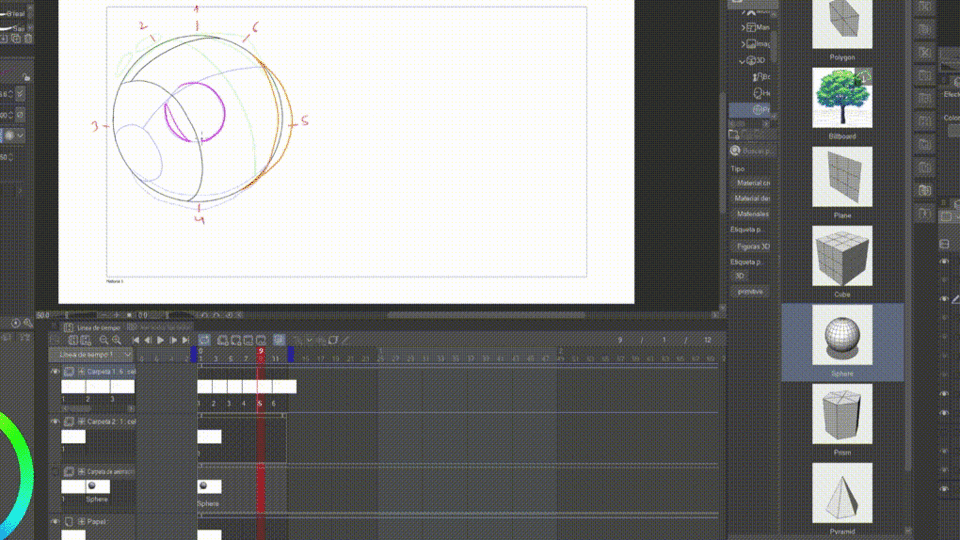
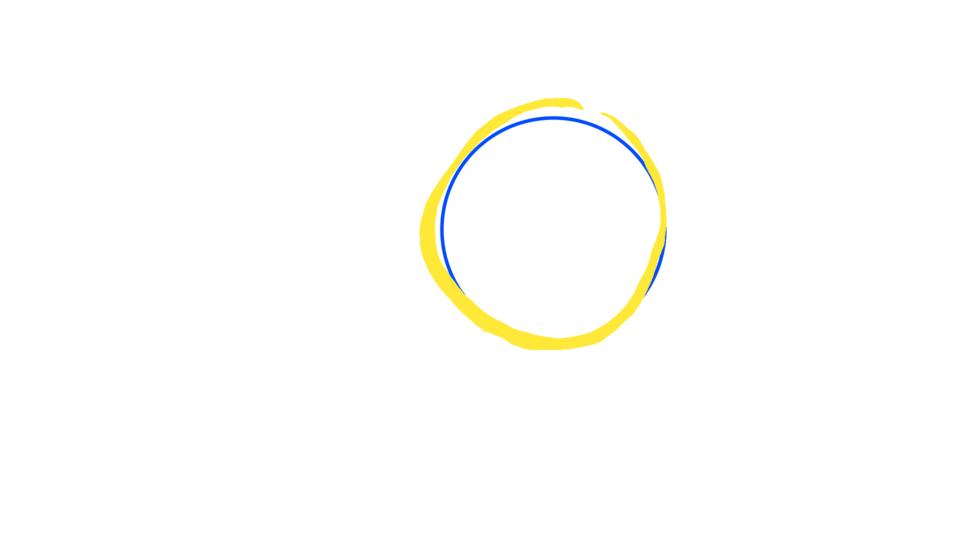
We will draw the same lines from the other end and to vary a bit, we will start from the third frame, we will distribute the frames in six parts, the spacing of the distribution is also at our own discretion and little by little we add more details such as undulations and others. we add even more details.

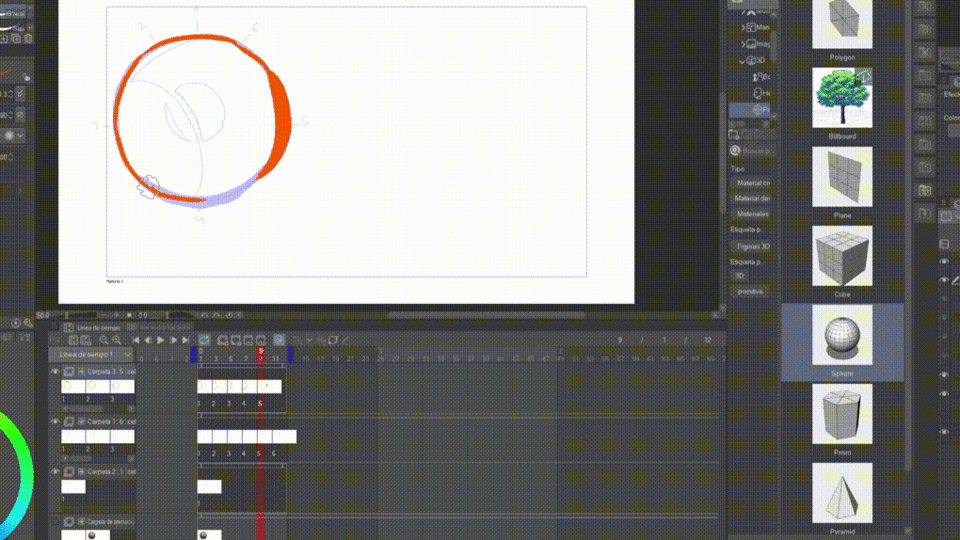
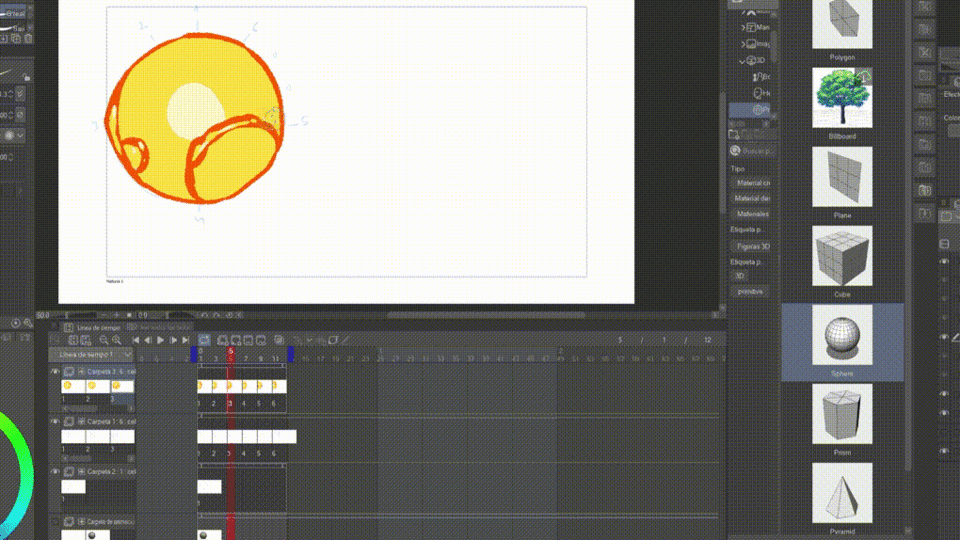
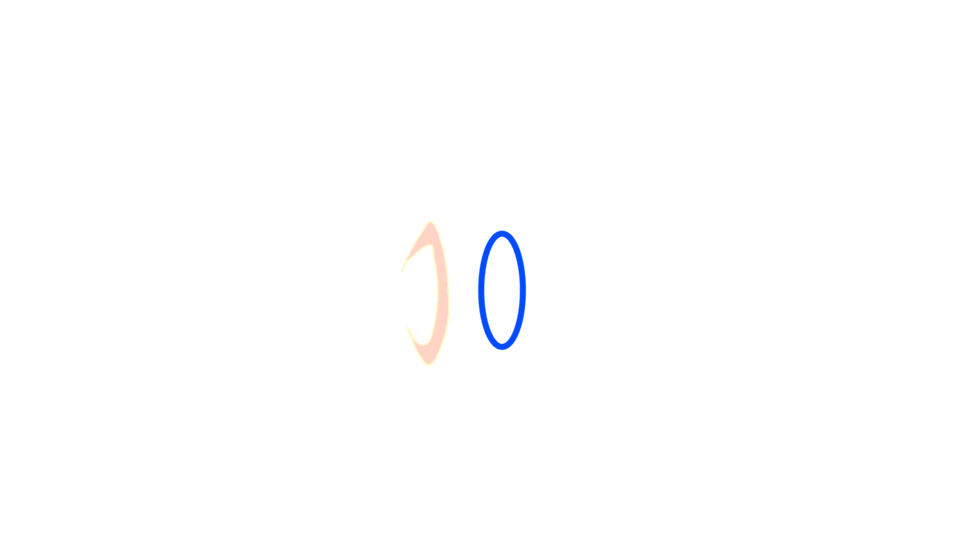
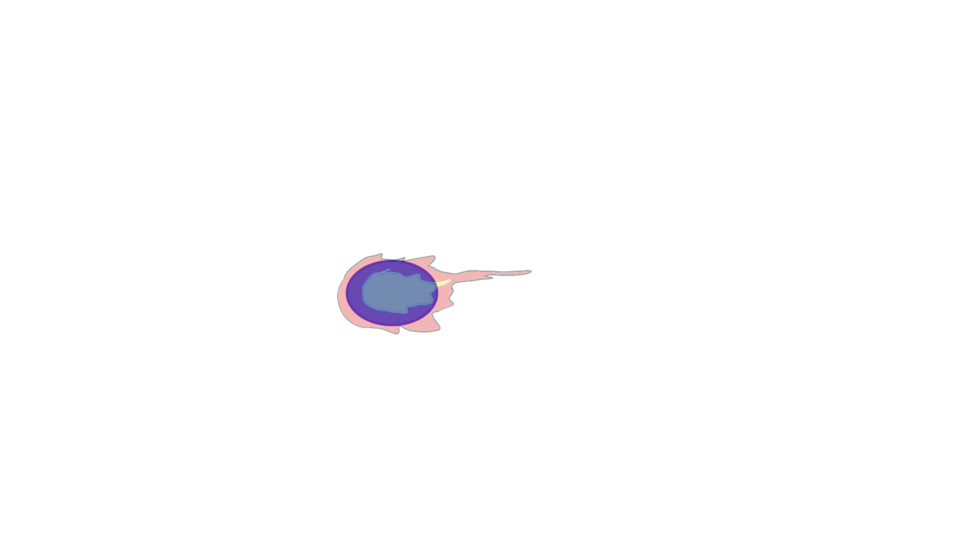
Now we have to reduce the opacity of the animation folder to fifty percent, we choose an orange color and we outline above the guide lines created in the same outlined layer we choose the paint bucket, with a yellow color we fill the empty areas inside of the sphere, we also paint the center of the sphere with a white color.
we add more white only in some yellow parts, in this way we combine the characteristic colors of fire.
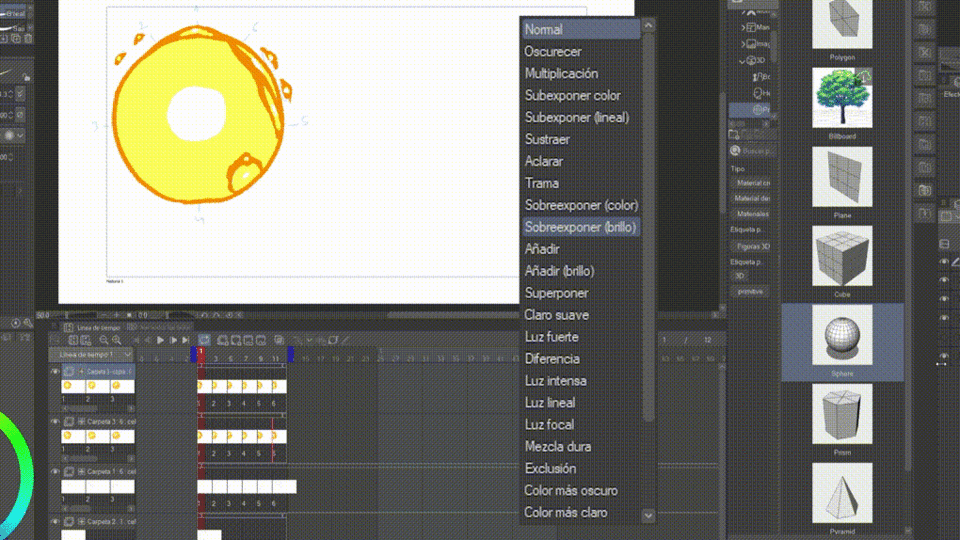
Having finished this animation cycle, we duplicate the layer, in blending options, we choose. on expose brightness, finally, we select the layer, one by one to add a Gaussian blur filter at 40 percent,
we add another glow with an orange color and in blending mode we select, pattern.
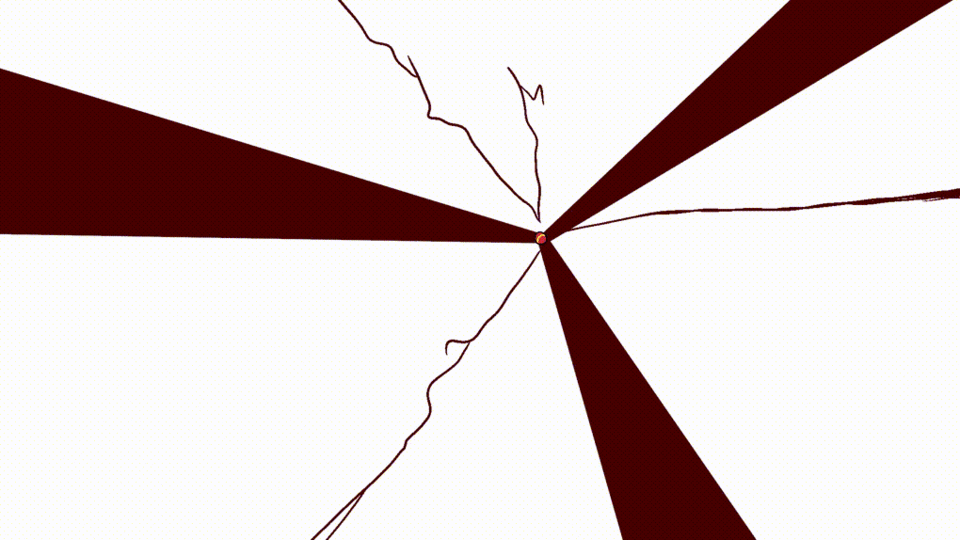
We can see that the structure contains very basic figures and lines, as well as in the following examples:
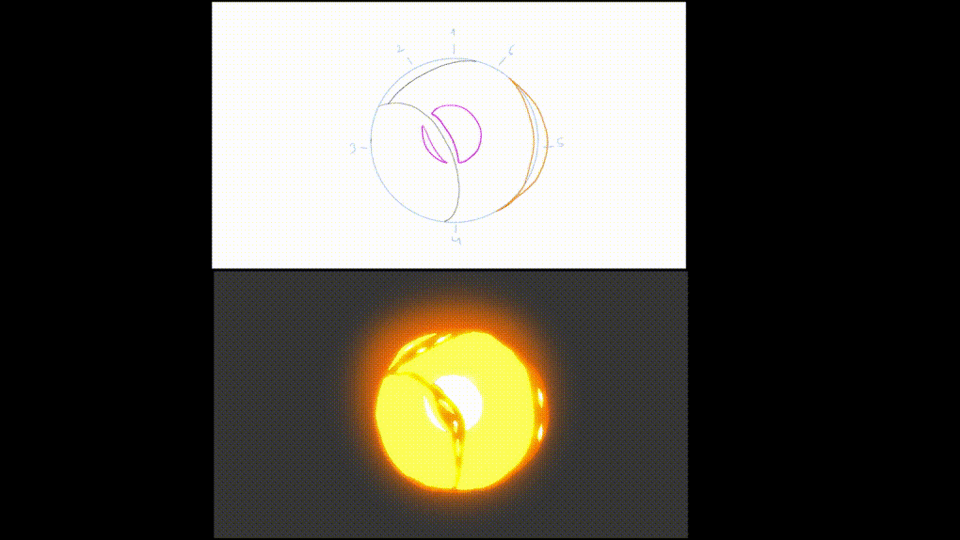
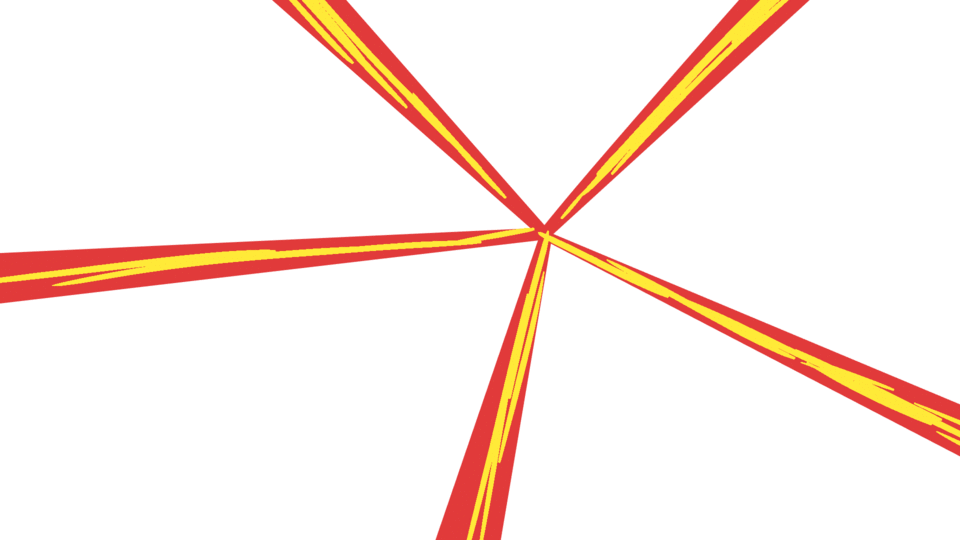

If we look carefully, there are only several very short animations with very few frames, in some cases there are three, six or ten frames, which when we put everything together in a single composition something impressive happens, at first glance it looks very complex, although in reality it only they are a set of several small animations at the same time.
Let's watch it in slow motion.

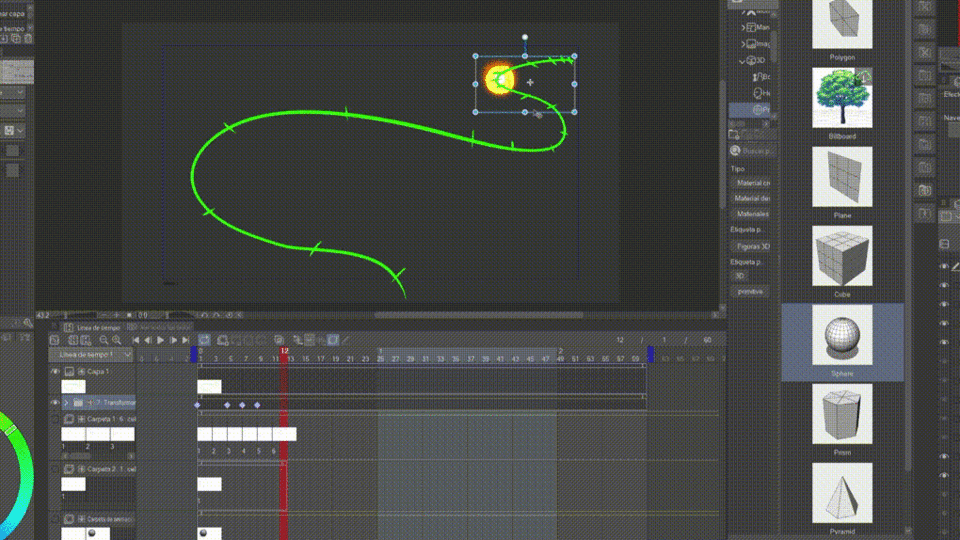
Combination of frame-by-frame animation with tween animation
for the next scene, we simply copy and paste the loop of animation already done, as many times as we need in the timeline.
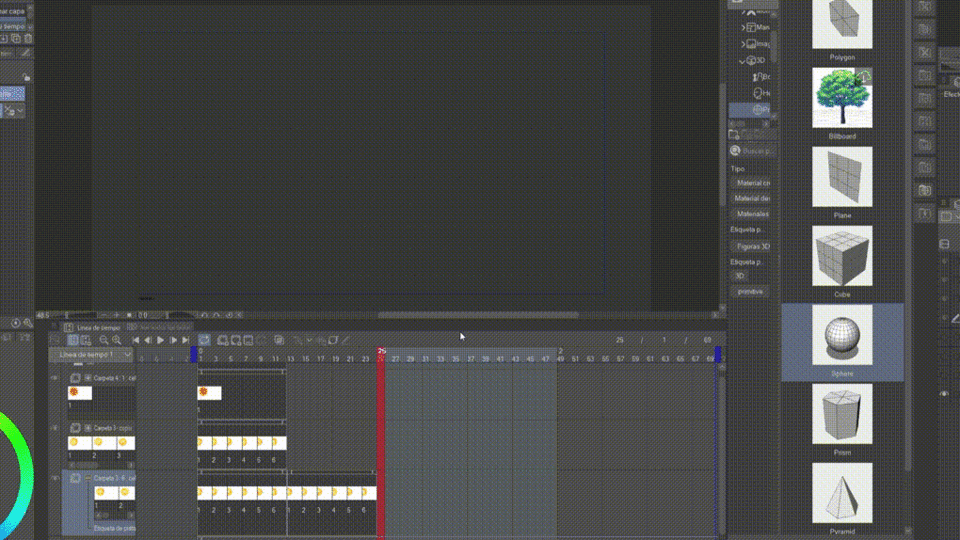
Now we can combine frame-by-frame animation with keyframed tween animation by ordering and placing all the animation layers in a single folder, to proceed with keyframed animation. we quickly draw a guide path with the spacing, remember, the closer the frames are, the feeling of slow motion is, and the further apart the frames are from each other, it gives us a feeling of fast movement.
and this is the final result of our combination of frame by frame animation and animation by tweens.
To finish our audio visual product, we quickly paint a simple landscape for all the shots and we will finish adding sound effects and thus give the animation even more impact.
I hope this instructive video has been useful to you, we will see you in a next opportunity
Thank you very much for your attention.
Users who liked this post


Comment