Using filters and layer modes for a vintage photo effect
It might seem easy to get a vintage photo effect in your digital art, and it kinda is! You can throw on a light sepia filter and call it a day, but to really knock socks off with your art, there are a few tricks you can use to make your art seem like it was taken with a Polaroid.
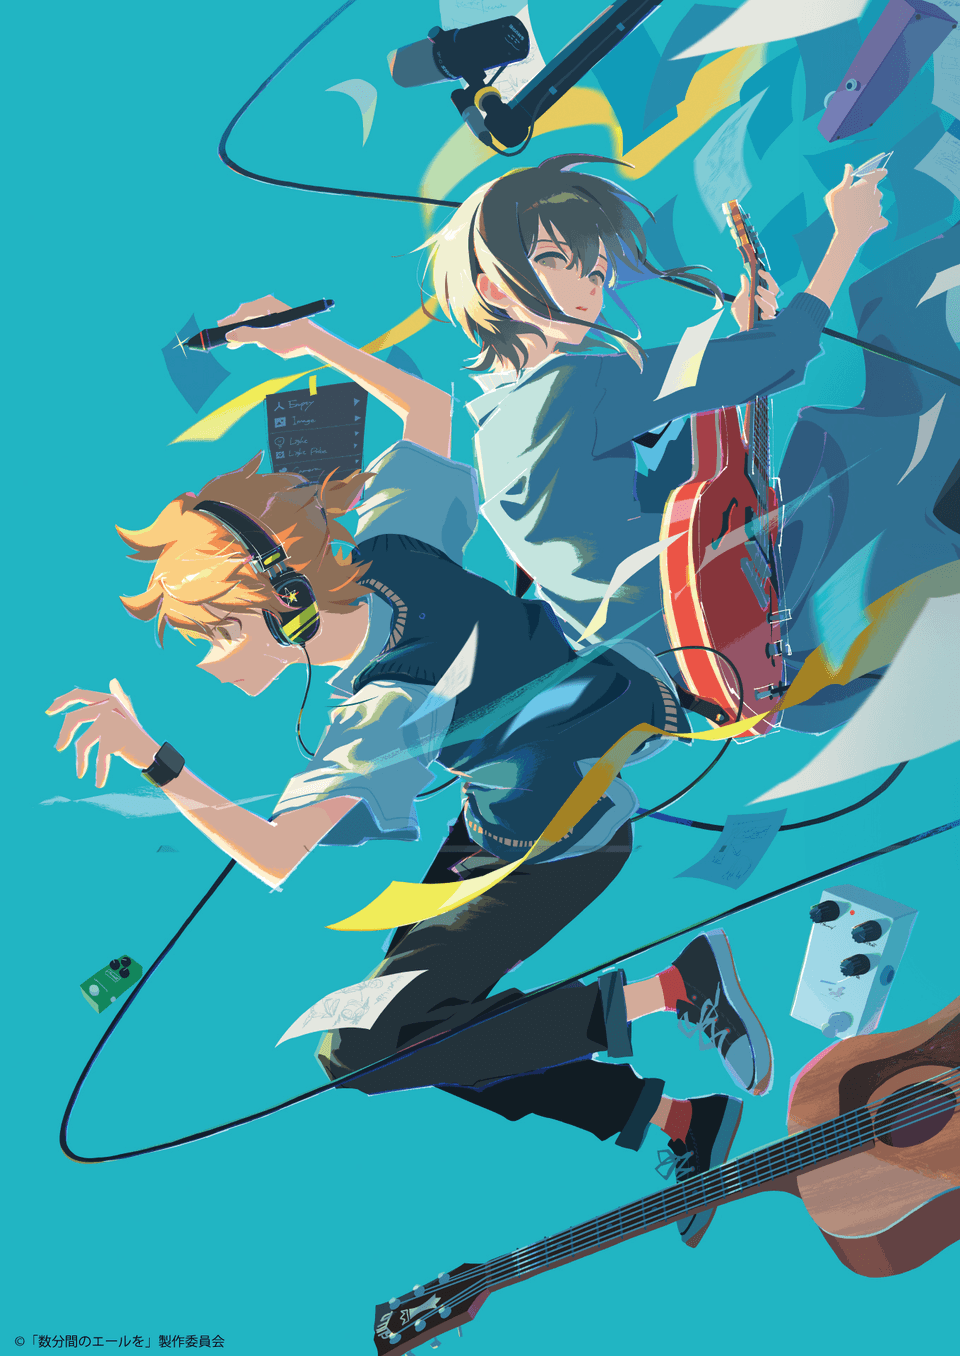
The art piece I’m using is already set up for the final product. To prepare, I split the elements into three separate parts - foreground, middle ground, and background. I also made sure to incorporate less detail into each receding layer, since older cameras focus harshly on a specific object.
Another trick I used to prepare for a better effect is a “washout” layer. In each folder, I included a layer on lighten mode and airbrushed some white over all the colors. The foreground has the least intense washout, while the background has the most - another effect of the harsh focus. Below is the piece without washout layers.
The second step to a good old-fashioned photo effect is noise and chromatic aberration. In order to achieve the proper effect, use only about three strength chromatic aberration on linear, while slowly increasing the noise level for the three layer groups from foreground to background. This will ensure that the layers furthest back will look the grainiest. If the effect looks somewhat off, adding gaussian blur to the middle and background also helps. Start the noise for the foreground no higher than fifteen, and make sure the noise mode is set to color (it should already be there automatically.)
Noise and chromatic aberration effects can be found in Filter > Effect, while gaussian blur is in Filter > Blur. Be warned - the more layers you have, the longer this takes, since you can’t apply effects to more than one layer at once.
The image after adding noise and blur:
The image after adding chromatic aberration:
After the blur, noise and chromatic aberrations are added, we can already see the effect starting to take shape, but there are a few more steps we can take to make the effect more interesting - vignette and sepia filters. Adding vignette is easy, just a simple black airbrush on low opacity around the border of each layer. This can also help to separate foreground elements from the background.
The image after placing two 30% opacity vignettes over the back and middleground layers:
The final thing to add is super easy - painting a big orange blob over every layer of the image with the airbrush. Make sure this layer is set to approximately 30% and color dodge mode.
And we’re done! An effectively retro-fied art piece. Keep in mind not all of these steps are necessary; the final product might look incomplete without them, but art is subjective and your piece might look better without chromatic aberration or a vignette.
Thanks for sticking around to the end and I’ll see you in the next one!


Comment