Introducing layer functions for digital beginners!
Hello.
This time, I would like to explain and introduce the layer functions as easily and easily as possible for beginners or beginners who say, "I have never drawn a picture digitally!"
Please remember that layers are a vital feature of digital illustrations.
Prepare
First of all, it is a little preparation, but if you can not find the window called layer when you open Crysta, you can put it out by "layer" from the above "window", so please be sure to display it.
Below, although the content is the same as this article, we have also created a video.
There is also an explanation in some videos, so please have a look if you like.
▼ Video
What is a layer?
First of all, the story is "What is a layer?", But a layer is an English word that means "layer" or "layer".
In CLIP STUDIO PAINT, transparent papers are overlapped so that the top is the front and the bottom is the back.
Layer selection
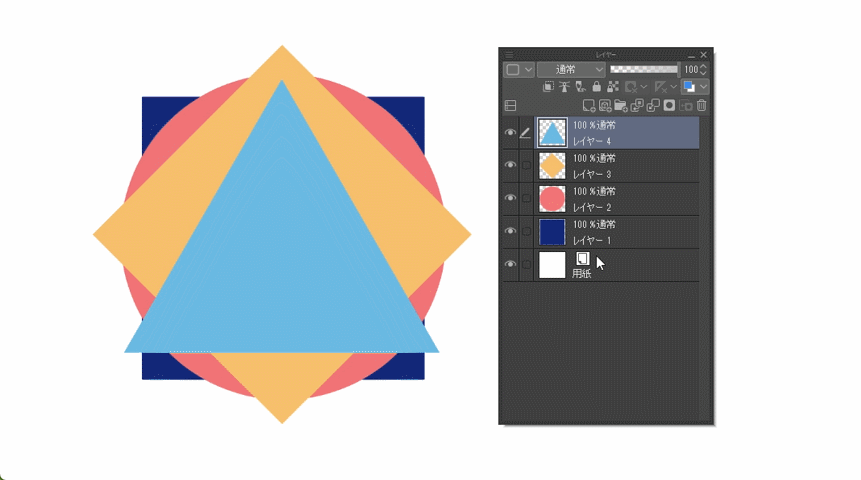
Click on any layer and the color will change to light blue. The layer whose color has changed indicates "selected state".
If you draw a picture on the canvas with any layer selected, it will be drawn on that layer.
When selecting multiple layers, you can select a range such as "from here to here" by holding down Shift on the keyboard and clicking on another layer, and you can select each layer individually by holding down Ctrl. increase.
You can also make multiple selections by clicking the blank checkboxes on the left side of the layer.
If you select multiple layers, you can move them at the same time or transform them at the same time.
Also, when multiple layers are selected, the one with the darkest color and the pencil icon is the reference layer for the first selected layer.
Even if you select multiple layers, you can draw a picture on only one of the criteria, and when you combine layers that appear later, they will be combined with this criteria layer, so you can select which layer you want to draw. Always keep in mind if you are there.
Add, remove, type layers
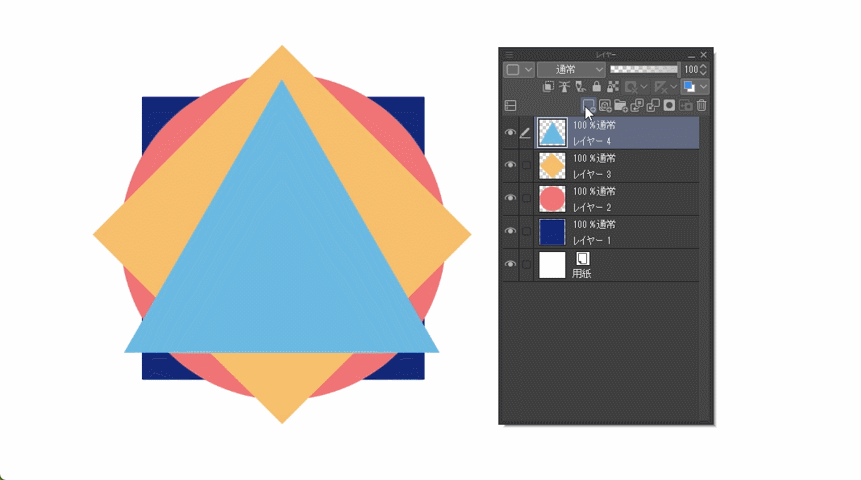
Click the icon "New raster layer" at the bottom left to add a layer.
Click the trash can icon on the far right to delete the selected layer.
You can also delete it by dragging the layer and releasing it above the trash can icon.
In addition to the "raster layer" added earlier, there are many types such as vector layers, color correction layers, layer folders, and the bottom "paper" from the beginning, but the basic layer is this "raster layer". So, at first, if you can use only this layer, you can draw a picture without any problem.
Layers other than the raster layer have icons, so please distinguish them.
Representation, non-representation
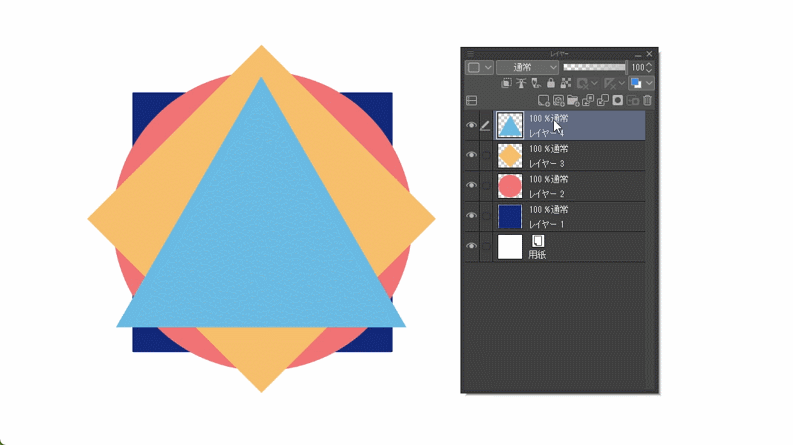
You can hide the layer by clicking the eye icon displayed on the left side of the layer.
You can change it all at once by dragging from the top, or if you click while holding down the Alt key (Option on Mac), only the clicked layer will be displayed.
Combine
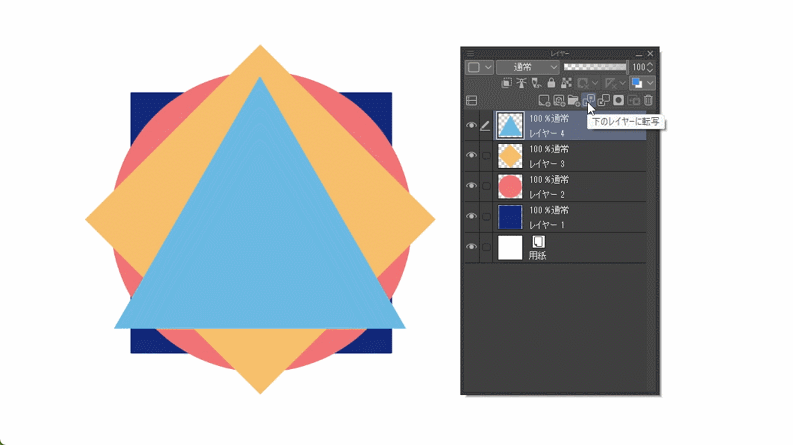
There are various ways to combine layers.
On the layer window, there is a button to "transfer" to the lower layer and a button to "combine" with the lower layer.
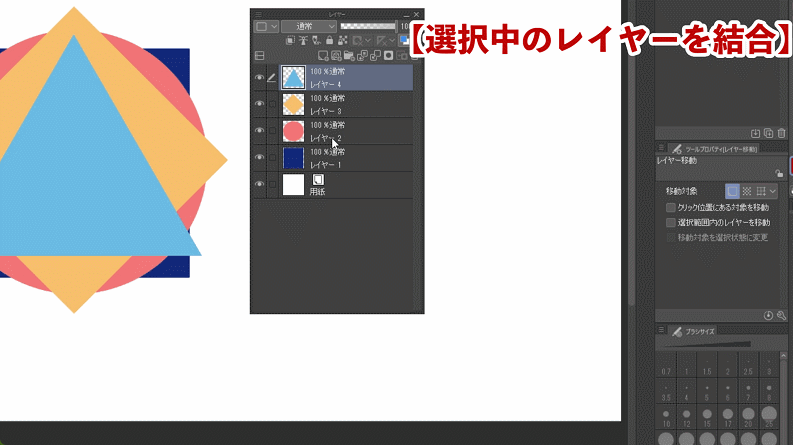
There are various other combining methods such as "Combine selected layers", "Combine display layers", "Combine copies of display layers", and "Merge images" by right-clicking on a layer. Please use it properly.
copy
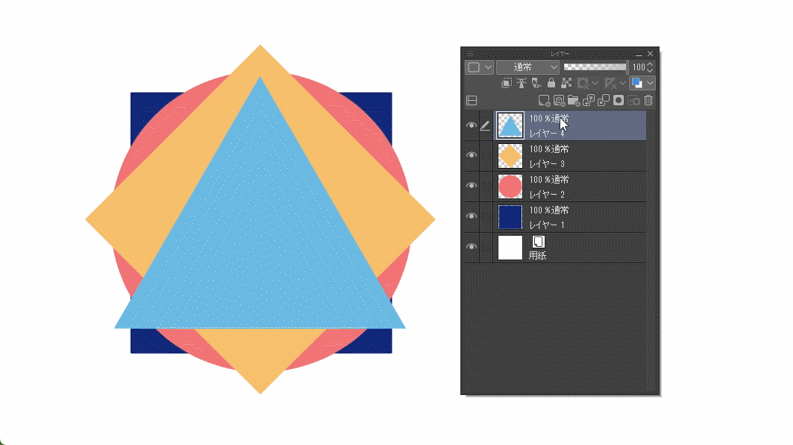
If you want to duplicate a layer, right-click on the layer you want to duplicate and click "Duplicate Layer".
However, you can also drag the layer you want to duplicate and bring it to the "New raster layer" icon and release it, or drag the layer you want to duplicate while holding down Alt (Option on Mac) and shift it. You can.
As I mentioned, it is quite troublesome to right-click and duplicate each time, so it is recommended to register either of the latter two or shortcut keys.
Layer folder
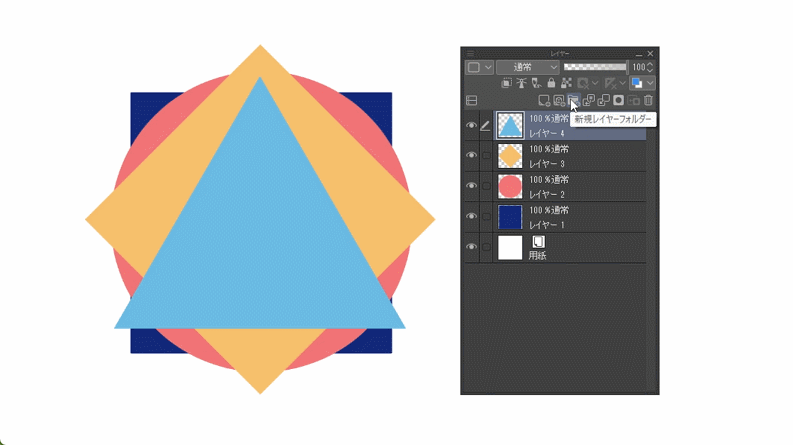
Layer folders are useful when you don't want to combine multiple layers but want to combine them.
Click the "New Layer Folder" icon above to create an empty folder.
You can close or open the folder by clicking the arrow on the right side of this folder.
If you select a folder, make it open, and add a "new layer", a new layer will be automatically added to that folder.
You can also move an existing layer into the folder by dragging it onto the folder.
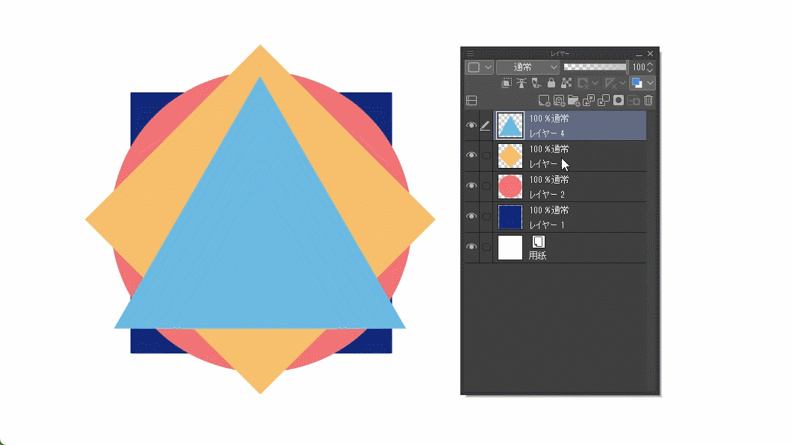
If you want to combine existing layers into a folder, right-click with all the layers you want to combine selected and click "Create folder and insert layer" to store the selected layers in one folder.
Just like when deleting or duplicating, you can combine the layers you want to put in the folder into a folder just by dragging them onto the "New Layer Folder" icon.
If you put them together in a folder, you can move, transform, and hide the layers in them all at once, and the appearance will be neat and tidy, so please use it.
clipping
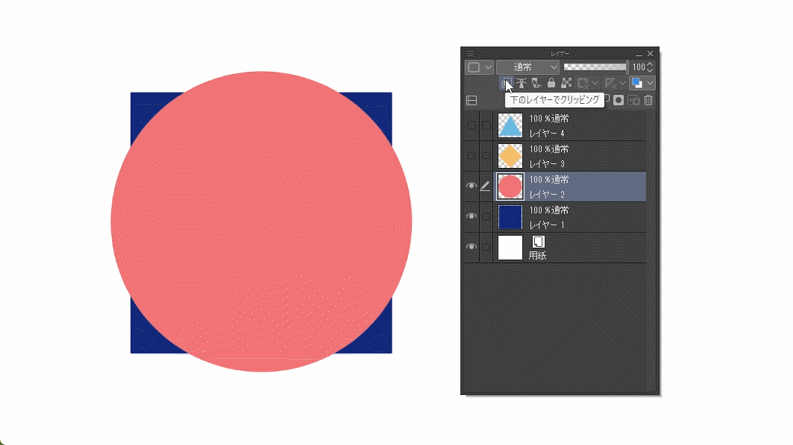
From here on, it will be a little more specialized, but it is a very convenient and frequently used function, so please try to master it.
Clipping is the icon on the far left of the upper layer of the layer window, and it is a function to cut out and display it in the form drawn on the lower layer.
The outside part does not disappear, so if you remove the clipping, you can see the outside part as well.
If you stack multiple layers that are clipping, they will all be clipped based on the bottom layer.
I don't want to go out of this range, whether it's shadow painting or gradation! It is a function that can be used at such times.
Opacity
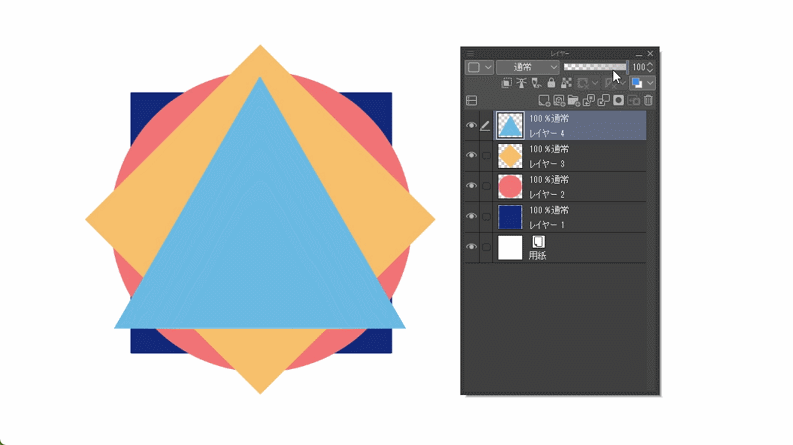
You can adjust the opacity of the layer with the parameters in the upper right.
When it is 100% on the far right, it is opaque, and when it is 0% on the far left, it is transparent.
If you use the opacity of this layer to adjust the color that is too dark, or if you lower the opacity when using it as a draft, you will get an accident that "I accidentally put the pen in the same layer as the draft!" You can prevent it.
Layer lock, transparent pixel lock
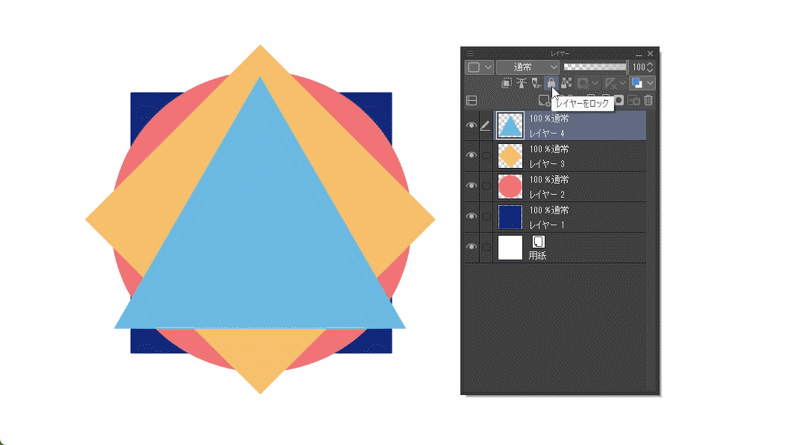
Layers have two lock functions.
The first is a complete lock that makes it impossible to draw anything on that layer, and the second is a transparent pixel lock function that allows you to draw where you have already drawn, but not where nothing is drawn. ..
With the full lock feature, you won't be able to draw anything, and you won't be able to mess with other layer features such as opacity, clipping, and later but composite mode. If you find a layer that you definitely don't want to mess with, try using it.
Locking the second transparent pixel can be used in a similar way to clipping. The difference from clipping is that the layers are the same and you can't draw on the outer part that isn't drawn. You can use it when you want to change the color of the line art, or when you don't bother to create a new layer and clip it.
Composite mode
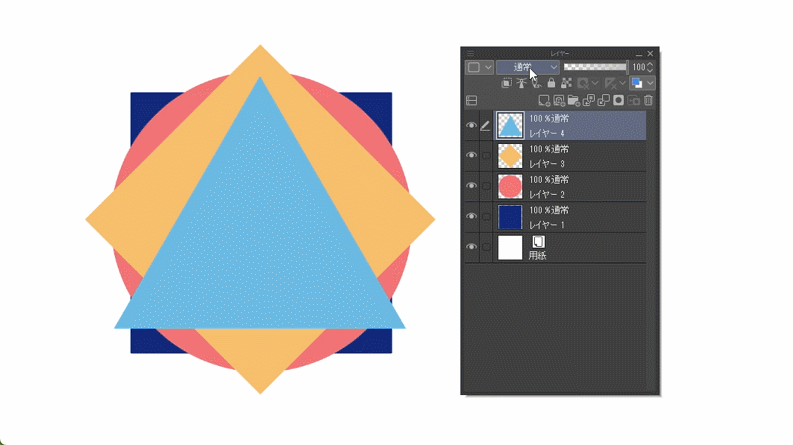
Layers have a function called compositing mode, which is different in how they look when overlapping colors, and is like a filter in photo processing.
There are 28 types of compositing modes, such as a mode that makes it darker, a mode that emits bright light, and a mode that changes colors dramatically.
If you can understand and master the characteristics of each one, the world will expand considerably, but in fact, not many people fully understand and use the synthesis mode, so there is no problem even if you do not understand it.
To give a brief explanation, these compositing modes are usually divided into characteristics such as darkening effect, brightening effect, contrast / comparison system, and color change in order from the top.
Of these, the five most commonly used, easy-to-use and personally recommended compositing modes are "multiplication," "burning (linear)," "screen," "addition (light emission)," and "overlay."
"Multiply" and "Burn (Linear)" are darkening compositing modes and are often used to represent shadows. In general, "multiplication" is frequently used and versatile, and "burning (linear)" is stronger and darker than multiplication.
On the other hand, "screen" and "addition (emission)" are brightening composite modes and are often used to express light. As with multiplication and burning (linear), the screen is not very quirky, and addition (emission) is suitable for expressing stronger gloss.
Finally, "Overlay" is a slightly quirky compositing mode where bright colors make it brighter and dark colors make it darker.
It is a synthetic mode that is often used in processing, and is often used in the final finishing stage, such as when you want to add a little color or when you want to enhance the impression of color.
It may be difficult to imagine what kind of color it will be, and it may be difficult to use it, but it is a synthetic mode that looks great when used well.
If you are interested in other compositing modes, please refer to the article that I have published the same content as the full commentary video of compositing mode before.
Practice
(↑ It is designed to be played from the place of practice!)
Finally, I will introduce how to actually use the layer function introduced so far.
Please forgive me for the fact that the content is for those who have drawn illustrations even among digital beginners from the illustrations I am drawing.
in conclusion
Thank you for watching so far!
I introduced mainly the basic operations because it is for beginners, but how was it?
If you can use all of these functions, you will be a beginner in layer operation, so please use up the digital functions!


Comment