Simple Shading Using Lasso Fill and Curves
Learn how to quickly shade your sketches with the Lasso Fill tool and Curve adjustment layers!
Get my "Custom Brush and Tool Icons for Clip Studio Paint" (featured in the video, but not required to implement the technique):
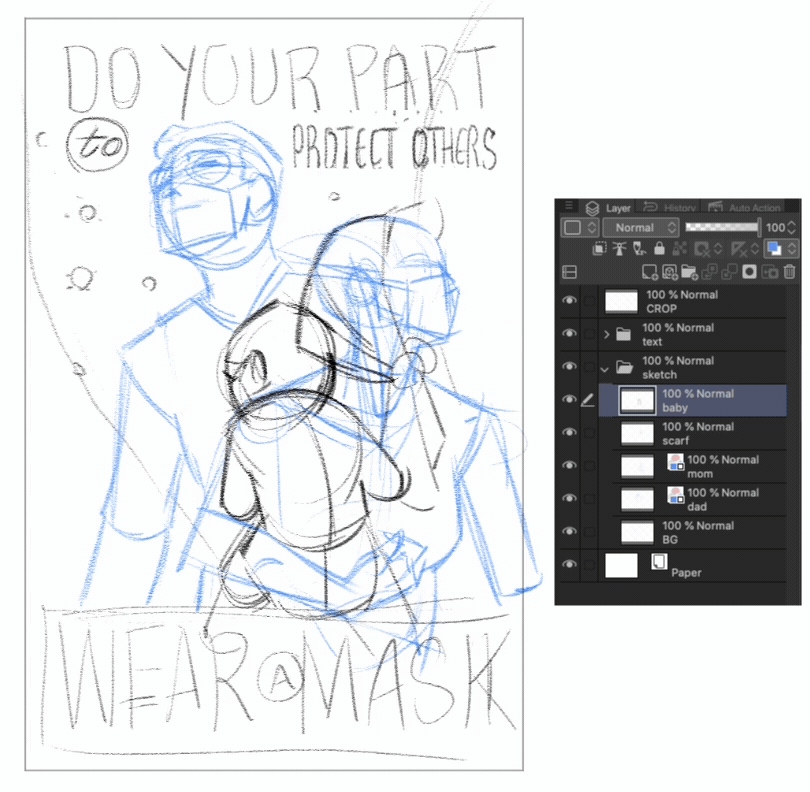
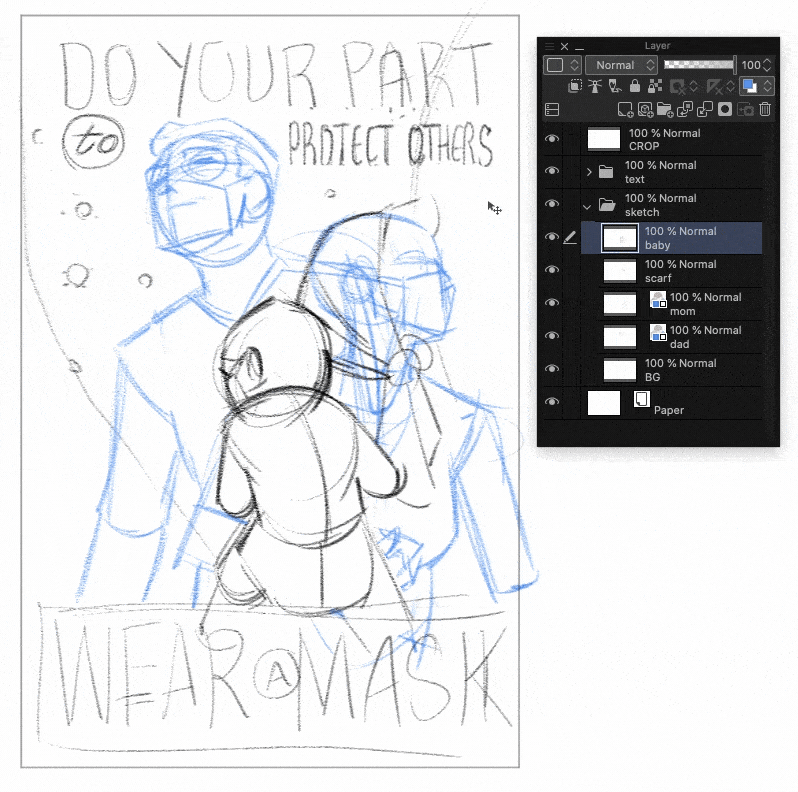
PROBLEM: Sometimes it's hard to focus on composition when the lines of various sketches overlap each other.
You could add masks to hide parts of your sketch, but this can start to get in the way when you want to move overlapping elements around. You could aso delete parts of your sketch, but this is destructive.
SOLUTION: Use the Lasso Fill tool to add white backgrounds to layer elements to create easy-to-read silhouettes.
Use Lasso Fill to create solid backgrounds
1) Duplicate the "Lasso fill" tool (Direct Draw category)
2) Rename it to "Lasso fill Multiply"
3) Change the Blending mode to "Multiply"
4) [OPTIONAL] Add a custom icon to identify it : https://gum.co/custom-icons
5) Select your new Lasso fill Multiply tool
6) Select pure white as your color
7) Create your selection, and done! You now have a white background on that layer.

You can go back to transparent lines by selecting:
Edit > Convert Brightness to opacity
Simple shading:
Now that the layer has a background, you can use adjustment layers to add simple tones and shading.
• Use Hue/Saturation/Luminosity to add a basic tone
• Use Curves to add shadows (delete the mask, then paint in the shadow)

Watch the video for more tips!
See the YouTube video above for a slower, more detailed demonstration and for more tips using this technique!


留言