Let's Make Simple Animation with 3D Figure in CSP!
Welcome to this Tutorial! You can create a Simple Animation with the help of 3D Figure.
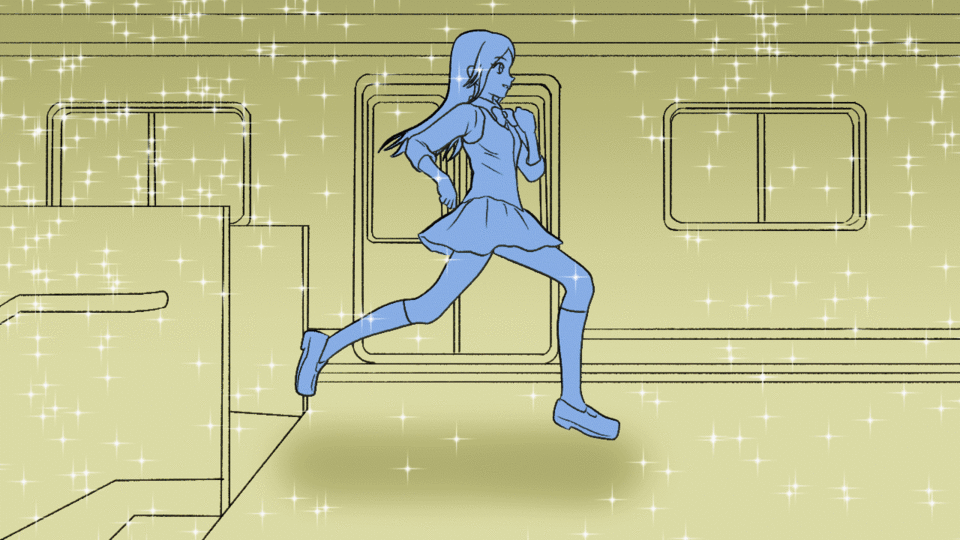
I use the School Girl to create a Running Animation which ends with an hug between her and School Boy.
You only need Clip Studio Paint and a bit of patience!
Let's go!
Part 1
-Create New Animation File
-Drag and Drop the School Girl Model
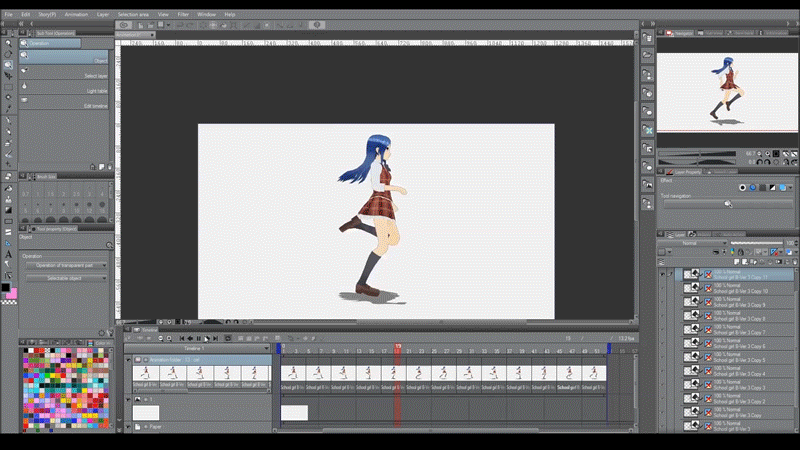
-Edit the pose
-Duplicate the First School Girl Model Layer
-Set Opacity of First Layer
-Edit the pose of Second Layer of 3D School Girl
Now You have 2 Frames of Running Animation
Repeat the same step for other Frames, as many as You like
Tips: Create a Loop Running Animation, which mean the Pose in the First Model is very similar to the last
You can fix each Frame anytime
-Select each Layer and move them in the Animation Folder
-Go in the Timeline
-Right Click in the First Frame
-Add the First Layer
-Repeat and add each Layer
-Fix the outfit and the hair
Great, You have completed the First Part of Animation!
Part 2
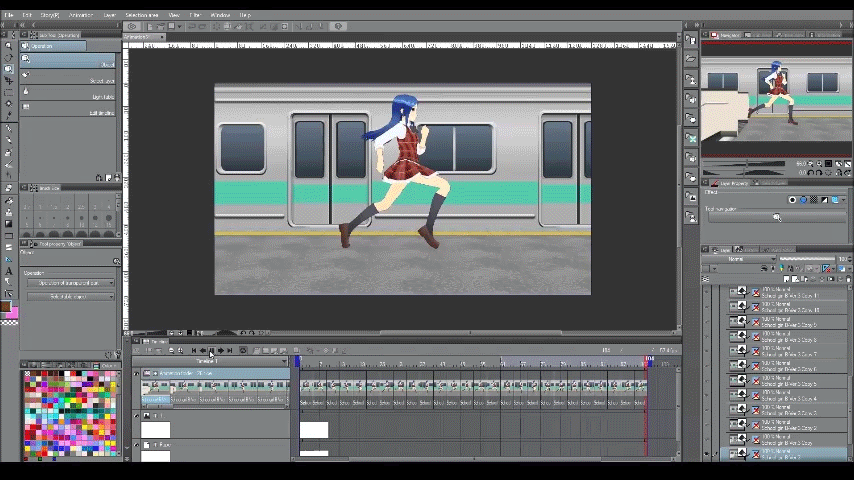
Now We create another Running Animation with a background
-Select each Layer
-Duplicate them and put over the original Layers
-Add all New Layers in the Timeline
-Add Station Platform at the First Layer
-Set the Position of the Station
-Click on "Select Layout Preset" and choose this set
-Copy and Paste the Station 3D Model of First Layer in the Second Layer
-Set the Position of the Station (X-axis=-50)
-Repeat these steps for each Layer
Tips: Hide these Objects in the Tool Property
You have completed the Second Part of Animation!
Part 3
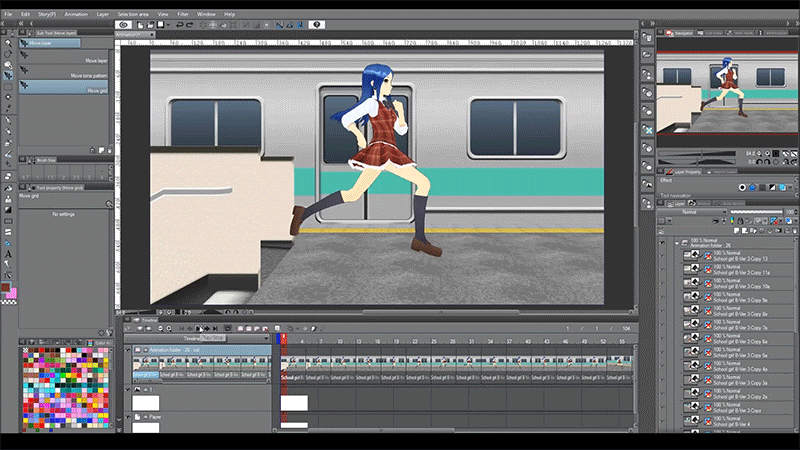
In this Part You can change the Point of View of Animation from right to left
-Enable Onion Skin
-Start to edit the Point of View from the intermediate Layer (hide other Layers, except the previous)
-When you see the right Wall empty, show Objects You hidden previously
If You want to improve something, do It! Take your time!
You have completed the Part 3!
Part 4
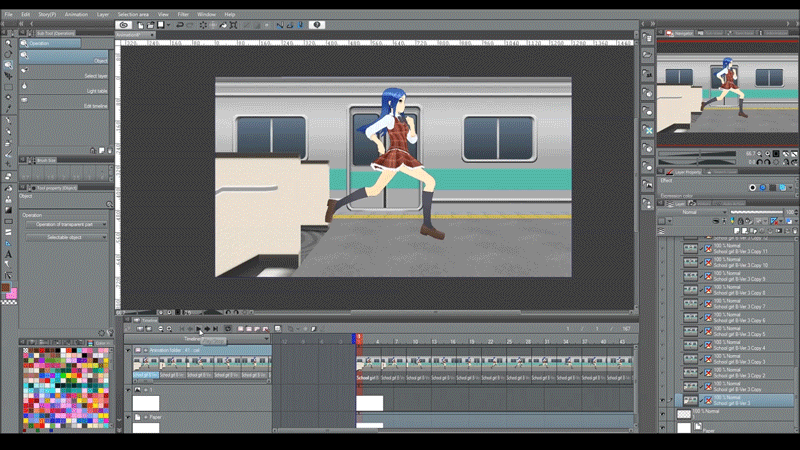
It's time to make the Jump Animation with hug between School Girl and School Boy!
-Select each Layer, except the one on top, and move them out of the Animation Folder
-Rasterize these Layers for less impact on our hardware
-Move again these Rasterize Layers in the Animation Folder
-Duplicate the First Layer
-Add this in the Timeline
-Edit the Pose and Point of View
-Repeat the same step for other Frames, as many as You like
-Add also the School Boy Character
Good Job, the Animation is complete!
Part 5
It's time to draw above the 3D Model!
-Select the First Layer in the Animation Folder
-Create New Vector Layer
-Draw the Line Art
-Repeat the same step for each Layer
Now draw the background of each Frame in another Vector Layer
-Delete the Animation Folder
The Line Art is over!
Part 6
Add a bit of color
-Set the color of Paper
-Add New Raster Layer between the First Layer of Character and Background
-Color the Character
-Merge the 3 Layers (Charcters, Colors, Background) of each Frame
-Repeat these steps for each Frame
-Create New Animation Folder
-Move all Layers in this Folder
-Add in the Timeline each Layer
-You can also add Shadows and Sparkles
-Export the Final Animation with these Settings
Congrats, you completed this Simple Animation!
I hope You had fun!
Start the endless fun of creating nice Animations with the help of 3D Figure






留言