
Introduction
Looking to turn your hand-drawn art into digital masterpieces that preserve every stroke? Clip Studio Paint offers a suite of powerful tools to make this process easy, accurate, and fun. In this guide, I'll show you how to use the convert your traditional art into digital art, breaking the limits of what’s possible on paper.
This tutorial will mainly focus on converting your traditional line art into a digital one you can use. We’ll use features along with tools that will transform your traditional artwork into polished digital line work. Plus, I’ll also share tips for fixing common mistakes along the way!
Here’s the full breakdown to help you get the cleanest results:
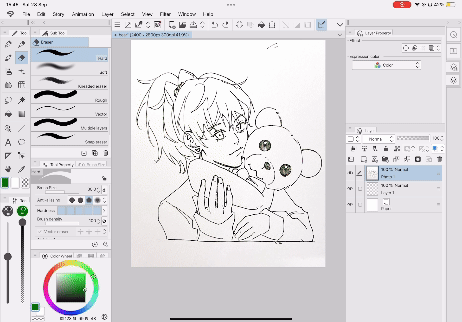
Step 1: Create Clean Line Art with a Dark/Black Pen
Before bringing your artwork into Clip Studio Paint, start by creating your line art traditionally using a dark or black pen. The more contrast between the lines and the paper, the easier it will be to extract the lines digitally. Aim for clean, precise lines, as the tidier your drawing, the less cleanup you'll need later. Avoid shading or sketchy lines—this tutorial focuses on extracting clean linework, so having solid, dark lines from the start will give you the best results!
However, don’t stress if there are some mistakes or if your sketch looks better—digital art gives us plenty of room to fix things. You can easily clean up or adjust imperfections once we bring the artwork into Clip Studio Paint. So, focus on bold, solid lines and have fun with it!
Step 2: Import and Set Up Your Artwork
Now that you have your traditional line art ready, it’s time to bring it into Clip Studio Paint. There are two easy ways to import your artwork, whether you've already taken a photo of your drawing or want to capture it directly from CSP.
Method 1: Import From Gallery
1. If you’ve already photographed or scanned your lineart, simply open Clip Studio Paint.
2. Go to File > Import > From photo library..
3. Browse your gallery and select the photo of your artwork. Once imported, you can adjust its position and scale to fit the canvas.
Method 2: Capture a Photo Directly in CSP
1. In Clip Studio Paint, go to File > Import > Camera..
This will activate your device's camera (especially handy if you're on a tablet!!).
2. Align your artwork in the frame, making sure there's even lighting and no shadows. Then, snap the picture.
3. Once captured, it will be placed directly onto your canvas, ready for editing.
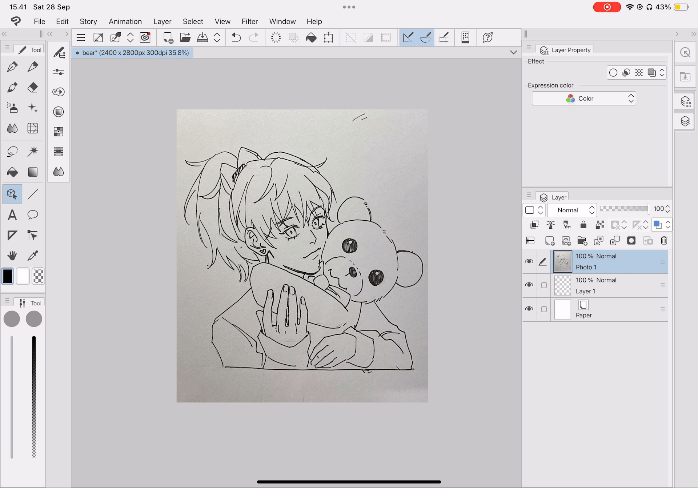
Rasterize Your Image!

In order to be able to edit your imported image, you’ll need to rasterize it before hand. To do so, go to Layer > Rasterize.
Tip:
For the best results, make sure the lighting is even when photographing, and aim for 300dpi resolution when scanning. This prevents loss of detail and helps with clearer line extraction.
Step 3: Level Correction
Now that your artwork is imported and rasterized, the next step is to enhance the contrast and clarity of your line art using Level Correction. This adjustment will help you achieve bold, clean lines that are easier to work with when extracting your artwork. You can access this tool by going to Edit > Tonal Correction > Level Correction.
1. The next step would be to adjust the sliders:
a) Shadow Slider: Move this slider to the right to darken your lines. This will help to bring out the darker elements of your artwork.
b) Midtone Slider: Adjust this slider to enhance the overall brightness of your line art without losing detail. Moving it left will make your lines darker, while moving it right will lighten the midtones.
c) Highlight Slider: Pull this slider to the left to remove any faint marks or paper texture that might interfere with the extraction process.
2. Preview Your Changes: Use the preview option to see how the adjustments affect your artwork in real-time. This will allow you to adjust the settings until you achieve the desired look. So don’t forget to tick the Preview box!
3. Confirm your changes.
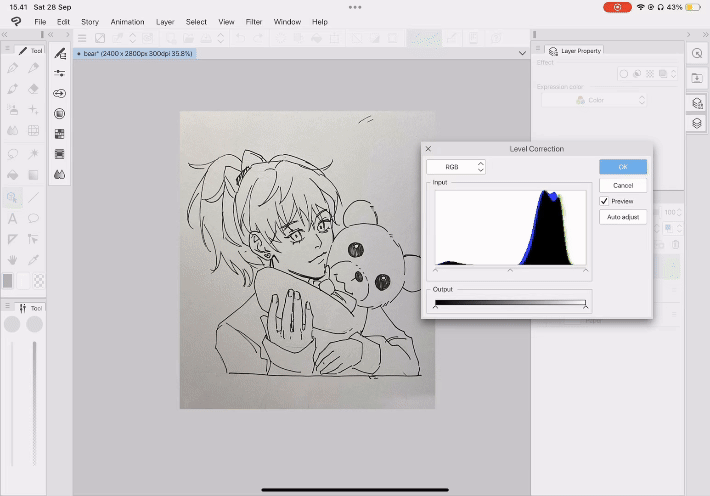
The desired output for extracting lines with level correction is bold, clear, and well-defined line art that stands out against the background. This enhances the visibility of the lines, ensuring they are distinct and easily extractable for further digital manipulation, such as coloring or shading.
Step 4: Binarization
Now it’s time for Binarization, a crucial step that converts your line art into a strictly black-and-white format. This feature separates lines from the background by applying a threshold, ensuring your lines are clear and defined. It creates clarity, simplification, and precision to your lines. Basically, it turns your drawing into only black and white, removing all values, hence making it good for line art.
How to Apply Binarization:
1. With your layer selected, go to Edit > Tonal Correction > Binarization.
2. Adjust the threshold slider:
a) Lower Values: Capture more light strokes.
b) Higher Values: Focus on dark lines.
3. Confirm your changes.
Pro Tip:
If you find that too many details are lost in the binarization process, you can undo it and return to the Level Correction step to adjust the contrast. This way, you can find the right balance before applying binarization again!
Step 5: Convert Brightness to Opacity
Next, we’ll use the Convert Brightness to Opacity feature to remove the background and isolate your line art for easier editing. This feature converts the brightness levels of your image into transparency, allowing only the darker elements (your lines) to remain visible. This results in a clean layer that’s ready for further refinement.
How to Apply Convert Brightness to Opacity:
1. Select your rasterized layer.
2. Go to Edit > Convert Brightness to Opacity..
The tool will automatically turn the white background transparent, leaving you with just your clean lines.
Even More Pro Tip:
If some lines disappear during this process, it may mean they are too light. You can adjust the Level Correction again or make sure to use a dark pen when creating your line art next time.
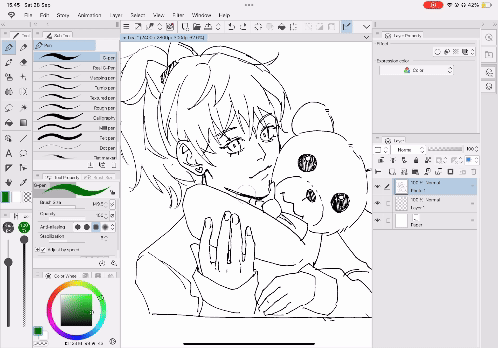
Step 6: Cleaning Up Your Line Art (+ Remove Dust)
Before you finalize your artwork, it’s a good idea to do a last check for any imperfections using the Remove Dust feature. This helps ensure your lines are pristine and ready for coloring. It is also certainly possible to erase them manually using an eraser, as this tool is merely to make your process faster!
How to Use Remove Dust:
1. Select your line art layer.
2. Go to Filter > Correction > Remove Dust..
3. Adjust the settings in the tool bar to determine the threshold for removing unwanted marks and strokes.
4. Confirm your changes.
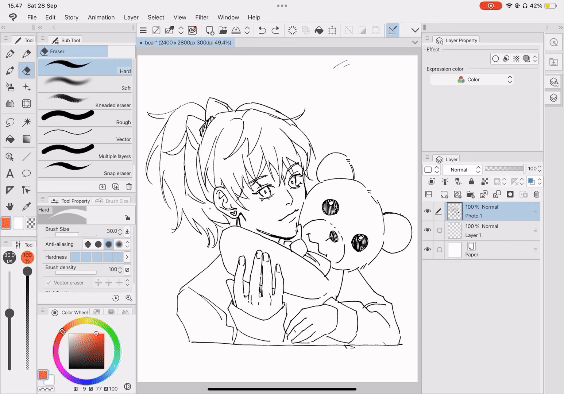
This tool effectively cleans up any leftover specks or imperfections that might detract from your artwork, ensuring your final line art is as polished as possible.
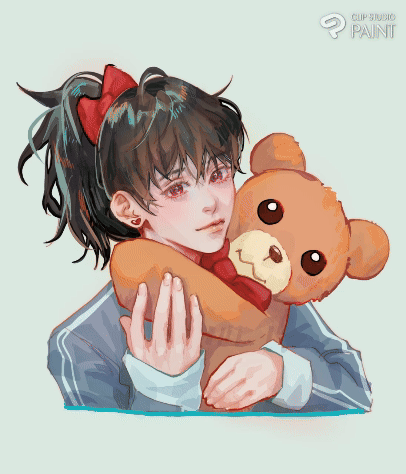
Extra: Rendering Your Artwork!
Now comes the exciting part—rendering your artwork! Be sure to go as crazy as you want. Digital art is forgiving, if something doesn’t look right, you can easily erase or undo your work. Embrace mistakes as part of the creative process; they often lead to unexpected discoveries. As you render, think about adding highlights and shadows, layering your details to create depth.
I’d like to suggest to not get intimidated by the clean lines and don’t be afraid to go out of the lines. You can always create a new layer of line art. liquify them, paint on top of them, and much more! Be sure to utilize the vast amount of materials provided by Clip Studio Paint to your advantage~
For added inspiration, here is the timelapse of the art I made by using these steps above. Enjoy the process, and let your creativity shine!
Closing Statement
Congratulations! You’ve transformed your traditional illustrations into crisp digital line art using Clip Studio Paint. While these steps may seem extensive, each one is essential to ensuring that your final artwork not only looks stunning but also embodies your original vision. In conclusion, mastering the extraction of line art through processes like level correction opens up a world of possibilities in digital creation. Each step you’ve taken not only enhances your artwork but also builds your confidence as an artist. Embrace these techniques as tools for experimentation and growth, and let your unique vision shine through in every piece you create. The journey from traditional to digital art is just the beginning, so be sure continue to explore, innovate, and express yourself! ^^
Lastly, I’d like to add to always explore and play around with these features. You don’t have to always stick to this tutorial intensively for extracting lines! Say if you prefer a less cleaner line art and prefer sketchier ones, it is always okay to skip some steps such as Binarization and Remove Dust!
Feel free to leave comments and answers regarding this below, I’ll be sure to respond to them, thank you!
對此投稿按「讚!」的用戶


留言