How to Ink with ONE TOOL in ClipStudioPaint
Inking With the Figure Tool
In the video I discussed how to use one tool in order to achieve line variation in your work. This'll be the too long didn't read version of what the video entails and this is also for those that mayve have a difficult time understanding the video.
Step 1. Prepare your sketch & Lower it's Layer opacity.
Step 2: Once you're comfortable with the opacity, go ahead and create a new layer above the sketch and then select the Figure Tool, or click the (u) key to quick select it.
Step 3: Select "Continuous Curve" within the sub-tool menu. For the continuous curve settings, you're gonna want to select "Create Fill" in the Line/Fill Section and select "Spline" for the Curve section underneath.
Step 4: Once you have all your settings in check, it's time to start inking. Zoom in to whatever part of your subject you want to ink. Then begin using the continuous curve tool to trace your sketch. The line of your tool wont fill/render until you connect the dotted lines together in a loop.

Step 5: Once you connect the dots, the end result should look like the 2 images below. You can also utilize the eraser tool or you can stay on the continuous curve tool and select the "transparency square" underneath the color swatch in order to turn that into a tool that acts as an eraser. The difference is that the transparency imitates the tool selected unlike the eraser tool itself.
Step 6: Continue tracing your subject's sketch until you feel you're line work is satisfying to you. Don't be afraid of rendering your lines again and if you wanna know the quickest way of deleting the progress you last made all you have to do is click ctrl + z.
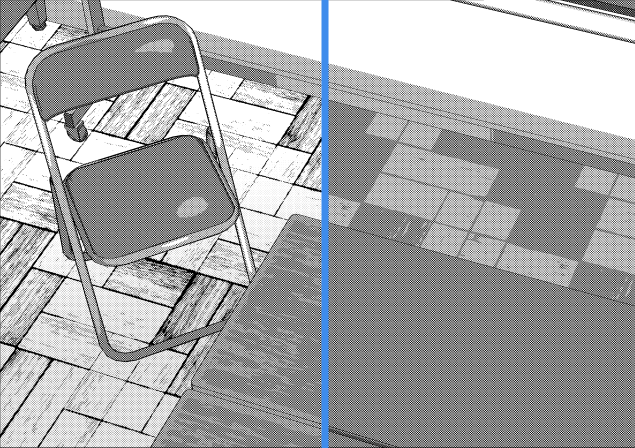
My final result is down below.
Hard Cell Shading with the Figure Tool
In the video I talked about how to place your highlights onto your subject in order to understand where shadows develop, while also showing you that you don't have to a whole lot of tools in order to get the best shadows for your character. This'll be good for those that like drawing black and white images or are comic book artists looking for a faster way to tone your work.
Step 1: Add 2 layers underneath the line art layer, draw a light bulb shape or a flash light shape on any area of your canvas. This is called the light bulb method, however you can always utilize photographic references with really good lighting, you can take your own photos as long as you have a really good light source, you can even base your lighting and shading off of still life figures (if you have access to those materials).
Step 2: Begin outlining the highlights and shadows where you think the light and dark values will hit your subject. This step can be useful for beginners who are still studying value or people who have used the light bulb method before.
Step 3: Merge the shadow layer and the highlight layers together, then lower the opacity of that layer before making a new layer on top. After that, use the continuous curve tool (on the same settings from the line art section) and trace the shadow's along the subject until your satisfied with the results.

This is what it should look like once the shadow renders.
Step 4: Repeat this process with the rest of the shadow's that you have placed earlier. Once every area that needs to be filled is filled, you can always adjust what was rendered by using the eraser tool, the "transparency square" + continuous curve tool or the pen tool until you are satisfied with your image.
My final results are below along with another version where I change the opacity of the shadow layer to 50% to make it into a greyscale image.
and THAT'S ALL FOLKS!
If anyone has any questions about the tips I had provided then don't be shy and send me a message through my social media handles or through my email (available on my Instagram and YouTube channel) with your question. I really hope all of this made sense to anyone and everyone who reads this page, especially new and younger artists.
Thank you all for your time!


Comment