Finishing With Filters
Let's discuss finishing up with filters in Clip Studio Paint Tablet Version (for Android). If you're a PC user this should still be helpful but the display may be different.
Clip Studio Paint has an abundance of great features, including filters! They can do much more than the average phone or app filters you've likely used before. The filters in CSP can completely transform your illustration, add beautiful finishing touches, or help your make corrections.
As we discuss using filters, keep in mind that you can either apply a filter to the entire illustration, or isolate a specific layer. Also, filters can be undone just like any other action so feel free to play around and see what works best.
The filters are separated into categories based on their general action or effect. Blur, Correction, Distort, Effect, Render, and Sharpen.
To get started, find the filter tab on the top of your screen and tap it to see the drop down menu. From there you can further expand each category to find what you need.
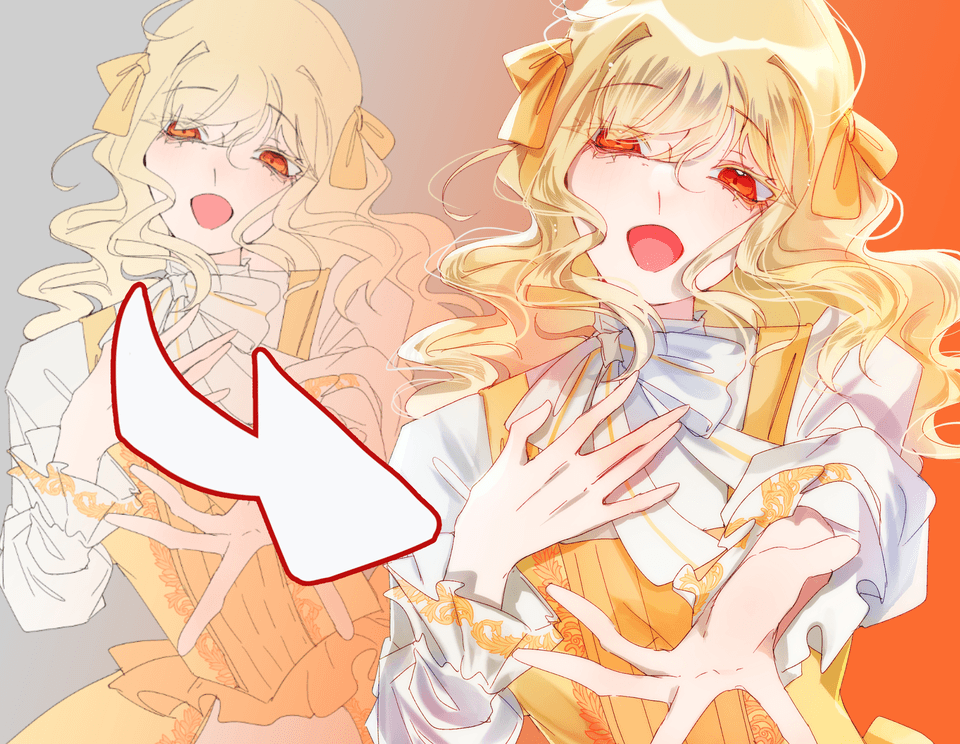
The first thing I want to discuss is the blur category. There are several types and strengths of blur filters. I like to use the “mild” blur as a smoothing effect. There is a blender with the same effect but it takes a long time to apply to an entire layer. I find that using the blur filter is more effective in most cases. Below you can see the before (left) and after (right) examples.
One of the most useful features in my opinion is the ability to adjust line width. I think everyone will likely need it at some point and it's so much less tedious than going back and adjusting width by hand. It's also more accurate and precise. You can decide specifically how much to increase or decrease the width using the slider.
In the example below you can see the original line width in part of the image and the part I've increased. Notice that nothing was distorted.
I've also applied the sharpen effect along with adjusting line width. I find that it makes the lines more crisp and clean. I highly recommend trying it.
Below you'll see examples of the pencil filter. It changes the layer to look like a pencil drawing. You can adjust the hatching to be more or less apparent. In this example I've used the pencil filter to make some of the trees appear lighter and separate them from the others. It also gives the textured appearance of a tree.
When you use the pencil filter you'll also have the option to change the layer to monochrome so that it really looks like a pencil drawing.
The artistic filter is one of my favorites! It's hard to describe but I feel that it gives the look of a painting. There are several slides to adjust so that you can achieve a unique and desired effect.
The retro film filter is something I love to try out with portraits and landscapes. It can be used to lighten as well like I did with the pencil filter.
Some of the most fun and interesting filters are in the distortion category. They can be applied to the foreground or background with dramatic results.
Below I've used geometric distortion to make the design look 3D and also give it some sense of movement and direction.
It can also be used to completely change the shape of a layer. Here I used the ripple filter and then geometric distortion to create a magic ball for a fantasy scene.
Below are examples of using distortion filters with the background. I've used them to create some interesting abstract designs. There are several sliders so that you can adjust and achieve the desired effect.
The distort filters can also be used to add interesting effects to text. Below I've used geometric distortion to make the text appear as if it's 3D or moving toward the viewer. You may need to adjust scale ratio when using this filter if the layer changes from its original size.
In this example I've used the ripple and wave filter on the text. I recommend adjusting the rotation and number of waves down when using with text, but up when using on a background.
I want to leave you with one last tip that I learned the hard way. When you finish your art, if you look at it and it's still not "perfect", don't worry about it. It's not supposed to be. I used to get so frustrated because I wanted my art to look as real as a photo. Finally I realized that I was chasing the wrong thing. Anyone can take a photo, and a photo shows the world as it is. Art shows the world as the individual sees it, or wishes it to be. Much more interesting!
Thank you for reading and I hope you found this helpful!
#CSPonTablet
#MonthlyTIPS202404
#Finishingfilters


Comment