
This tutorial will teach you how to create luminescent magic circles! In my final example, I have a magical skull within mine, but you can use this to illuminate and frame any object!
Ready to make one of your own? Let's get started!
Here is the intended final result. After you create this, you can use the same process to create ANY luminescent object.
Creating the SHAPE!
Create your desired canvas and first step, create:
A new VECTOR layer. Our image will eventually end up as a raster graphic, but the vector layer allows you to use a pen to edit the line width. We will end up using this shortly!
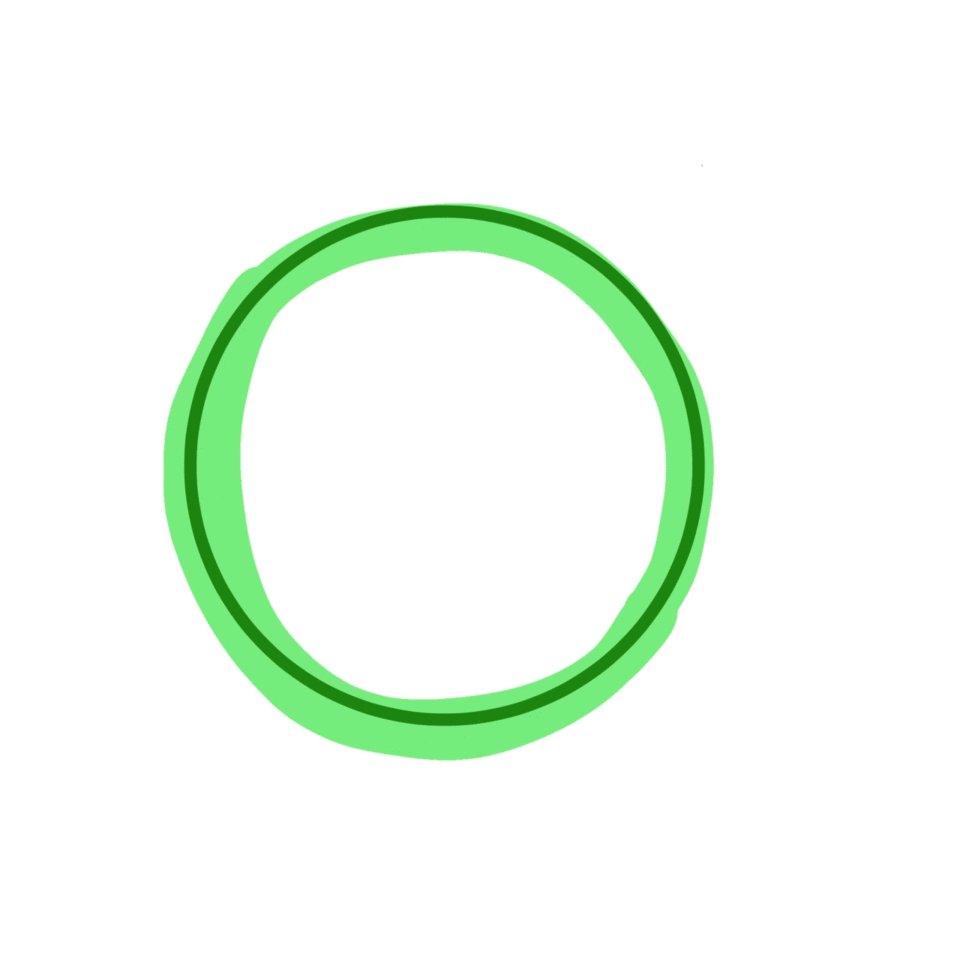
Since I want to start by making circular shapes, lets create an ellipse. To do this, you need to head to the FIGURE subtool. This subtool will allow you to create various shapes and manipulate them to an extent. For the sake of my tutorial I won’t really be making drastic shape edits, but you absolutely can to achieve your desired effect.
Select the Ellipse option and hold SHIFT while you create it to make a perfect circle. If youre starting from the center point of your canvas or close to it, and want to start smaller and expand your shape, hold SHIFT+OPTION (ALT on windows).
Now that we have our ellipse created, and we’ve been working on vector layers…we can use the LINE CORRECTION subtool to adjust vector lines to accommodate a change in line weight. Usually in drawings you’ll use this to edit lines for artistic effect, however here we will use this to create variable ellipse widths.
Select ADJUST LINE WIDTH, and then choose THICKEN in the TOOL PROPERTY menu. You can then use an adjustment pen to draw over the parts of the circle you want thickened. This active selection is noted in the GREEN stroke you'll see. You can adjust the values and see in real time what the end result will be. Additionally, you can narrow them also in the same menu, and we will use that shortly.
Next, I’ll duplicate this ellipse and reduce its size towards the center. To make this visually easier for future steps, you’ll want to hold SHIFT AND OPTION/ALT while you scale your object. You can scale by heading to EDIT>TRANSFORM>SCALE or EDIT>TRANSFORM>FREE TRANSFORM and holding the shift key to keep the same proportions. The fastest method is to press the CTRL/CMD+T hotkey. Hotkeys will help speed up your process over time. If you’re newer to the program, they are good to keep in mind, however, navigating the menus will certainly help you learn where things are nested.
If it helps you, and makes your alignment easier: please head to the VIEW tab and turn ON your GRID. This will allow you to visually have a marker of where your shapes are meeting.
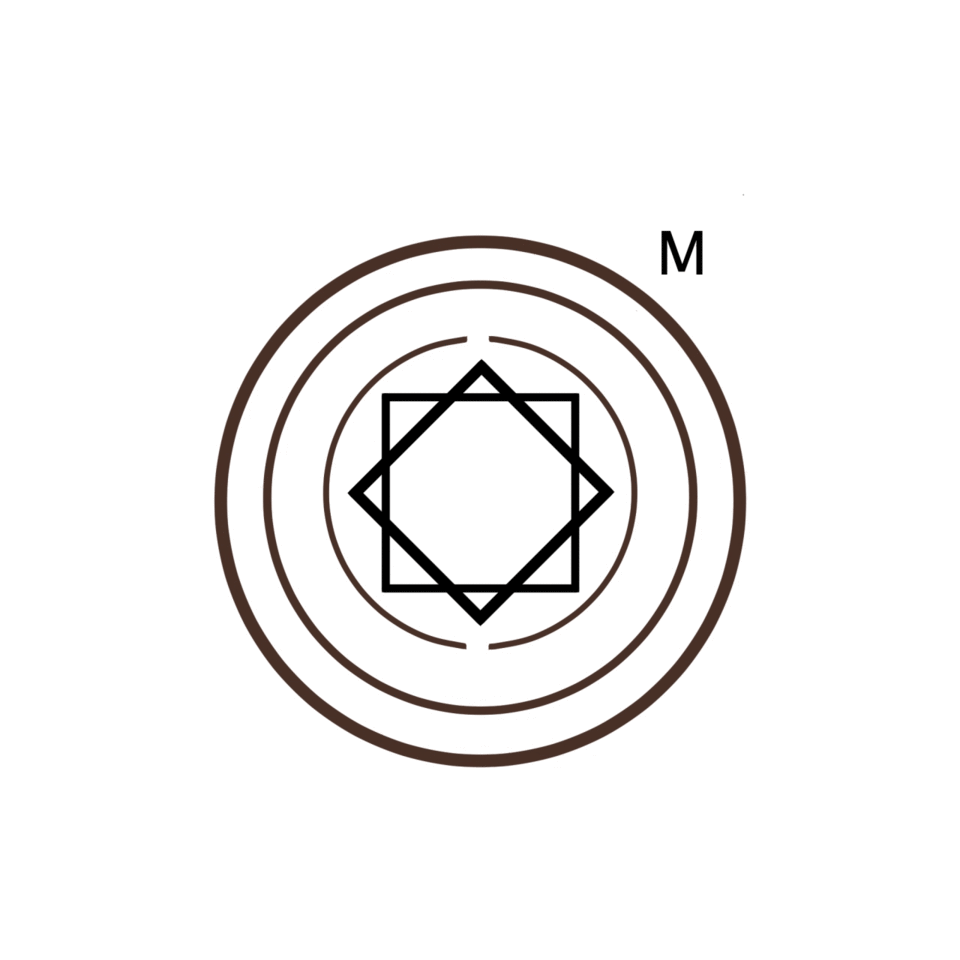
Now at this point you can create any additional shapes you wish to create your magic circle. I’ve decided to add a few interior circles and some rectangles, all following the same process we discussed above by drawing vector shapes and editing their line width to the desired effect using the LINE CORRECTION TOOL.
For added effect, let's add some letters to this. Choosing a sans serif font with interesting shapes will do some good for us. So, I’ll choose a font I like and add some letters to our magic circle. This will end up distorted so it doesn’t have to be absolutely perfect. But I’ve used the grid to help align the letters as best as I can on one side.
Now you can duplicate and flip your letters and center them. Duplication is as easy as heading to EDIT>TRANSFORM> FLIP HORIZONTAL. From there, you can just move and align your flipped imagery to make something symmetrical. Symmetrical rulers can also be used here for more precision, however, this will all be distorted later, so it's not too important to be incredibly exact, unless your end result calls for it.
I've decided to adjust my letters and add a central circle, so here is a gif of the additions. Its all just reducing shapes, and shifting their position to the desired placement.
Now we have a completed magic circle! Congratulations!
If you have any line width adjustments to make, this is a good time. Once we merge layers, they will lose their adjustable vector layer properties.
Otherwise, you can select your shape and letter layers, and then merge them by clicking the check marks next to the layers and right clicking on MERGE SELECTED LAYERS.
OR, you can select your first layer, hold SHIFT and then select your last layer to multi-select. Right click on your selected layers and select MERGE SELECTED LAYERS.
MAKING IT GLOW!
From here, your adjustments will require layering of various layer styles. That’s the real magic!
These adjustments will work best with color behind your magic circle, so use a solid fill or gradient fill to place behind your magic circle. We will be using layer styles to affect the light, so choose a value that is not black or white. In my example, I’ve chosen a blue gradient.
To create this, create a layer underneath your magic circle and select the FILL tool. I decided to fill my canvas with a dark, desaturated purple value.
Then, create a gradient that is brighter and more saturated on top of this fill. Select the GRADIENT subtool and in the corresponding menus, select FOREGROUND to TRANSPARENT, and the SHAPE should be set to a circle. Lastly, simply draw your gradient.
Now, let's transform this magic circle to appear as if its laying on a surface that’s pretty close to being flat, maybe a slight tilt for the viewer. Like above, just EDIT>TRANSFORM>FREE TRANSFORM. You’ll drag the corners to result in something that has the bottom transform points wider than the top two.
Since we want our magic circle to appear bright, select the layer you just transformed and LOCK the TRANSPARENT pixels. This is done by selecting this button on your layers palette.
This will allow you to manipulate the pixels of this layer alone.
There are many ways to do this, but here’s a fast and immersive method that also shows you the properties of locking transparent pixels as you use it. With magic circle layer locked, choose a brush (hotkey B) and enlarge its size to fairly huge, and paint your magic circle. You’ll notice that only the circle is affected. This is the utility of locking transparent pixels.
Now you’ve got a white magic circle.
Lets duplicate this layer containing your magic circle. So that there is not any future confusion- lock the top magic circle. We’re going to need to preserve one of the layers for further edits. You can do that may selecting the lock here on the layers palette.
Note that the larger lock means the layer is unable to be edited. The other lock with the small checkerboard (the symbol for transparency) is the "LOCK TRANSPARENT PIXELS" layer we created in the previous step. Since we are done editing this layer. You can unlock the transparent pixels and make it a normal layer again.
On the unlocked layer, let's add some blur.
Selected the unlocked magic circle and head to the FILTER TAB, then to BLUR>RADIAL BLUR. Choose the appropriate options for your desired effect. You can manipulate the STRENGTH or amount of blur- also the direction. For this first blur, I want both directions blurred. This however can be edited upon your desired effect.
Select your layer and set the style to OVERLAY. This blur will give the effect that there is light or energy of some sort radiating from the magic circle.
Note the image on the left, the layer style is set to NORMAL, so the blur doesnt feel illuminated.
The image on the right is with the same blur set to OVERLAY, giving the desired effect.
Now, duplicate the locked magic circle again (you'll need to unlock it to duplicate it and then lock it again), and also head to your FILTER TAB, then to BLUR> GAUSSIAN BLUR. Select the properties you prefer.
Select your layer and set the style to OVERLAY. This blur will amplify the amount of light diffused from the magic circle’s blur.
Lastly, lets prepare the final edit to the circle itself. Select your locked magic circle. Unlock it and change its layer style to ADD-GLOW. This will further amplify the bright nature of the magic circle.
ADDED EFFECTS
Now, let's added the secondary effects. CSP comes with lots of preloaded brush effects. Using the brush, let's toggle the airbrush sub-tool. In the default arrangment, the final airbrush is the DROPLET brush.
With white as our foreground color-let's paint some splatter on the center of the circle and set it to OVERLAY. Since I want a slight gradation here, I’ll choose a soft eraser and erase some of the harder edged splatter from the edges so that the edges appear to fade away as they rise from the circle.
Next let's add a column of light.
We’ll do this using the SELECTION tool.
Using the RECTANGLE, draw a tall rectangle the same width as your outermost rectangle ( if you created a magic circle like mine, if not use whichever shape you prefer.)
Then fill this shape with a linear gradient, by selecting the GRADIENT TOOL as we did before and with white as your FOREGROUND color, select the FOREGROUND TO TRANSPARENT style with a STRAIGHT LINE SHAPE.
Since I have some exposed corners underneath our column of light, on a new layer I'll use the POLYLINE SHAPE, in the same menu as our rectangle shape, and draw a shape that involves our exposed corners.
Using a similar gradient, fill this selection and set both of your newly drawn shapes of light to the SOFT LIGHT layer style.
Since light should become overexposed ( VERY VERY BRIGHT) near the the light source, lets brighten the center of our magic circle. Using a trick we’ve used before, create a new layer and create a radial gradient. Draw one of any size for your desired light effect at the center of the magic circle!
I set mine to OVERLAY at 70%.
Next, lets add some decorative light effects.
Similar to using the airbrush, let's use another brush subtool. The decoration subtool. Use the BRUSH hotkey (pressing B) to shift through your BRUSH subtools. The decoration subtool has a bunch of preloaded effects, some of which are PERFECT for what we want. Let's grab some of the sparkles, under the EFFECT TAB in the subtools' menu. I’ve chosen SPARKLE B, and paint them where we wish, with white as the foreground color. I've also used the GLITTER CIRCLE CROSS, because it has a nice star shape. Use any brush you wish!
You can edit their layer style and opacity as you wish for the desired effect. I've chosen 100% OVERLAY. Making layers with different opacities and shapes can help provide a sense of depth if you desire.
For added effect I decided to draw some geometric shapes with break everything apart visually and add an element of chaos but also central focus. Using the polyline tool I’ve created some polygonal shards.
Duplicate the shards and blur them. Like before, when blurring the magic circle: select the lower layer of the two shards and head to FILTER>BLUR>MOTION BLUR- I set the ANGLE to 0 so that it was more flat here, and chose BOTH DIRECTIONS and then set the layer to soft light at 50%.
Now take your top layer shards and edit as you wish. For a bolder shape you could keep them as is, however I decided to reduce to opacity to 70% and place them on an OVERLAY layer.
Your magic circle is now complete and so are the lighting effects! For focal effect, place an item in the light column and be sure to give it some glow!
Enjoy! If you found this method to be helpful, leave a comment below and make some magic of your own! Have fun!
Users who liked this post


Comment