WEBTOON - From IDEAS to COMPLETED STORY
A. Introducing
Hello my dears~
This month tutorial is about Webtoon. I have drawn a webtoon before, so I’m so happy to share with you guys some of my tips to creating Webtoon, to make your idea come to a webtoon.
So let’s get started! (❁´♡`❁)
B. The Mindmap
You can have a larger image here:
Okay so, in this tutorial, I will follow this flow of step by step to creating an webtoon. They are:
1. The Idea
2. Design Process
3. Creating Storyboard
4. Drawing
5. Publishing.
C. The Ideas
When you start to making a webtoon, first you need to think about everything can be appeared in your story. A story not only has characters, it also has background, characters’ back story, the relationship between them,...
So, think about all of this first, then you can write down it, in order to not forget it. And then, when you creating story board, you can just follow it.
- Time: this is about the time that the story begin. It can be in the past, at the present, or even in the future. The time of the story will influence the context design and character design. For example: if the story is in the past, then the hairstyle, the clothes will be designed based on what the people wear at that time, and the background places can be in the palace, etc.
- Timeline: A sequence of events in chronological order. For example for two character A and B: A meets B, then A and B go to the cinema together, the A confess to B, then they dating,...
- Plot(s): In every story or drama, you need a plot, or even a plot twist if you want.
- Meaning of the story: Don’t think it’s a big thing, because it can be anything you want, like: “Me and my cat with a sunny Sunday”.
- Character: It has the Main character, which the story is about them, and the Supporting character, who help the plot go on. A story can have one or more main characters.
D. Design Process
1. Background Design:
It’s about Time and Place.
Based on the Ideas you have before, you can easily find reference about it on Pinterest or any where.
For example, the easiest background is at the present, when everything can be found right front of your eyes: the street, the building, the park, etc.
2. Character design.
- Appearance: Based on the Background, his/her age, gender, character, habits, etc.
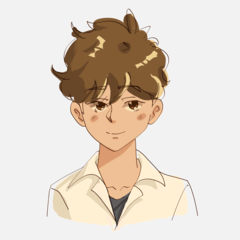
I often create a character design like this:
- Character Emotions Chart:
When you drawing a webtoon, it means you need to draw a series of picture of one character. So how people can realize it’s the same character. You need it.
Here is my example:
E. Creating Storyboard
For Storyboard, I often write down a note first: it is a main content of the story, separating into each chapter.
I used to use a notebook before, when I was in secondary school. I really like to write down any idea appear in my head. But now I write it in the note in my phone or iPad. And then after I can used it to move to the next step.
Ok the next step is drawing the storyboard.
You can find a lot of sample of the storyboard on the internet, but basically, it has a scene and then some text that describes about the place, time, and the event.
Storyboard will show you what is the next scene that you need to draw, and also give you information about it: time, place, character, event, etc.
You can find more and more examples about storyboard on the internet ^o^
F.1. Drawing Webtoon: Prepare the workspace
✔️ PREPARE THE CANVAS
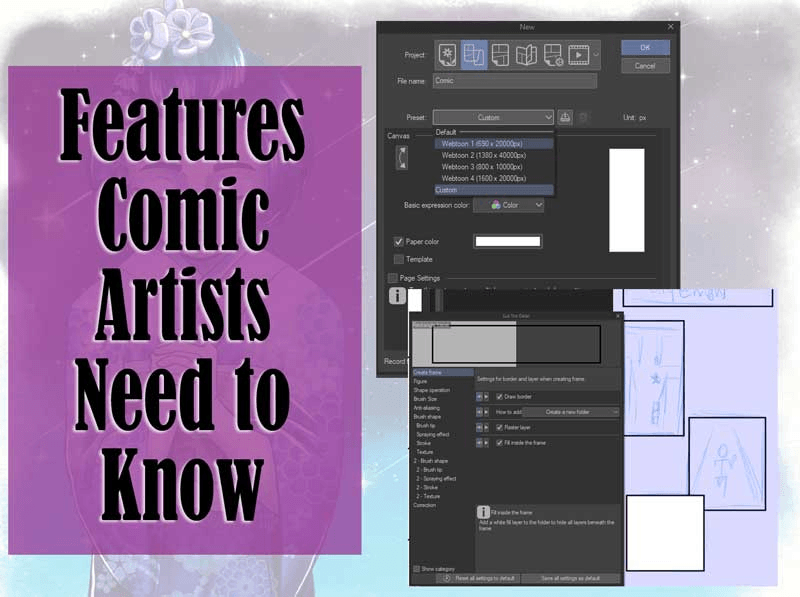
I am a simple person so I just create an canvas like always, hmmm, just a little bit longer. You know, webtoon is the comic that you’re read it vertically, so the long canvas is suitable for it.
I don’t like the pixel can be seen in my artwork so I always set the length at least for 1000px. So the canvas is big enough for me to draw it comfortably.
Next, let show on the Grid by choosing [View] > [Grid].
If the Grid is too big, then you can change the size by choosing [View] > [Grid/Ruler settings].
Now~ you’re all set.
✔️ SETTING COLOR PALETTE
Next is the Color Palette.
When you drawing webtoon, specially colored webtoon, you need a consistent and unified color palette so that your webtoon look good and harmonious. So let’s create a new [Color Set].
If you can’t find the box [Color Set] in your workspace, don’t worry, you can open it by choosing [Window] > [Color Set]
Then Click this button to open the box [Edit color set...]
In this box, choose [Add new settings], give it a Name, for me is Webtoon, then click [OK]
Now you can set the color set by clicking on the [💧+] button.
I usually set these color: skin, hair, shading, blushing, some clothes color,...
✔️ DRAWING TECHNIQUES
When you drawing many many many many picture to create a webtoon, in order to saving time, you need to simplify the process of drawing.
For example, I usually separated each part of the picture into different layer (skin, eyes, hair, shirt, pants, etc.), and then shading them one by one. But this process is so time consuming and it is not suitable for creating webtoon - which have a short deadline for a lot of pictures.
So the solution is simplify it as much as you can.
For me, is 1 Lineart layer, some based color layer and then, finally, I have a layer for shading all of them. I will show you more details about it in the [Finishing] part.
F.2. Drawing Webtoon: Sketching Process
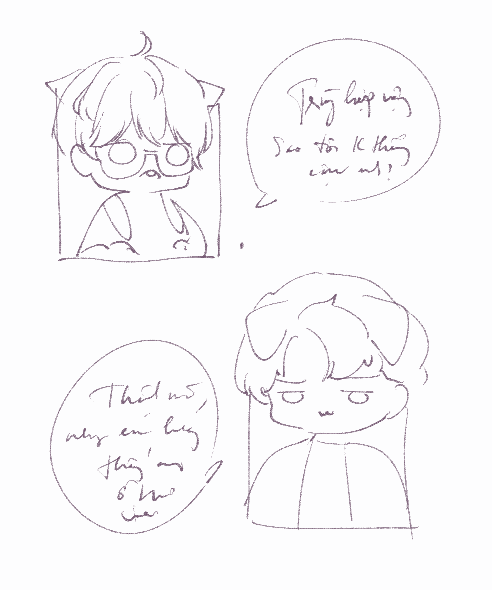
Now, using the storyboard we have created before to sketch, from this, to this:
But remember, when sketching the story frames, please notice a few things:
1. The distance between 2 frames: it should be not too narrow, but not too far. Between 2 frames, there should be some distance which is comfortable for your eyes to see the picture, read the text, and have a little rest.
2. The Visual Flow: while reading webtoon, it usually is from top to the bottom, from left to right, so let’s take a look of some example below:
(The green line is the visual flow)
Here is some arrangement of the frames. Let me explain it the meaning of each way to arrange them.
1. The basic rectangle: simple and basic. You can use for anything, from background, half-body, face close-up, etc.
2. The conversation: using some small vertical rectangle and arrange them diagonally help the readers have a feeling to see 2 people faces while they are talking to each other.
3. Chain of action: some overflow frames may show the direction of the action. The frames which overflow to the both border shows a wide horizontal space.
4 - 5 - 6. Suitable for some scene can be described by text and need to focus to the character’s face.
Here is some examples about it, they are some page in my webtoon:
F.3. Drawing Webtoon: Finishing Process
When you’re done with the sketching, then you can continue to finish it the way you usually do to drawing an artwork. But remember to simplify it so you can have more time to work with more and more frames.
Here is the larger picture if you want to see my process:
And here is a gif of some frames:

G. Publishing
You can publish your webtoon at the sharing web of Clip Studio, here is the link:
And let’s follow these steps to upload your story! (❁´♡`❁)
H. Conclusion & Thank you
Hi, thank you for your patience for another long long long tutorial of mine. I hope I have expression my opinion clearly and easy to understand!
Hope my tips work for you ! And if it does, please give me a heart !!!
You can also follow me on @tokyolondon (IG, dA, weibo) or visit my FB Page @TokyoLondon.Artwork
Thank youuuu <3


Comment