
Do you keep drawing the same T-Shirt over and over? Do your T-shirts look like they are made out of metal?
Well, you came to the right place! I am going to teach you ways to bring unique textures to your clothes using Clip Studio Paint.
𝐕𝐢𝐝𝐞𝐨 𝐅𝐨𝐫𝐦𝐚𝐭:
𝐴𝑙𝑠𝑜, 𝐴𝑙𝑙 𝑜𝑓 𝑡ℎ𝑒 𝑠𝑘𝑒𝑡𝑐ℎ𝑒𝑠 𝑠ℎ𝑜𝑤𝑛 𝑖𝑛 𝑡ℎ𝑖𝑠 𝑡𝑢𝑡𝑜𝑟𝑖𝑎𝑙 𝑐𝑎𝑛 𝑏𝑒 𝑑𝑜𝑤𝑛𝑙𝑜𝑎𝑑𝑒𝑑 𝑖𝑛 𝑡ℎ𝑒 𝑑𝑒𝑠𝑐𝑟𝑖𝑝𝑡𝑖𝑜𝑛 𝑖𝑛 𝑡ℎ𝑒 𝑎𝑡𝑡𝑎𝑐ℎ𝑒𝑑 𝑣𝑖𝑑𝑒𝑜 𝑡𝑜 𝑏𝑒 𝑢𝑠𝑒𝑑 𝑎𝑠 𝑎 𝑝𝑟𝑎𝑐𝑡𝑖𝑐𝑒 𝑡𝑜 𝑙𝑒𝑎𝑟𝑛 ℎ𝑜𝑤 𝑡𝑜 𝑟𝑒𝑛𝑑𝑒𝑟 𝑐𝑙𝑜𝑡ℎ𝑒𝑠 𝑦𝑜𝑢𝑟𝑠𝑒𝑙𝑓 =)
The Simple Core Methods using a T-Shirt 👕
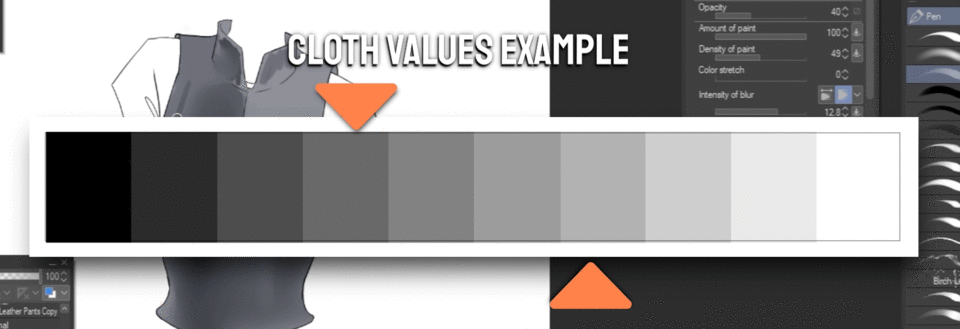
Alright! Let’s start with the basics of a simple cotton T-Shirt and go through some of the methods we’ll be using for all types of different materials in this tutorial,
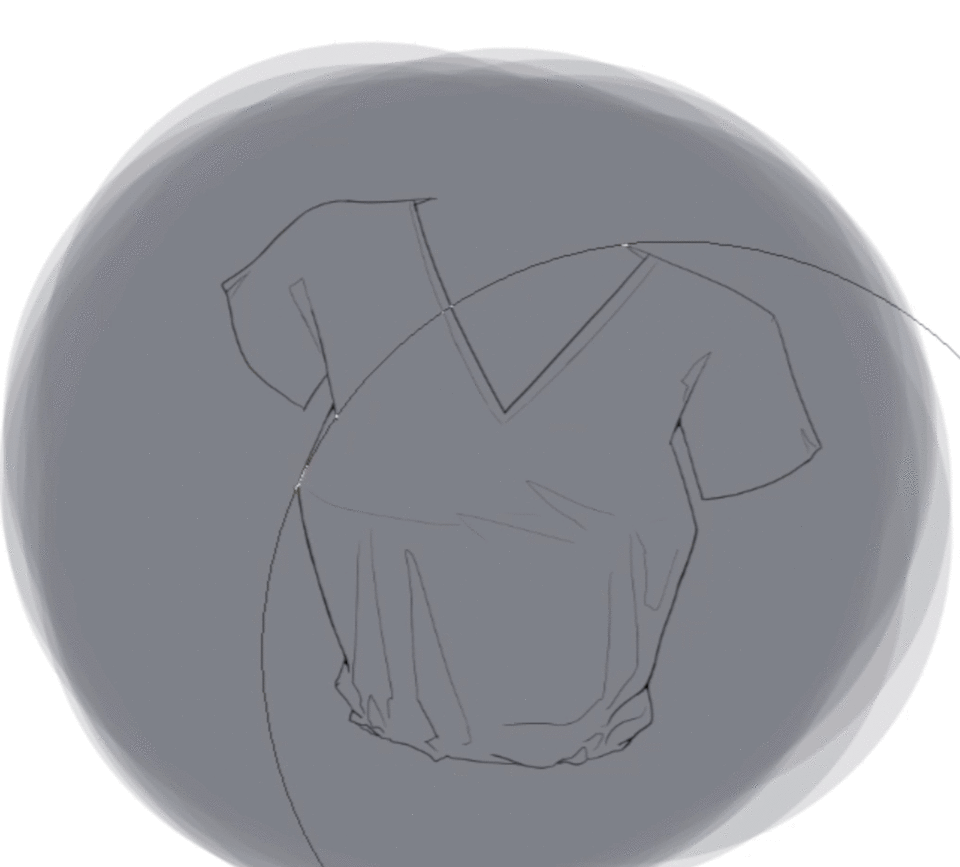
in one layer, we’ll have our lineart or sketch of the shirt and on a layer below we are going to have a solid color.
We’ll achieve that easily by using the Reference layer functionality By first setting our lineart layer as a Reference Layer.
Second, we’ll fill the layer below with solid color without worrying too much about going over the lines.
Then open the Tool Property window, under the window tab.
open the Eraser options by clicking the wrench icon,
there at the very bottom under “Anti-Overflow”, Enable the “Do not Cross lines of Reference Layer” option.
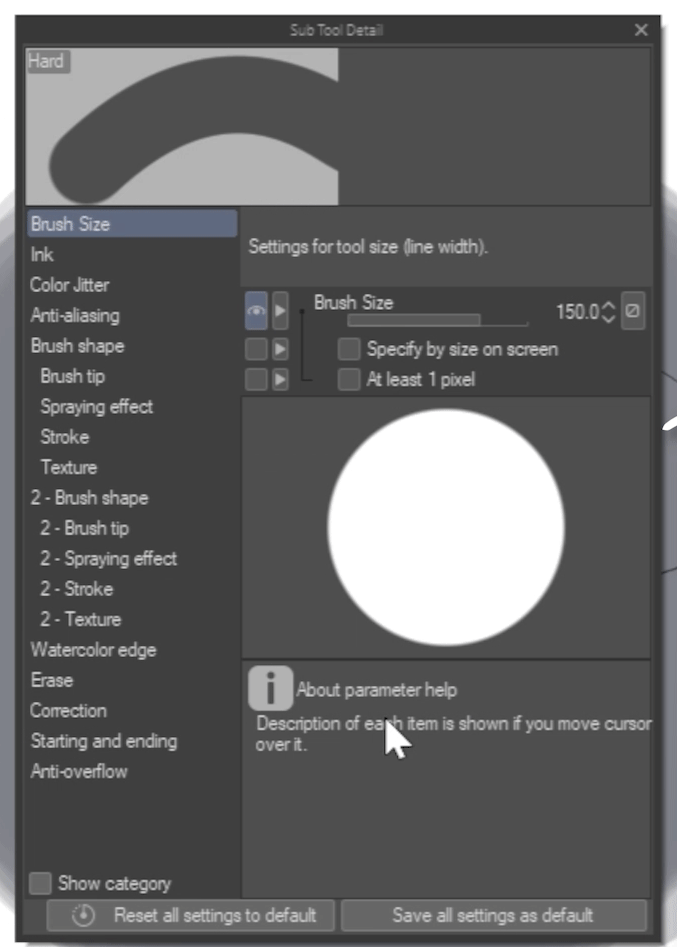
Enabling the “Do not Cross lines of Reference Layer” will allow you to easily delete the overflow of colors outside the lines.
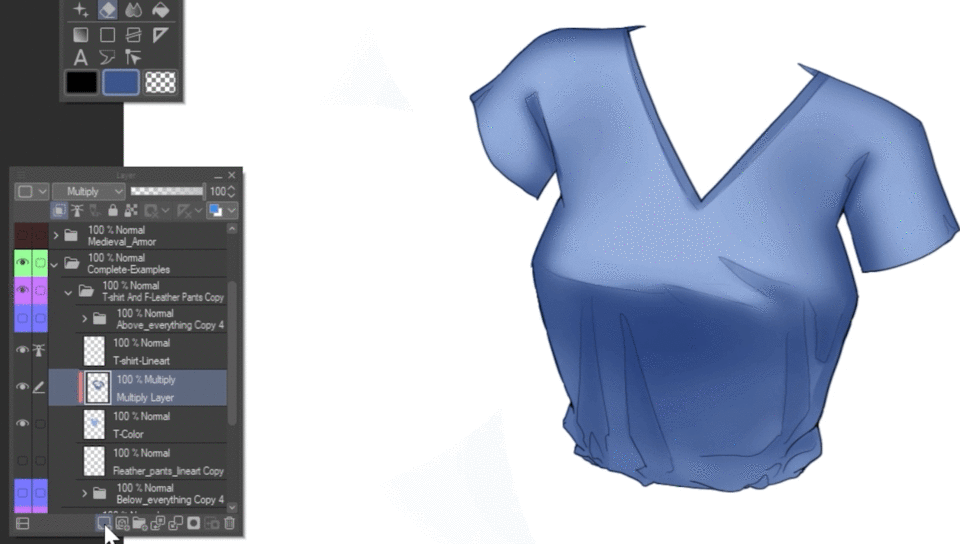
Now we can even easily change the color of the shirt by using the fill tool in case you want a blue, green, or perhaps even a red shirt! I’ll choose blue myself =)

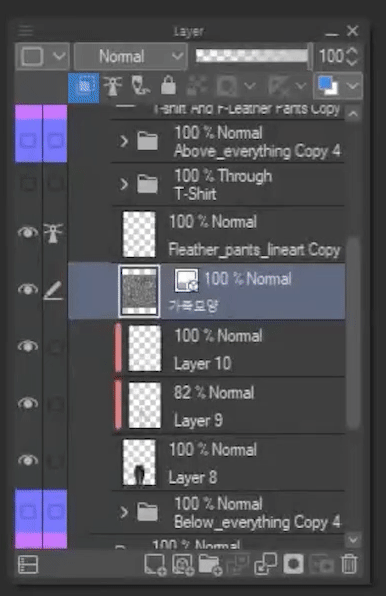
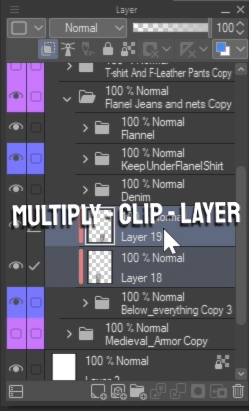
We can now make a new layer and Clip it to the fill layer we just made, by using this icon right here,
changing its blending mode to Multiply by using the drop-down menu, and use a darker color to create some shading.
This step might require a bit of trial and error but Following the sketch line of the creases can really help guide you along.
Don’t forget you can use the blend tool to soften the edges of some of the shadings!
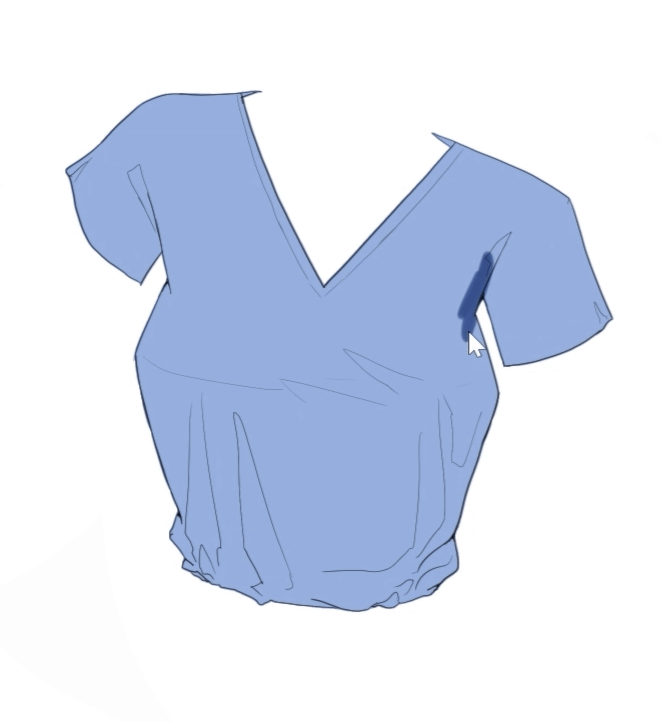
We can also optionally make an ‘Overlay layer’ on top as well to add some light using a soft brush.
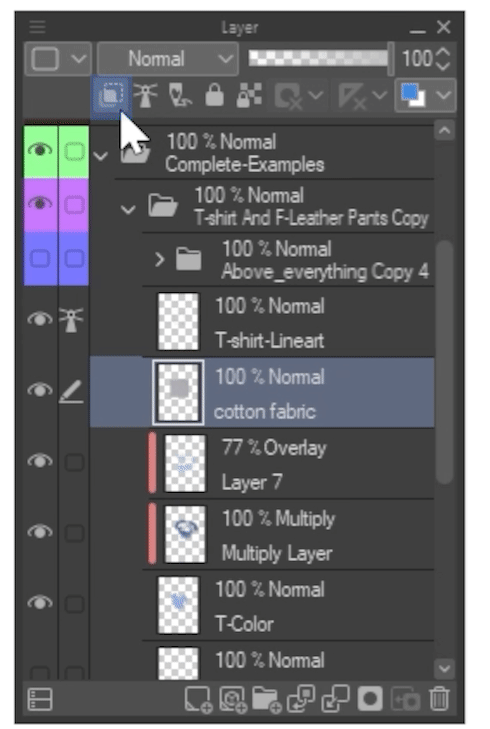
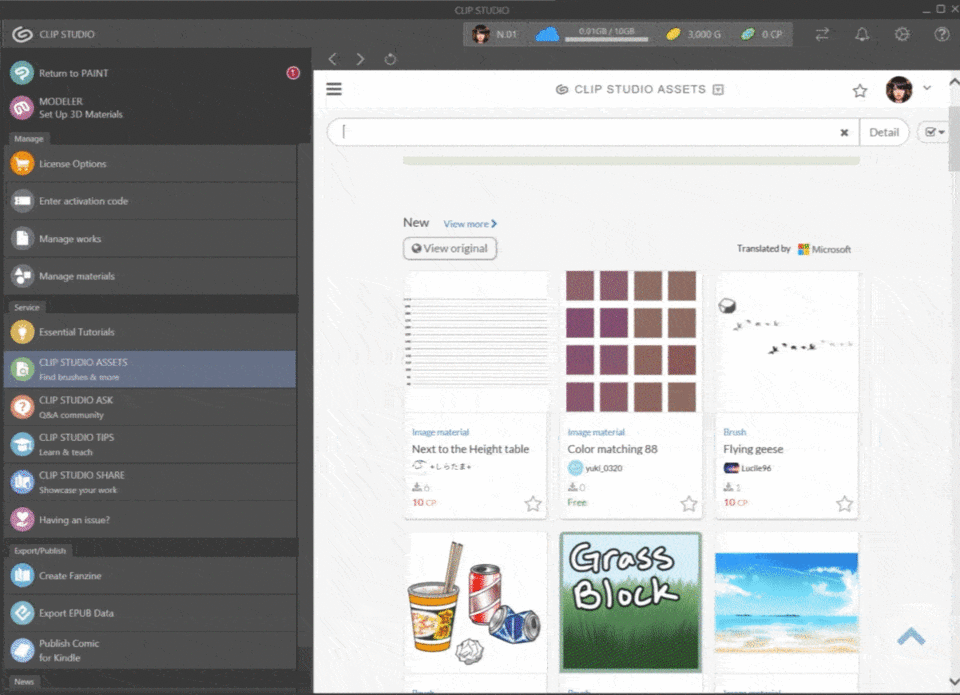
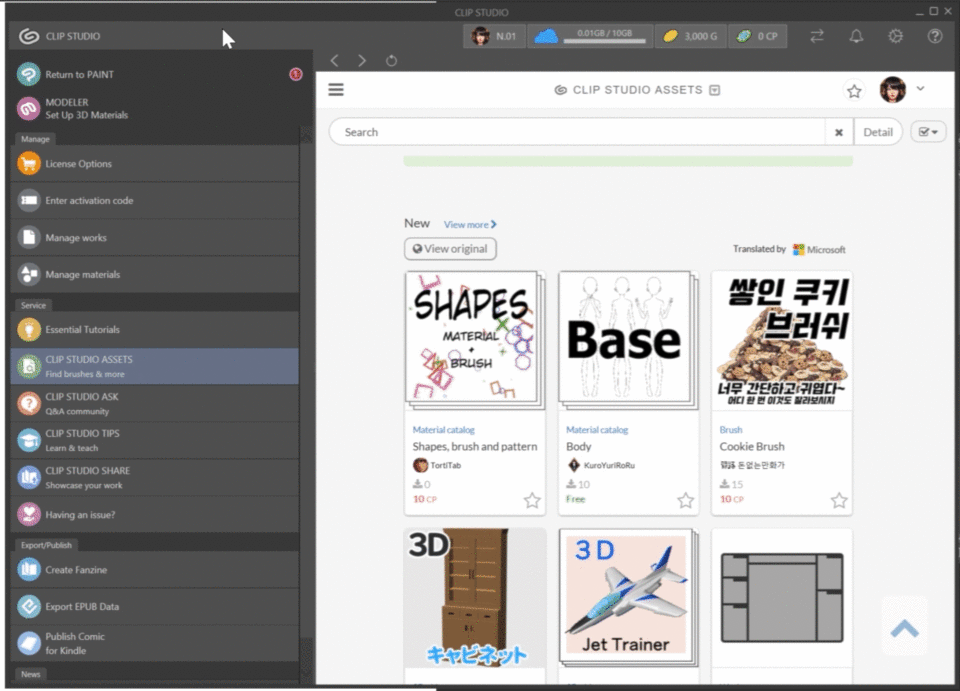
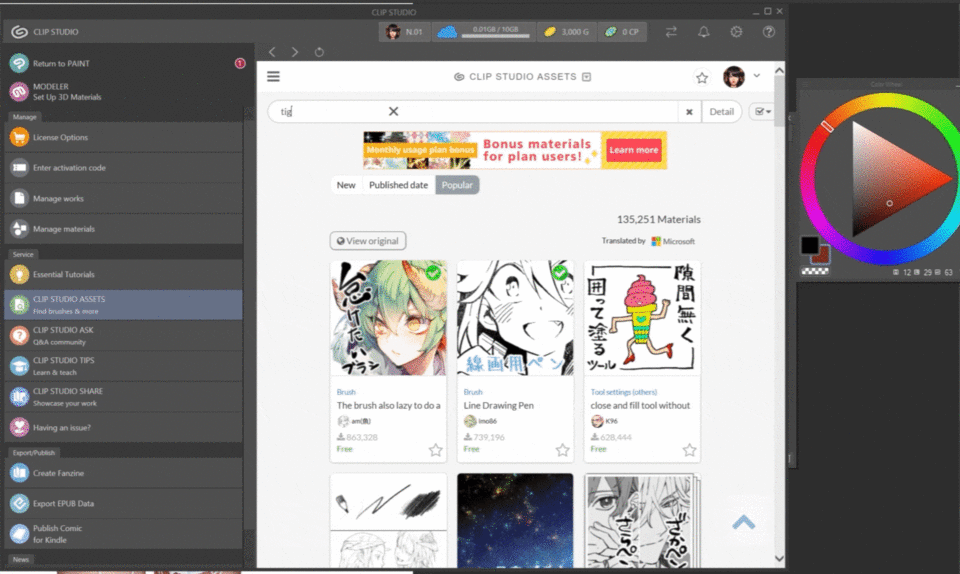
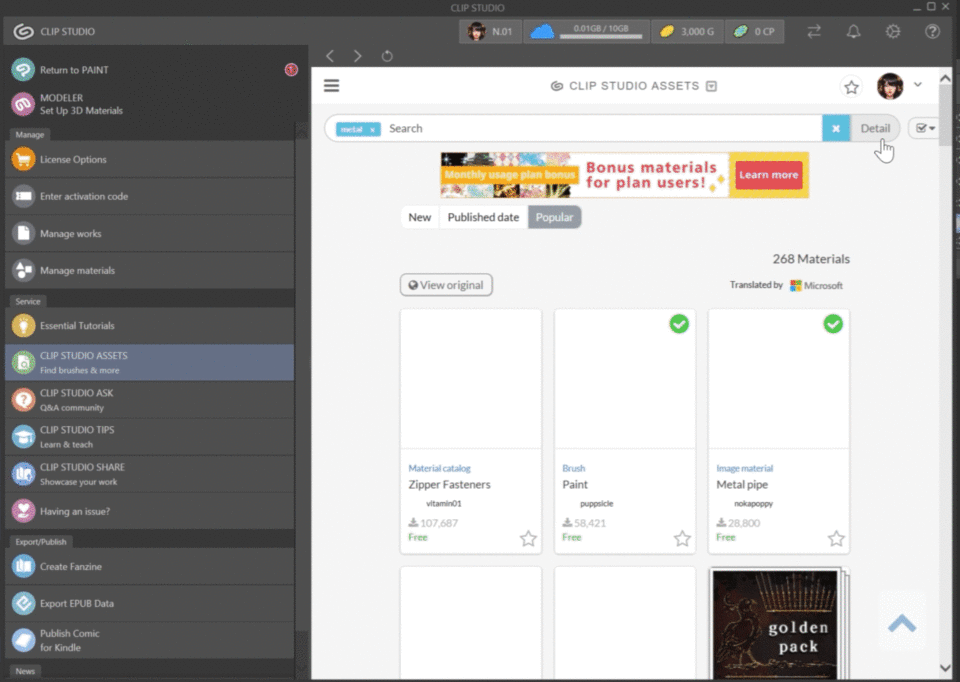
After we established some shading on our shirt we can open up ‘Clip Studio Assets’ by to the File tab on the top left,

and then on the Clip Studio Assets tab on the left in the newly opened window, we will look up “Cotton” and filter it as an Image Resource using the search bar.
There we’ll find a texture of cotton, and we’ll click download, wait for it to finish, and then over at “Manage Materials” then we can simply drag and drop our newly downloaded asset onto the canvas.

I’ll include this image resource Content-ID below.
Then I’ll go ahead and Clip our newly downloaded cotton texture to the solid color layer and change the blending option to overlay and reduce the opacity to about 70%.
Textures tend to not show as much in shadows, so I’d also recommend erasing some of the texture where you have deeper shadows.
Now we can take the lineart Layer we have above Lock Its Transparency using this icon and color it the same color as the darkest shade in the shirt.
Coloring the lines of the shirt a darker color will help blend the line-art with the color of the shirt so the black won't be clashing with the rest of the image.

Now we have a cotton T-shirt! So we can move on to new materials!
Faux Leather Texturing and High Contrast Materials ✨
Just like before we are going to set our line art layer as a reference layer, make a layer below it
and color it a solid color, I’d recommend using a dark color for Faux Leather in general as it has strong highlights.
We are going to work in an opposite way of what we did with the shirt, by making a normal blending mode layer above our solid color layer, clip it on, and then paint in the light right away instead of painting the shadows.

I’d highly recommend looking at some references as you paint in the lights to have a guide to where and how to put in those lights, I’ll go ahead and include my own rendering in the shared file so you can use it as a reference as well! =)
Now after we have finished painting in the basic lighting, we’ll make a new normal layer and clip it again and paint in white highlights, I recommend enabling brush size pressure to create the shapes for the white highlight,
and then just like before I’ll go to the Clip Studio Assets section and look up Leather under the Image Material tag.
Then I’ll download the black leather texture, wait for it to finish, click the Manage Materials Tab, and then again simply drag and drop our material onto the canvas.
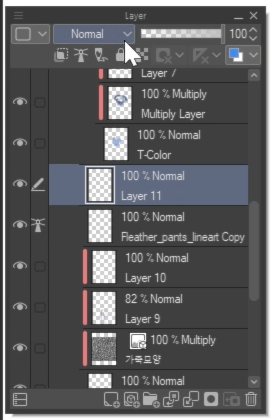
And just like before I’ll be clipping down the Leather Texture to our Solid Color layer, and set it to Multiply Blending mode from the drop-down menu.
And make sure to put it under the two other layers so the texture won’t add too much noise.
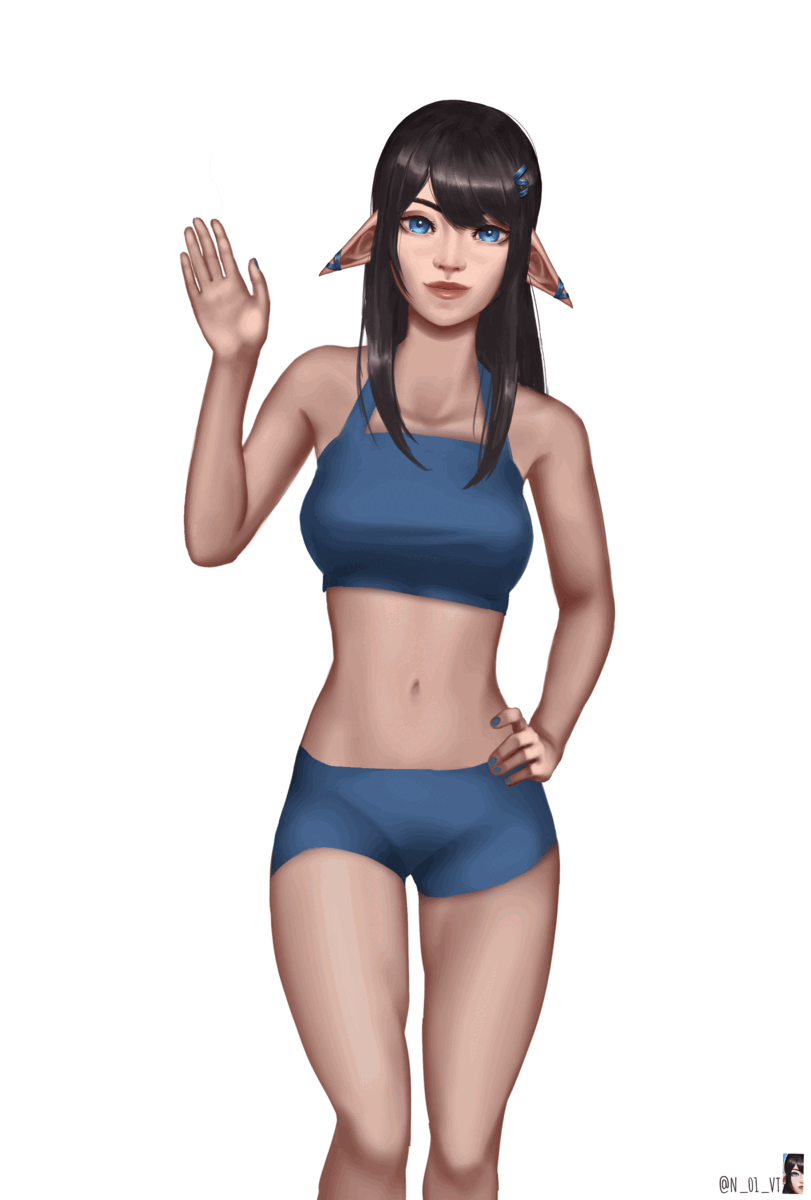
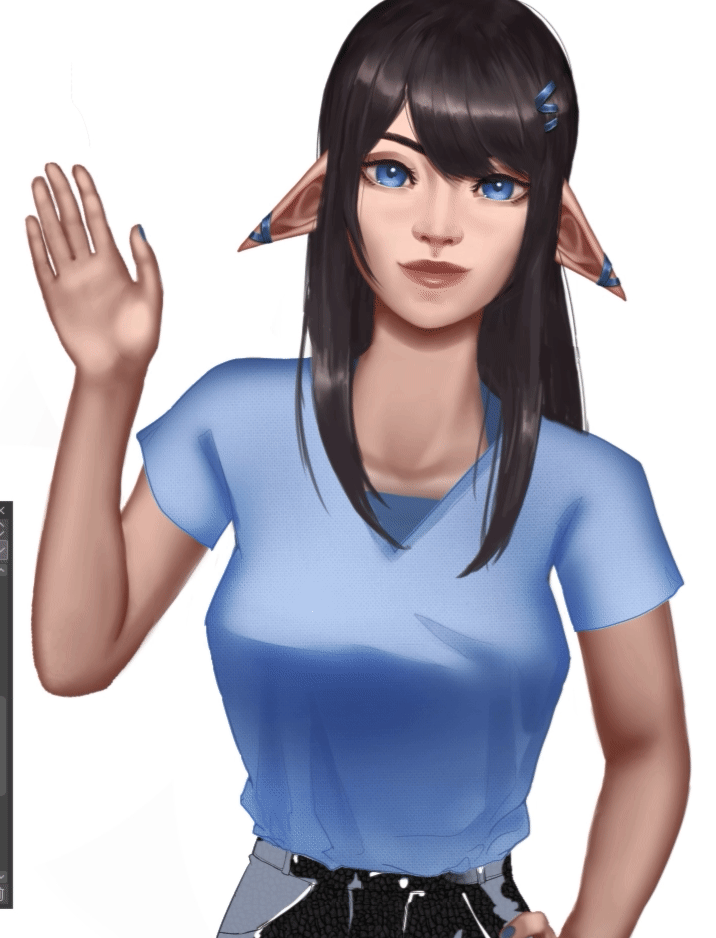
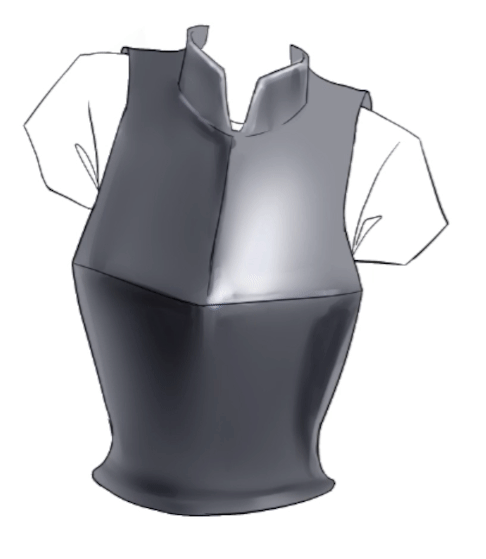
Cast Shadow and Articles of Clothes 👤
Now usually we have characters wearing these articles of clothing, so I’m going to pop in real quick and act as our model for this demonstration.

You might notice that the Shirt sort of falls flat, and feel rather 2d.
That is due to the lack of ‘Cast Shadow’ and there is a really easy fix we can do to remedy that!
We’ll make a new layer below our Solid color layer and set it to multiply, lower its opacity by 50% and gently go over the edges of the shirt with a dark color, this will create a cast shadow!
This will help separate the shirt from the body!
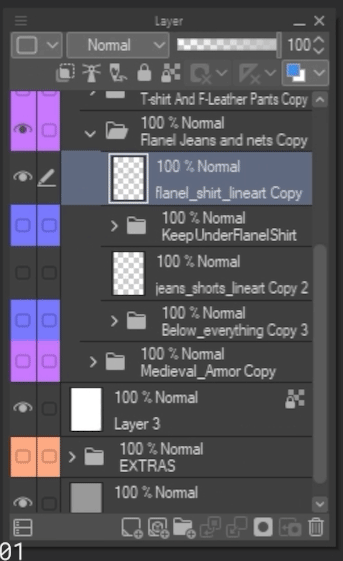
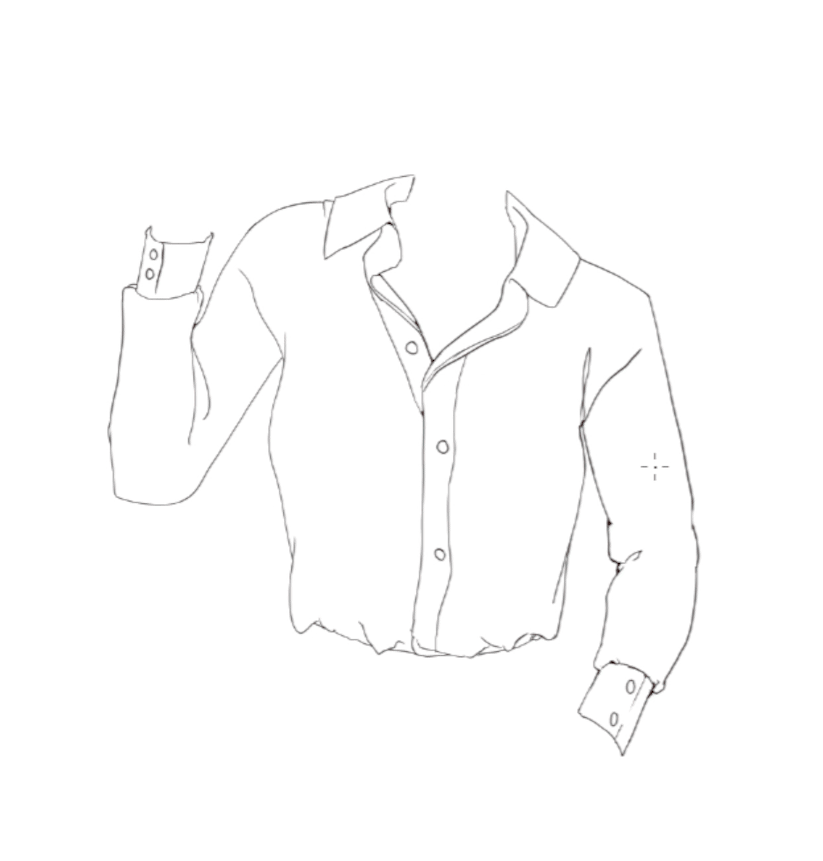
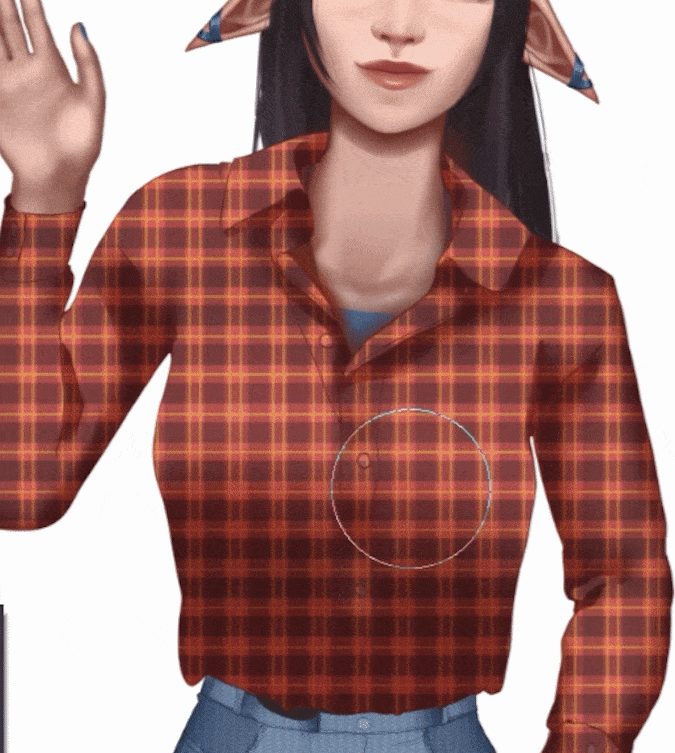
Flannel Shirt and basic texturing practice 🪓
*𝑇ℎ𝑒 3𝐷 𝑤𝑎𝑟𝑝𝑒𝑑 𝑇𝑒𝑥𝑡𝑢𝑟𝑒 𝐹𝑙𝑎𝑛𝑛𝑒𝑙 𝑠ℎ𝑖𝑟𝑡 𝑀𝑒𝑡ℎ𝑜𝑑 𝑖𝑠 𝑓𝑢𝑟𝑡ℎ𝑒𝑟 𝑎𝑙𝑜𝑛𝑔 𝑑𝑜𝑤𝑛 𝑖𝑛 𝑡ℎ𝑒 𝑡𝑢𝑡𝑜𝑟𝑖𝑎𝑙.
Starting with a Flannel shirt we’ll go ahead and just like before create our solid color layer,
in a layer above carefully shade the shirt, doing our best to keep in line with the sketch lines for the shadow shapes on the shirt.
And we’ll use an overlay layer to add some light on the top of the shirt,
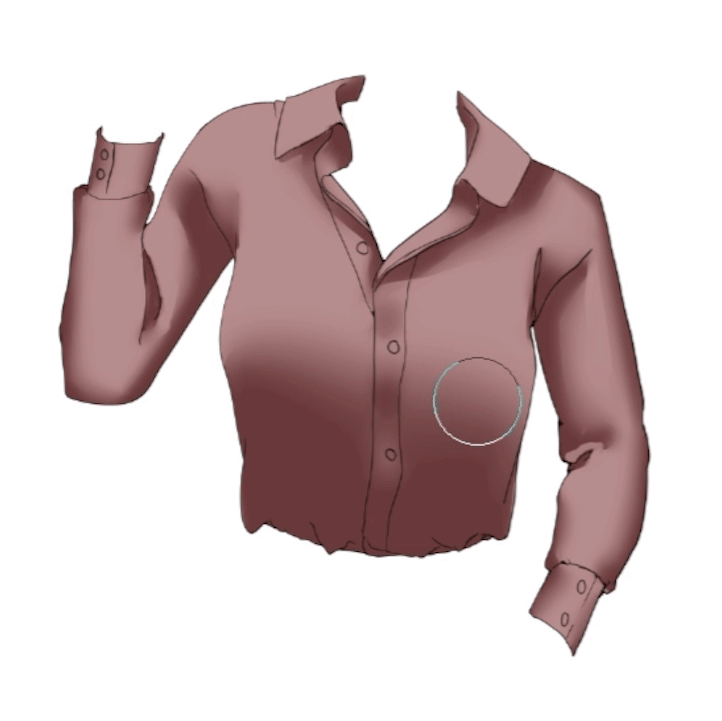
make sure both our shading multiply layer and the overlay light layer are clipped down to the Solid color layer.
Then we’ll go ahead and get ourselves a good-looking Flannel texture from the CSP assets and drag it over to the canvas, set it to overlay, lower the opacity a bit, and we're almost done!

We just need to color our line art or sketch from black to a dark red and.. That’s it!
We got a flannel shirt for our character, now we can go ahead and make a pair of jeans with a similar method.
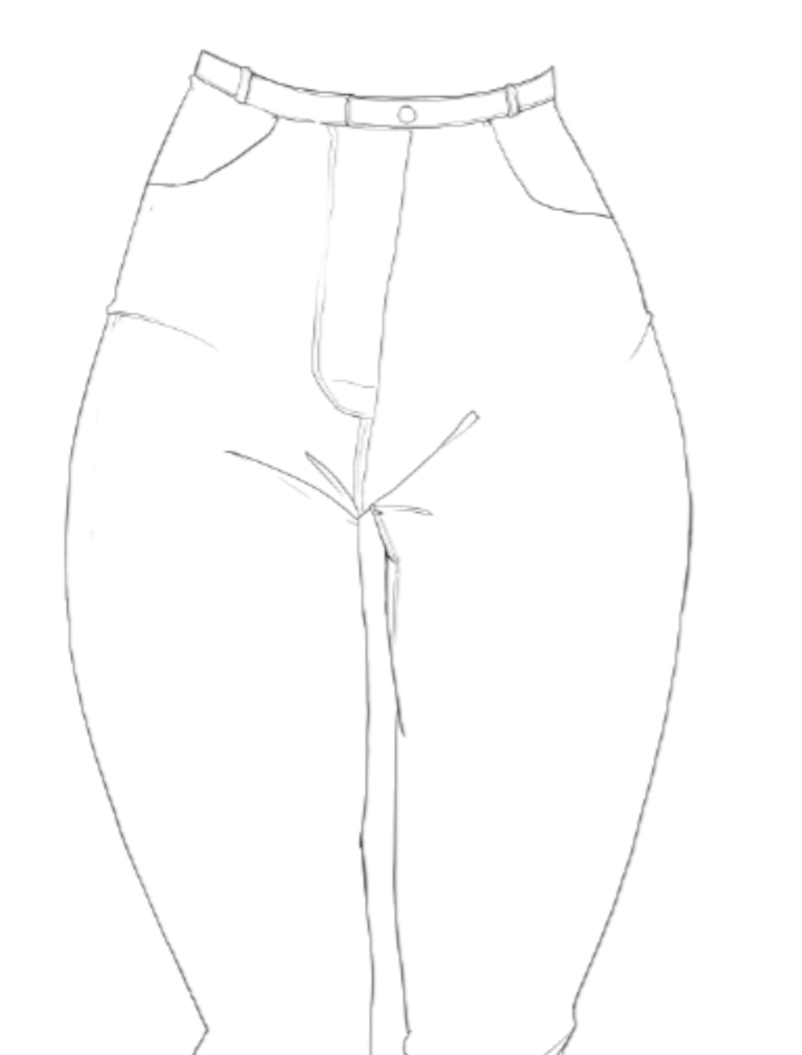
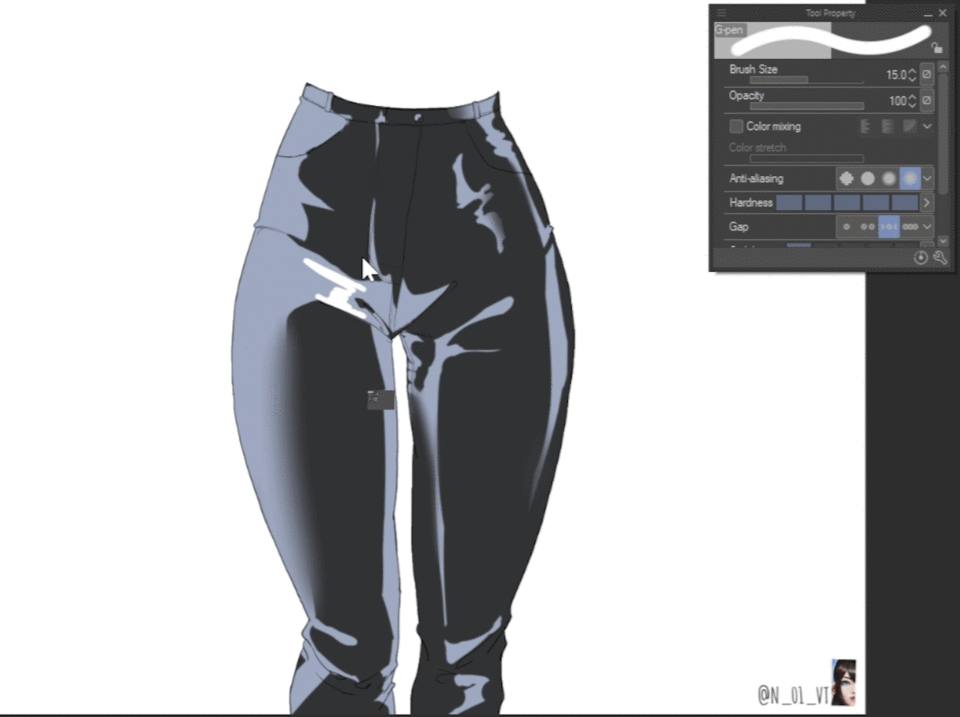
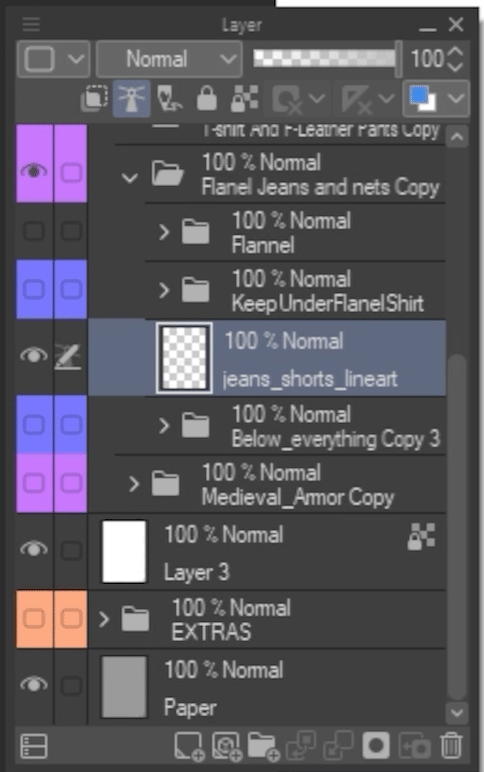
Jeans and Ripped Fabric rendering 👖
We’ll set the Lineart layer as a reference layer, create a layer below it and fill it with a light blue color, and erase using our erase while making sure that the option for Do not cross lines for the reference layer is checked.

Denim is not a reflective material unlike the Faux leather we painted earlier,
so the shading of it will be similar to the way we shade a T-Shirt,
making a new multiply blending mode layer and painting it with basic soft shading all around the pants and following the sketch marks for the shadows.
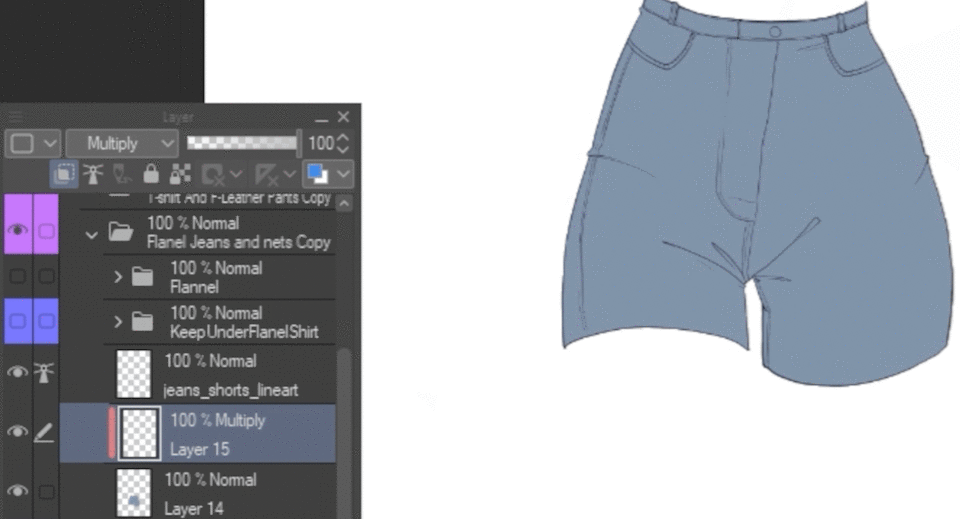
And then have an overlay layer on top with some soft shading for the light, I recommend using desaturated colors when adding light so as to not over-saturate our colors.

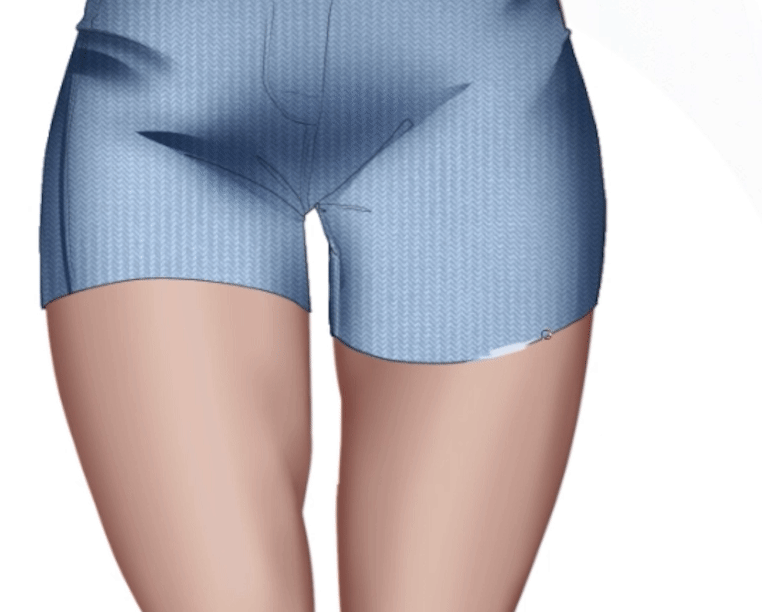
And like earlier we will look for a denim texture or jeans texture on the asset store to find a fitting texture, download it and under material manager we can get drag and drop it onto the canvas, making sure it's clipped to our solid color layer.
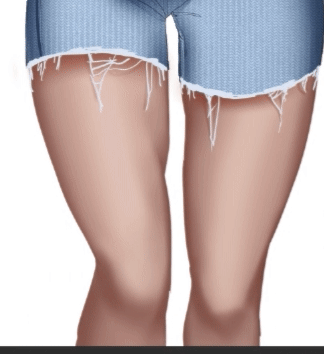
However a lot of Denim shorts tend to have ripped cloth at the end of them, a good way to achieve that look is to choose a light blue color and with a new normal layer that isnt clipped down start gently drawing the ripped lines, I’d recommend using reference photos to get this right.
After we finished with our denim we can go ahead and add some tights underneath too!
Tights and Ripped Tights The Simply way 🕸️
Drawing tights is a bit different but really simple too, we are going to go ahead and use a really simple and easy method, instead of drawing everything ourselves.
I’ll go ahead, make a new multiply layer and clip it down to my character.
I will then use the Clip Studio assets and look for ‘tights’ without the image material tag and download a tight’ s brush and drag it from the materials tab onto my brush section instead of on the canvas,
and then I’ll use that brush to draw the shape of the legs, I’ll do this in 2 layers one for each leg and then merge them together.
I can also click the mask button next to the new merged tights layer and erase small parts of it so I can later make a new layer above it and draw with a normal pen brush some tears and wears to create a ripped tights effect!

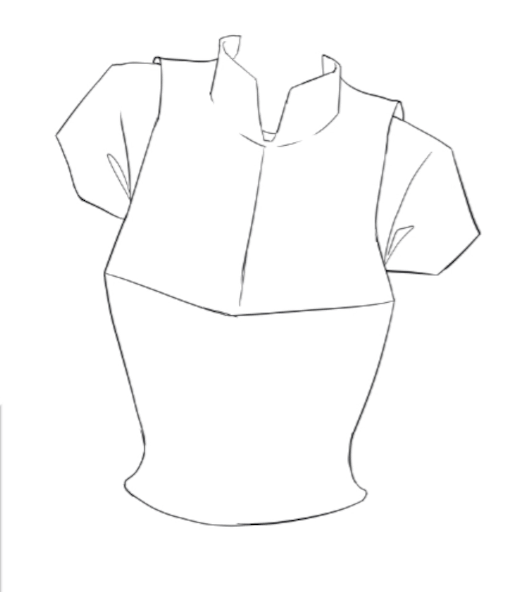
Fantasy and Medieval Armors! 🐉 🗡️
Now we can go ahead and mix our knowledge of making clothes and similar materials with something new to create medieval armor!
As usual, we will set our line layer as a reference layer, create a solid color below and clip a multiply and overlay layers for the shadow and light respectively,
*𝘛𝘩𝘪𝘴 𝘱𝘢𝘳𝘵 𝘰𝘧 𝘵𝘩𝘦 𝘨𝘶𝘪𝘥𝘦 𝘨𝘰𝘦𝘴 𝘰𝘷𝘦𝘳 𝘮𝘰𝘴𝘵 𝘰𝘧 𝘵𝘩𝘦 𝘴𝘵𝘶𝘧𝘧 𝘸𝘦 𝘢𝘭𝘳𝘦𝘢𝘥𝘺 𝘭𝘦𝘢𝘳𝘯𝘦𝘥 𝘣𝘦𝘴𝘪𝘥𝘦𝘴 𝘵𝘩𝘦 𝘮𝘦𝘵𝘢𝘭𝘭𝘪𝘤 𝘱𝘢𝘳𝘵𝘴, 𝘴𝘰 𝘪𝘵 𝘸𝘪𝘭𝘭 𝘴𝘬𝘪𝘮 𝘰𝘷𝘦𝘳 𝘵𝘩𝘦 𝘤𝘭𝘰𝘵𝘩 𝘮𝘢𝘵𝘦𝘳𝘪𝘢𝘭, 𝘩𝘰𝘸𝘦𝘷𝘦𝘳, 𝘪𝘵 𝘪𝘴 𝘴𝘵𝘪𝘭𝘭 𝘨𝘳𝘦𝘢𝘵 𝘱𝘳𝘢𝘤𝘵𝘪𝘤𝘦 𝘵𝘰 𝘨𝘰 𝘰𝘷𝘦𝘳.
however, in metallic materials we usually have a wider range of values we need to use to register the material as a metal.
This means that essentially we need to have deeper darker shadows and stronger lighter highlights,
one of the ways I like to work with metal is that after I create all the usual layers, I merge them all together into one layer, and smooth out some of the line art with the metallic parts.
Then Just as before we open up the Clip Studio Assets to get a metal texture, apply it as an overlay layer,
lower the opacity and as an extra make a normal layer on top and draw some wear and tear to the metal.

3 Dimensional Texturing Warping 🏮
Another good way you can try to apply better textures to your paintings is by transforming them into the shape of the cloth.
It is a bit more time-consuming but depending on what it is you are painting you might want to opt for this optional method.
So we are going to use the liquify tool that can be found in the Blending sub-tool, to morph the texture layer that we dragged from the clip studio assets.
We will be directly applying these changes to our texture layer
We will shape the texture to fit the shape of the body underneath to give it the illusion of depth, you can turn off the shirt or lower its opacity to see the body underneath to have a guideline.
And after we have morphed our texture to fit the body we can see the difference between the before and after we manipulated the texture.
You can of course do this with every single one of the clothing, or texture materials to increase the quality of the final results.
And just like earlier I left you a link to the file including all the textures and sketches so you can practice yourself =)
Closing Notes and Resources
Thank you for reading with me soo far I appreciate it! if you have any questions do send me a message and I'll try to answer! =)
Flannel - Content ID:1795979
Denim - Content ID:1698343
Leather - Content ID:1718890
Cotton - Content ID:1721481
Tights - Content ID:1808982
Let me know if I forgot any!
Users who liked this post


Comment