
Hi Clip Studio artists,
I thought I would share the way I use the fill tool to really speed up my art process, and some tips I wish someone had shared with me years ago.
This can apply to all kinds of applications and art styles, and I use it every single day.
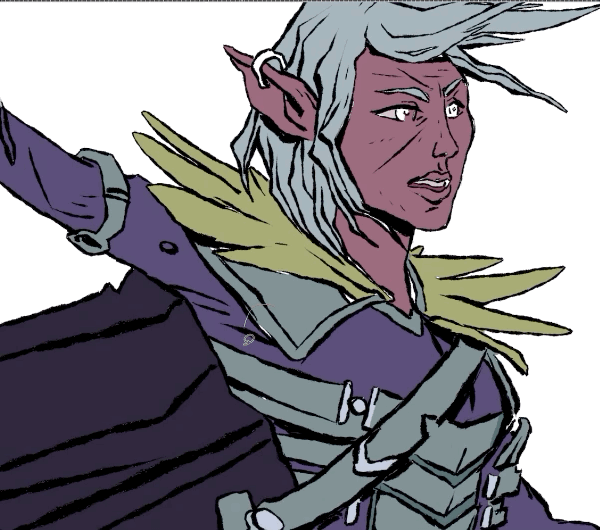
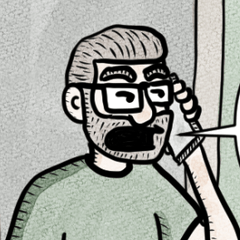
I want to make this tutorial user friendly and easy to follow, so I am really going to break down my process. Here we go! I am going to be using a character design commission I did the other day as an example of my style, and this is the final result we will be working toward:
LINEWORK
This technique can be used in a variety of styles (manga, western comics, anime), but it does work best with a solid outline.
These are my recommended steps:
So first do your rough sketch, I do this twice, once very rough, the second version focusing on building the forms:
Then on a seperate layer do a tighter pencil line over the rough sketch:
Here is a walkthrough of my pencil line drawing:
Next turn off the rough sketch, lower the opacity of the pencil lines.
Then create a layer called INK and draw solid ink lines (these can be thin or thick, what ever suits your style).
Here is a walkthrough of my INK layer drawing, trying to keep the lines nice and tight, and the communication clear:
Here is the linework, close up:
Try to make sure you close off the areas (the less gaps the better), although you don’t have to be rigged about this. Gaps like this are OK, but any bigger might cause problems:
Then turn off your pencil layer, so only the linework only is displaying. And we are now done with the linework!
The Fill Tool - creating selections for colouring
First click on your ink lines layer, and click the ‘reference layer’ button. This will set your ink layer as a the Reference Layer, for your fill tool.
Create a layer underneath your linework called Flats.
Now - Select the fill tool:
You will see some default settings for the Fill Tool under the Sub Toll panel. Select the ‘Refer to editing layer’ default option:
Then we are going to fill in these setting in the Tool Property section:
I will break down some of the setting you will need to use:
*Apply to connected pixels only
This will mean your fill bucket will apply only to the selection you fill with, not refer to the whole image.
Close Gap
This will mean when you click fill for a section, clip will close the gaps in your linework, for example a gap like this:
Tolerence
This will allow Clip to estimate a tolerance to what you are filling. Set it to about 3.0 for what we are going to do
Area scaling
This will expand your flat colour UNDERNEATH the lifework by 0.03 pts, meaning you eliminate gaps by expanding the fill under the line work.
Refer to multiple
We want the fill tool to refer to the line work on the Reference layer. This will be the INK above your Flats layer (as you we have already set it as the reference layer).
Opacity
Set opacity to 100%.
-----
Now, with your FLATS layer selected, begin to fill in your base colour for each item on your character. The fill tool will stay between the lines of your INK layer, because of the settings we have used and because the INK layer is the Reference layer.
Note: Some people fill their flat colours with random colours then choose the actual colours later, but I prefer to fill with the actual colours I am going to use in my finished artwork (more or less).
In real time, you can see how the fill tool fills the gaps, and references the Reference layer, so the colour doesn’t escape the bounds of the linework:

Here is the full process of creating the 'FLATS':
Close and Fill Tool
Another tool you will need to use, in addition to the fill bucket, is the close & fill tool, which can close and fill any empty white gaps in your flat colours. It's icon looks like this:
This can be loaded from default tools, but it should already be in your tool set.
These are the settings I use in the Close and Fill tool:
Target colour
Here I set the target colour to Only White and transparent. This means the tool with ONLY fill areas on the Flats layer that are white or transparent. This is handy, because it won’t effect the colours you have already filled in, only the gaps you are trying to target and get rid of.
Close Gap
I turn this up to 'Full' for the Close and Fill tool:
Tolerance
I also increase the tolerance to about 57, which means we can capture transparent
earant and SEMI-transparent colours, which really does come in handy:
Area scaling
I turn this way down, but you can play around to see what works for you:
Refer to Multiple
You need to set this tool to refer to all layers, as you want it to find transparent colours in both the INK linework layer and the FLATS layer.
Here is a walk through of me using the Close and Fill tool:
Lasso Fill Tool
Sometimes the Close and Fill tool doesn’t capture all the gaps. See example below, it just ain't working:
So... we need to go in with the Lasso Fill tool to close some tricky areas.
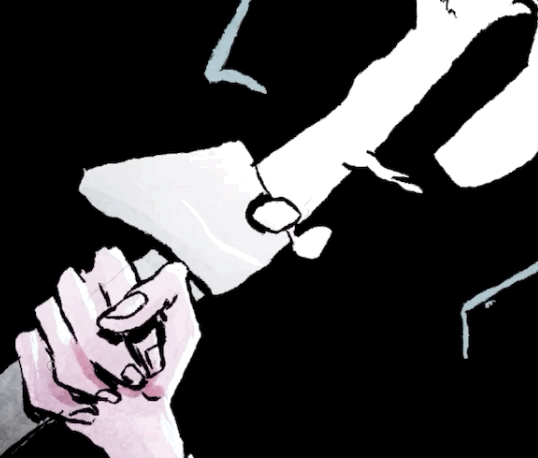
First select the lasso tool
Then draw a selection of the area you want to fill, and the Quick Selection menu will pop up. Click on the Fill bucket to fill the gap:
See the video below for example:

Final Flats colour adjustment
Now we have the finished flats, you will have a image something like this:
I like the colour scheme, but I wanted to push the colours a little bit, so I created a Hue Saturation layer by going to Layer>New Correction Layer>Hue/Saturation/Brightness
I place this layer above the flats, and then adjust the hue a bit:
Now I have the base colours of my artwork that I like, and I merge the Hue adjustment layer with the flat layer Layer>Merge with Layer below
Fill Tool with Locked Transparency
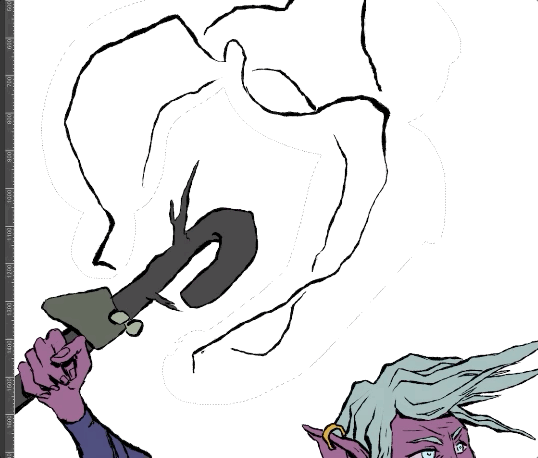
I also use fill to colour the INK lines for the magic coming out of the staff.
First I lock transparency on the INK ayer:
Then, using the Lasso tool again, I make a selection of the lifework I want to colour
Then, using the Fill tool in the Quick Selection menu, I fill with a bright blue ‘magical’ colour:
A little video process below:
Magic wand tool to select your colours
Using the magic wand tool to select your flats colours is really the whole point of your FLATS layer. We are going to create selections form our flat layer and colour it using the magic wand tool to create those selections.
Note for colouring, I am using the amazing watercolour brushes from this creator:
First, create a layer called ‘Base' or 'colour’ ABOVE the flats layer.
Then, this is the colouring process I use all the time, its tried and true, so give it a go:
1. select the magic wand tool, and set it to these settings (this may already be your default):
These are the settings I use for the Magic Wand tool:
2. With the FLATs layer selected, using the Magic Wand tool make a selection of the colour of part of the artwork you want to start painting.
Here, I selected the skin colour of my character, and all the areas of that colour get selected:
3. Turn off the visibility of the FLATS layer and select the Base/Colour layer above it. Now you will have a nice selection within which to colour your artwork. Then click the Hide Selection in the Quick Selection menu, as per below, so the selection lines don't bother you as you paint:
4. Begin painting your base undertone base colour. Done't worry about shadows, just try to focus on tone and general ambient shading.
Repeat steps 1-4 for each section of your artwork, until you have filled in your whole character:
5. Now, add in a layer called Shadow. Set this to multiply
Paint in your shadows on this layer, using your selections from FLATs layer as per the above steps 1-4.
Keep going until you get to something like this:
Using the Fill Tool with FLATS layer selection
The great things about the FLATs layer you created using the fill tool is you can select parts of it, or all of it any time.
To make a back background to your character artwork, right click on the flats layer, and click Create a Selection from Layer.
Now you will have all the colour selection selected.
To inverse the selection, click the invert selection form the Quick Selection menu:
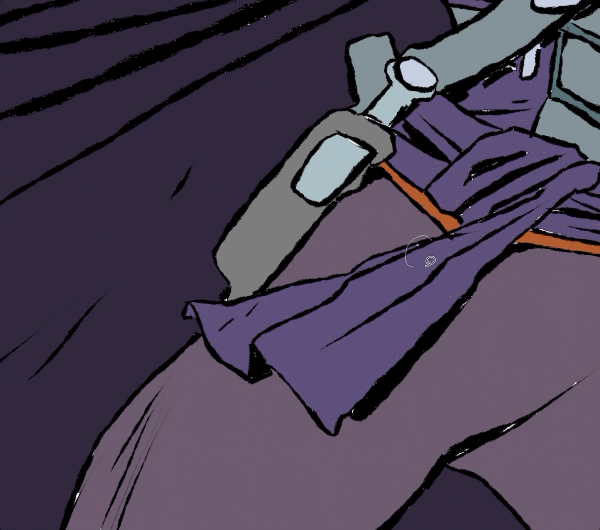
Now fill with a dark colour, and with a few adjustments, including a Highlight layer (for the bright blue colour), you have something like the below:
Gradient layers
Finally, I want to put in a gradient layer over the whole illustration, so using the selection from the Flats layer I create a full selection again:
Using the gradient tool, I set up a purple>blue>transparent gradient
Then creating a new layer above my other layers called Gradient, I drag a gradient from bottom to top, making the bottom part of my character darker than the top part:
I then set that Gradient layer to ‘Colour burn', and adjust the opacity:
Until I get something like the below:
I do the same for the magical staff, but this time using a Photoshere Gradient. I create a layer on top of all other layers, including the INK layer. Then, after creating a selection from my FLATS layer, I use the default Gradient ‘Photosphere':
To create a glow coming from her staff, like the below:
I then erase a bit of the gradient glow, to create form and shadows:
And Viola, you have a nice glow emanating from the characters staff.
Finish
And there you have it, the finished product!
I hope you enjoyed this tutorial, and that using the Fill tool to make fast colouring decisions and perfect selections really helps you improve your workflow and create beautiful art!
Simon
Users who liked this post


Comment