How to Animate a Magic Spark: The Ultimate Guide

Introduction
Hi ! My name is Mokoo and I'm a 2D animator.
In this tutorial, I will teach you simple tricks to animate magic sparkle in Clip Studio Paint step by step.
Exposure time and tutorial recommendation
In animation, the amount of time a frame appears on the timeline, before it transitions to the next frame, is called "timing" or "exposure time."
For a 24fps animation you can have:
Exposure time at 1.
Exposure time at 2.
Exposure time at 3.
Exposure time at 4 and more...
Remember that if the exposure time of an image is long, it will stay longer on the timeline.
And if the exposure time of an image is short, it will stay shorter on the timeline.
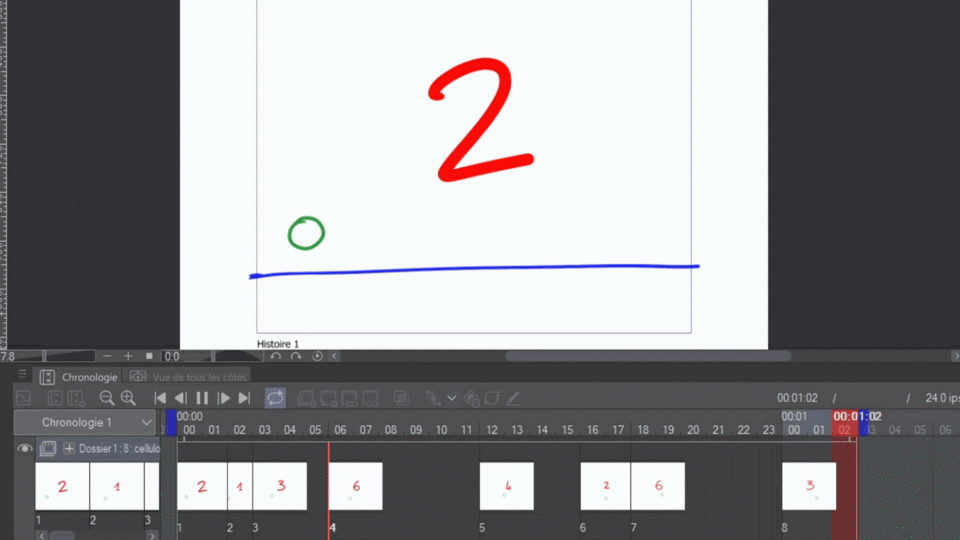
I also recommend that you read these Clip Studio Paint articles to learn more about basic animation features.
Step 1: Have an intention
When you want to make an animation, you have to ask yourself questions:
- How should my animation behave?
- Does it have to be lively at the beginning, slow in the middle and calm towards the end?
- ETC.
Intent is what allows you to have a foundation on which to base your animation.
For this animation, my intention was for the magic spark to appear spontaneously and calmly then become vivid towards the end in an implosion/explosion effect.
So I posed a concept that worked with my intention: particles that appear slowly at the start of the animation then converge towards the center, before exploding in a chaotic dance.
Step 2: Break down the animation
Once you have your concept, break down your animation according to your intentions.
I encourage you to use arrows as guides to visualize the movement of your animation.
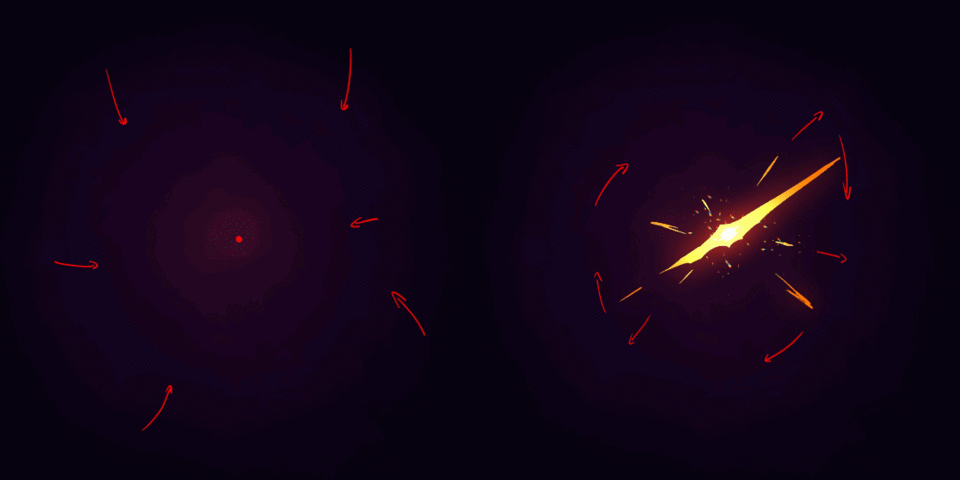
Stage 3: Implosion
For the first part of the animation, the magic spark particles are very close at first.
As they converge towards the center, the distance between them increases and they become faster. Like an implosion.
Draw frame by frame the movement of the implosion.
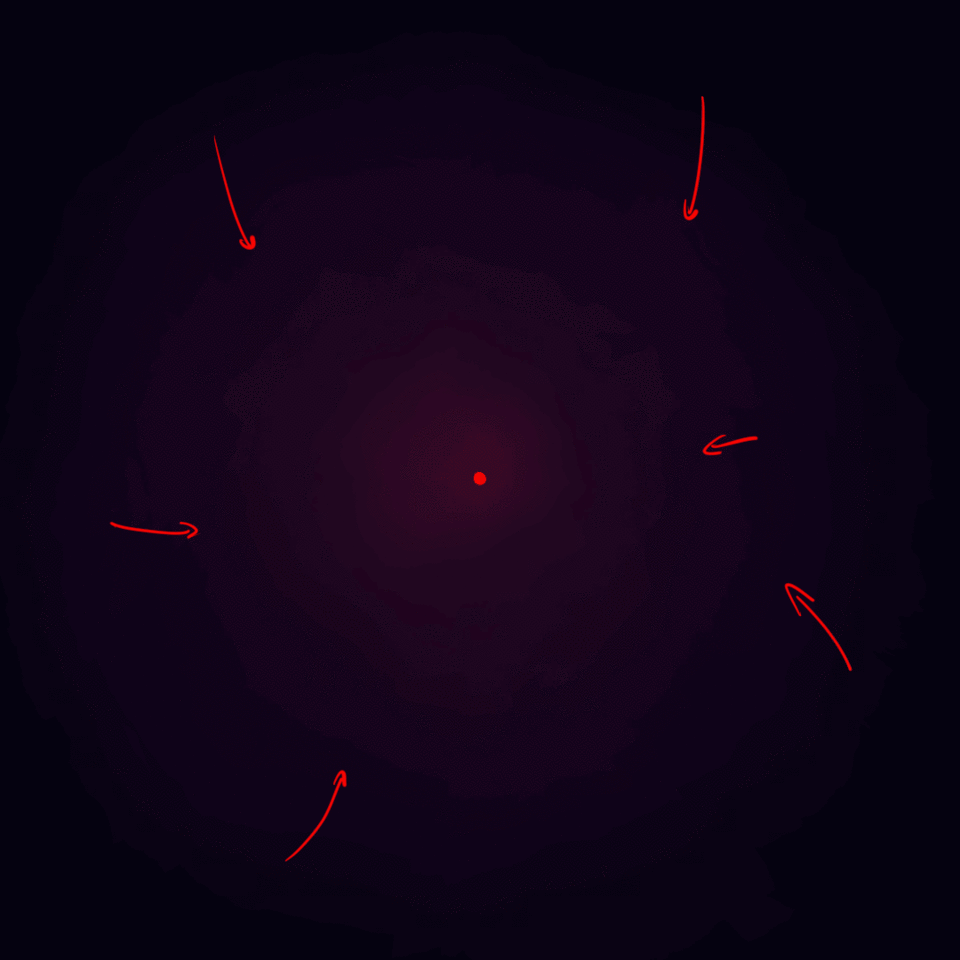
I suggest you use the "onion skin" feature to see the previous or next drawing on the timeline, so that your animation moves correctly.
When you have a movement that suits you, you can adjust the exposure time of the images to your liking on the timeline.
In the following example: 7, 2, 2, 2, 2, 2, 2, 1, 1, 1, 1, 1, 1 (so that the implosion is slow at the beginning and fast towards the end).
After performing all these steps, you will have the following result.

Step 4: Blast
"Art is an explosion!" Deidara
For the second part of the animation, the magic spark concentrates in the middle, then explodes outward.
Like a real spark, your magic spark should behave randomly.
You can take inspiration from my way of doing things or find the one that suits you.
There are no rules.
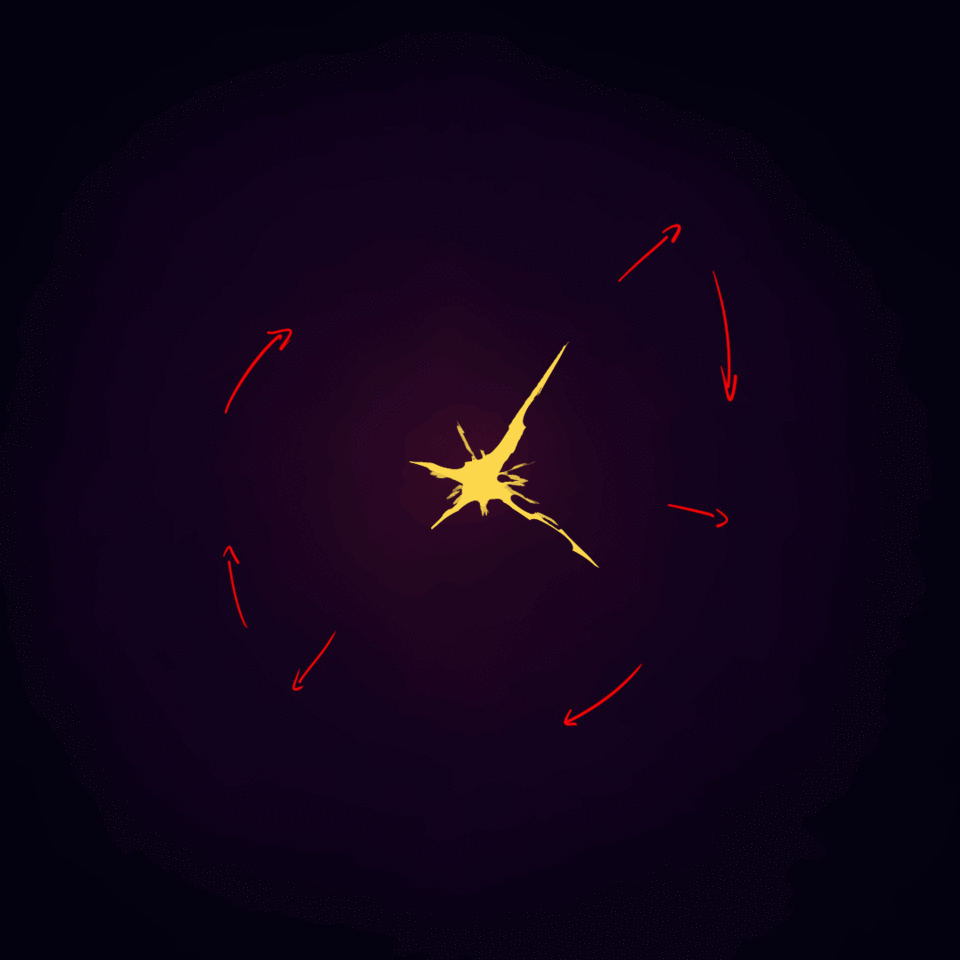
Set the exposure time to 1 per frame in the timeline to make them scroll fast.
Step 5: Loop Animation
For the rest, your animation should include a phase where the magic spark plays and repeats (looping animation) towards the end.
This is the phase where your explosion becomes stable.

Here's how to do it step by step.
Step 1: Create markers
The goal is for branch 1 (in green) to complete a clockwise turn and turn into branch 1 (in blue).
To do this, create markers for each branch of your magic shard. In this example, there are 6 branches with 4 key poses for each.
You can do more or less if you want.
Step 2: Follow your markers and draw your keyframes
Use your landmarks and draw the spinning motion to move each branch.
Key pose 1
Key pose 2
Key Pose 3
Key pose 4
If you follow these steps correctly, you will have a perfect animation loop of your magic spark.
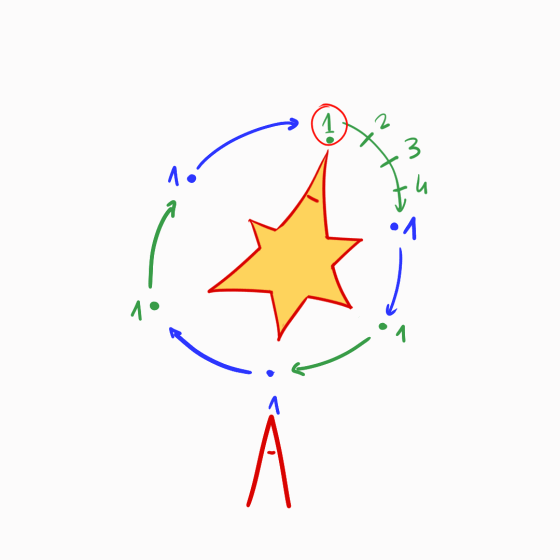
I suggest you use the "onion skin" feature to see the previous or next drawing on the timeline, so that the movement of your animation is correct.
You can then put whatever exposure time works for you on the timeline.
*Below: 2,2,2,2 for each key pose.
Step 6: Repeat Animation Loop
If you then want to loop your animation on the timeline, do the following:
Right click on the timeline of your animation folder.
A window appears and allows you to see all the images in your animation folder.
Then select the number or name of the key pose you want to repeat on the timeline.
The image of your key pose will appear on the timeline.
Do the same action for each key pose.
With these steps completed, your magic spark animation should look like this.
Implosion and Explosion.

Step 7: Add effects
For this step, create two new animation folders.
Effect (in orange) and Light (in yellow).
Each animation folder should have a single frame on the timeline.
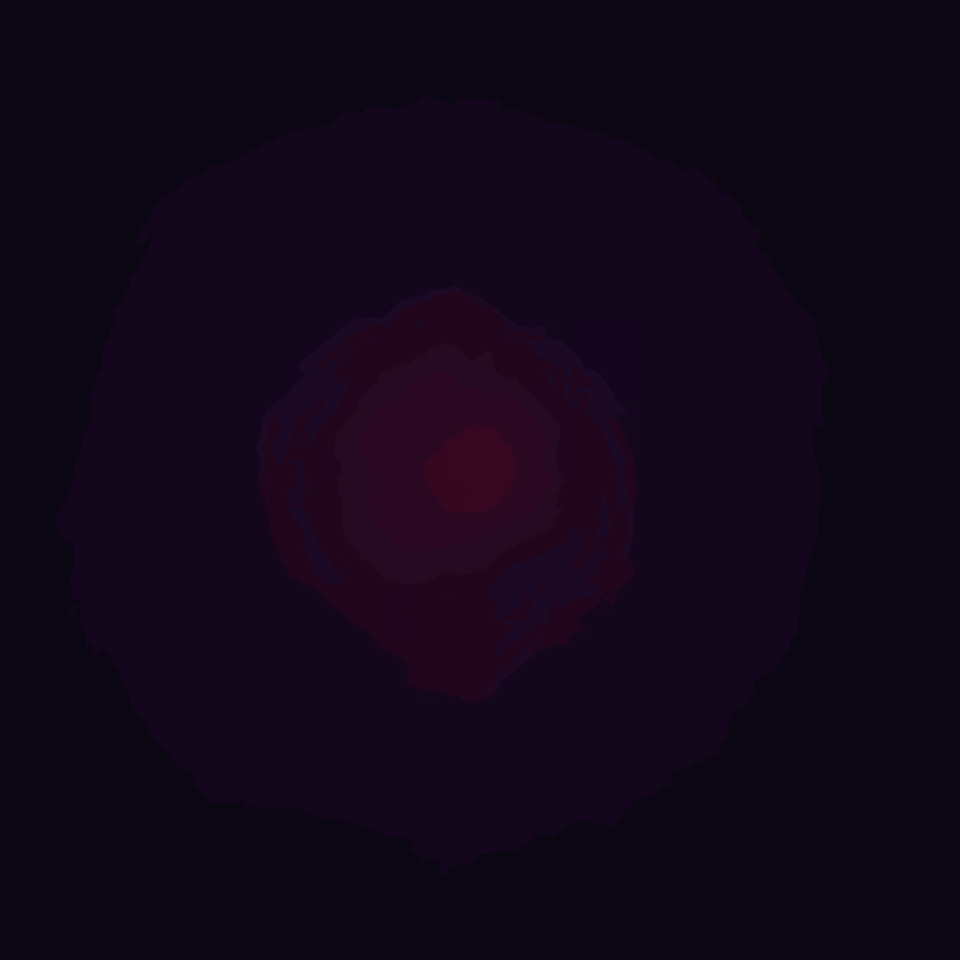
On the layer of the ''Effect'' folder, with a warm color (red or orange), use the [Airbrush] tool and lightly spray around the drawing with the brush (in a very soft movement).
Do the same in the ''Light'' folder with a lighter color (yellow).
Now that it's done, apply the blending mode [Add Glow] only on your ''Light'' animation folder.
Select your two animation folders ''Effect'' and ''Light'';
On the bottom layer, choose the [Clipping Mask] option.
Step 8: Add Particles
Follow the next steps to add particles to your animation.
Create a new animation folder.
*Here ''Particles'' (in green).
Then, frame by frame, draw a circle of white color in the center of your exploding magic shard.
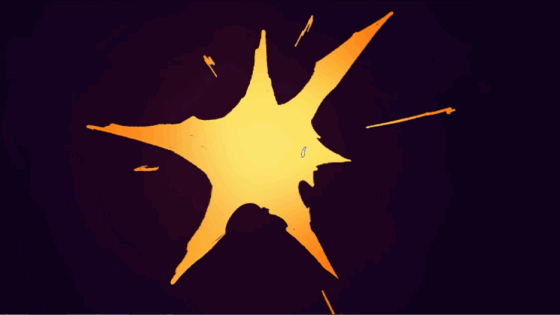
Now apply [Add Glow] blending mode to your animation folder ''Particles''.
Add particles with the 27pt ''Real Prism brushes''.
This is a free brush.
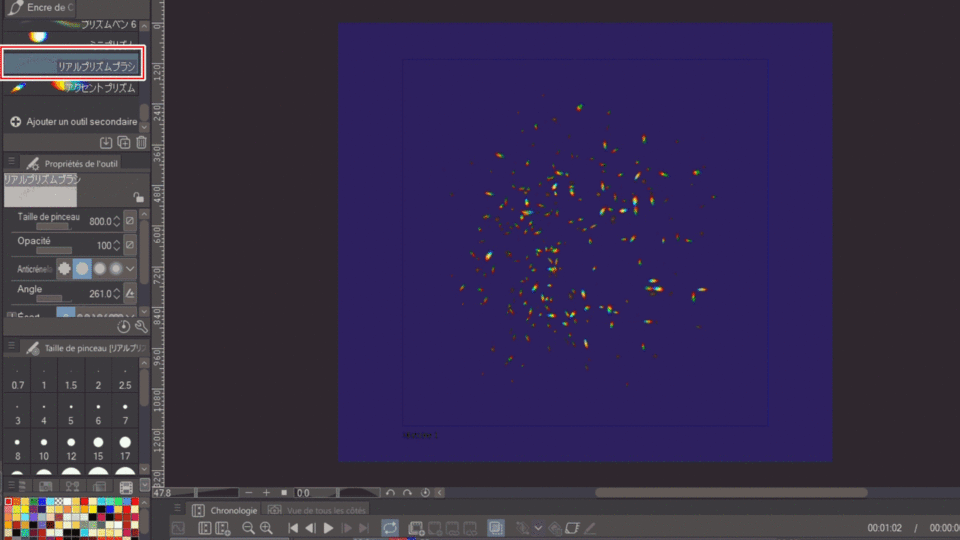
And There you go !
Step 9: Add Light Blur
For this step, you will add light to your animation.
To start, duplicate the animation folder of your magic spark.
Consider changing the color and name of the duplicate folder to differentiate it from other folders.
*Below: "Glow" (in purple)
Change the color of each drawing in the folder you duplicated.
Edit > Change Layer Colors to Drawing Color.
Click on the blending mode of your animation folder and select the [Add (Glow)] effect.
Next, click on the Filter window > Blur > Gaussian Blur.
Apply Gaussian blur to each frame of your animation to the desired intensity.
For my animation, I put the Gaussian blur lightly for the implosion and at maximum for the explosion.
Once you have all your drawings in Gaussian Blur, move the folder above the other animation folders.
Step 10: Export your animation
After completing the animation, export it as:
- Video via File > Export Animation > Movie
- Looping GIF via File > Export Animation > Animated GIF.
And here it is (bis)!
Your magic spark animation is ready.
Thanks for reading !


Comment