
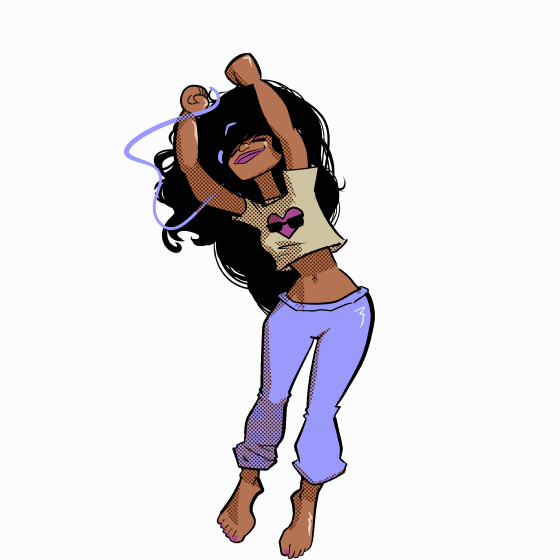
Sketching the Figure
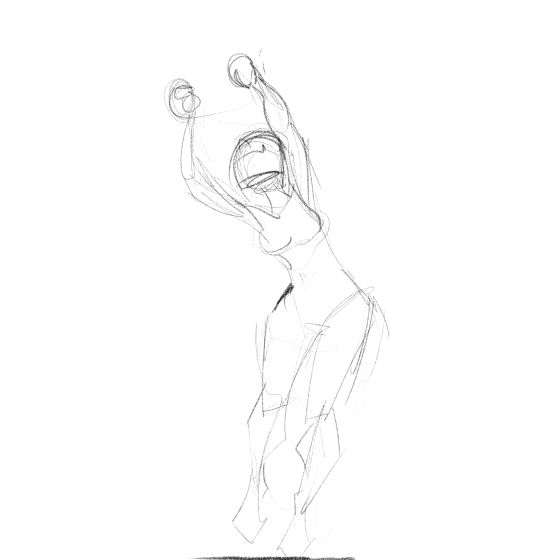
The best way to start is with a sequence of rough sketches. Draw the extremes, where your character is the most stretched out or compressed. Include any moments where the character has a major shift in motion or direction.
Tip: Make sure onion skin is enabled, so you can always see your previous drawing.
Tip: Don’t use “New layer” in the layers palette to create your sequence. This will create a layer, but the new layer won’t be added to the Timeline. You won’t be able to edit until you add it to the timeline. Instead, click “New animation cell” in the Timeline.
Tip: Be fast and redraw often. Try to keep the proportions the same from sketch to sketch. This simple sequence will be your best guide for the next couple of hours.
Drag your frames forward and back on the timeline to adjust timing. Redraw where necessary. Add or remove sketches where necessary.
For my dancing girl, I used a simple rhythm, so I was able to place one reference sketch every 6 frames. I drew only the apex of each jump, and the lowest point of each rebound.
Getting the Motion Right
On the Timeline, create a new animation folder. Name it “Right hand” or something similar.
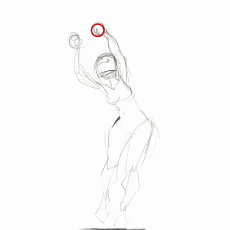
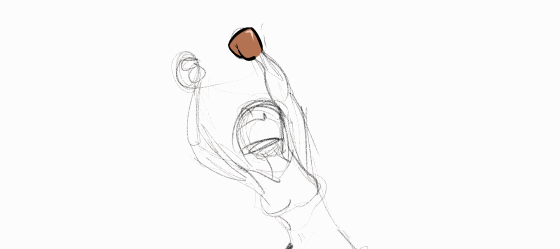
Within that folder, create a new animation cell. Pick a color and draw a circle over the right hand of your character.
On the Timeline, click “Enable keyframes,” then “Add keyframe.”
Make sure the Object tool is selected, then drag the center of rotation (That small “+” icon in the middle of your canvas) to the center of your new circle.
Advance to your next reference sketch. Drag the circle to the new hand position. A new keyframe will automatically be created. Continue through all of your rough sketches.
When you push play, you’ll probably see something like this:
Work with your timeline, moving the circle with the object tool, adding or deleting keyframes until you have smooth, natural motion. Something more like this:

Now make a new folder for each expressive body part. For this dancing girl, her hands and hips move the most, so I made a folder for each of those. I added three more for feet and head because those parts moved somewhat independently of the others. I ignored her arms, legs, and torso, but feel free to add them if you don’t think you can visualize the motion properly without more reference.
Now, you should have a pretty busy animation:

Drawing It All
(Tip: You’re going to be creating your character piece by piece. If you don’t have a good idea what colors and styles you’re going to use, take the time to draw her on another canvas in your normal style.)
In the “Right hand” folder, select the layer on which you drew the circle. Erase the circle.
Right click on your layer and select “Create folder and insert layers.” Now, instead of one single layer acting as your animation cell, the folder becomes the cell. It should be named “1,” just like your layer, and should be visible on the timeline. Within that folder, you can create and draw on as many layers as you like.
(Tip: Try to keep your layers to a minimum here. While you can copy, drag, and transform multiple layers at a time by dropping them all into a folder, you’ll be doing twice as much drawing if you have twice as many layers. For this project, I just used 2 layers: Lines and colors.)
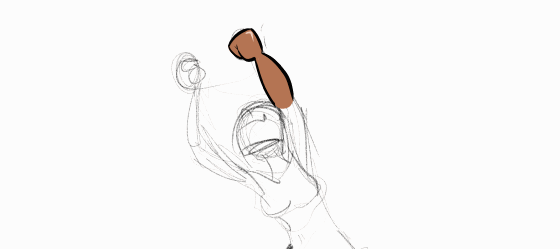
Using the rough sketch as reference, draw the right hand.
On the timeline, still in your "Right hand" folder, advance to your next reference drawing. The motion of the hand should be just about right... thanks to the work you did with circles, the hand should be moved to its new position.
Click “New animation cell.” This will create a partner cell to the one that precedes it, so if the cell you just finished was a folder named “1” containing two layers named “lines” and “colors,” the new animation cell will be a folder named “2” containing two layers named “lines” and “colors.”
Draw the right hand in its new position. Make sure onion skin is enabled so you can check your proportions against the previous frame.
Continue through all your reference sketches. When I was done with this, I had just four unique hand drawings spread across the 24-frame sequence. On playback, it looked smooth enough for me, so I didn’t draw any more.
Make a new animation folder underneath “Right hand.” Name it “Right forearm.” Create the same layer and folder structure within that you did to draw the hand.
Draw the right forearm.
Remember that I drew four unique hands? I only drew one forearm.
The forearm doesn’t change shape enough to make it worth redrawing. It does foreshorten a little bit, but I just faked that by sliding the hand down a little further, covering up the end.
(Tip: make sure to leave open lines at the ends so that you have more flexibility when joining body parts.)
Keep going, creating folders for body parts as you see fit. Use motion, rotation, and the transform tool. These tools will save you from a lot of unnecessary drawing. If you can’t move, stretch, or rotate a body part to fit, create a new cell and draw the new position.
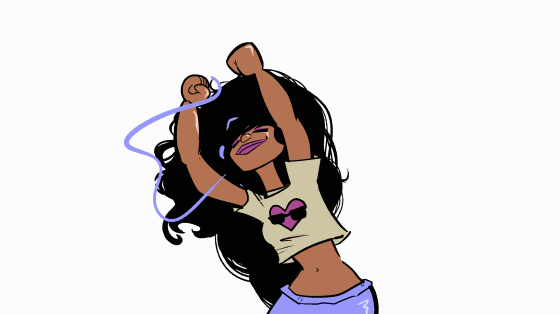
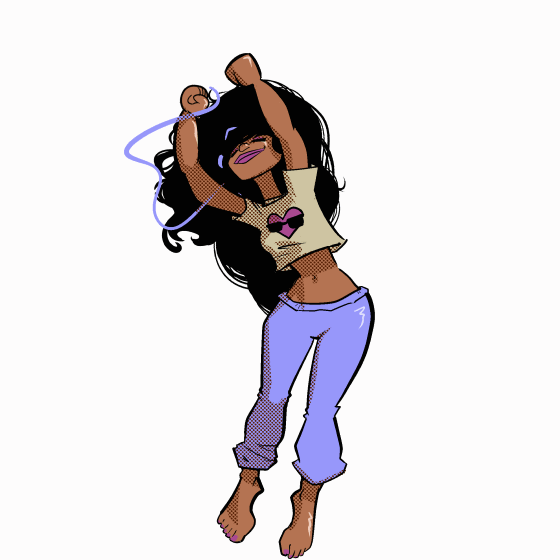
When you’re done, you should have a drawing that looks simple, but is actually built by many, many layers:
It takes some trial and error to learn how best to join these parts. Here she is exploded:
And here’s what my layers looked like. I made a folder named “body” and dropped everything into it to help keep things simple.
Here are some of the simplest layer folders exploded. I was able to get by with only 1 drawing for her right shoulder and bicep, but had to use 2 for her left.
Handling the Head and Hair
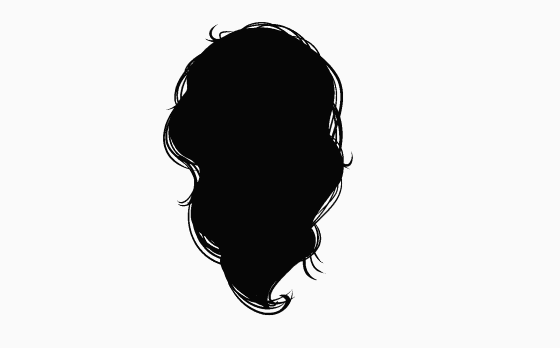
To keep hair simple, it will need to stay entirely behind the body. But some hair, of course, falls in front of the head. Here’s how I did it, in order to avoid generating multiple hair layers. Head in front:
Hair behind:
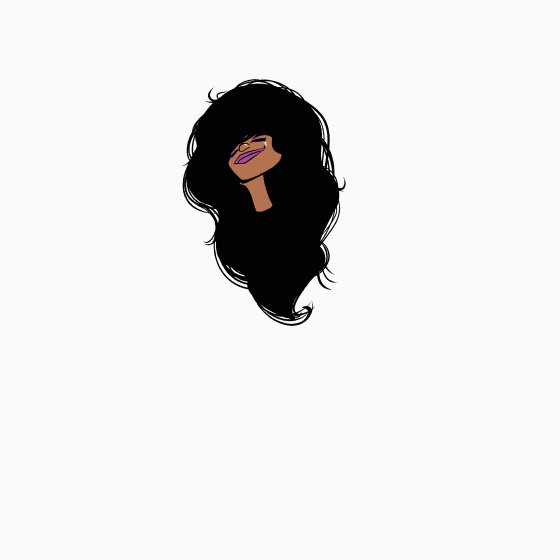
I redid the hair a few times, trying to find the best fit. This hair has 3 frames of animation:
Create a folder structure like this:
1: An animation folder, named “Head”. Enable keyframes on this one.
2: A subfolder, named “Face.” Draw the face.
3: A subfolder, under “Face,” named “Neck.”
4: A subfolder, under “Neck,” named “Hair 1.”
5: Another subfolder, under “Hair 1,” named “Hair 2.”
That’s a lot of folders/layers to keyframe and move. Instead of moving each folder and trying to match them to each other, do the bulk of your keyframe animation on the “Head” folder. Since that folder contains all the others, they will all move together.
As of this writing, Clip Studio won’t let you copy and paste your keyframes from the layer on which you drew your reference circle, to a folder containing no drawing information. You’ll have to recreate them.
After animating the “Head” folder, feel free to add keyframes to the other folders to create more interesting, organic movement.
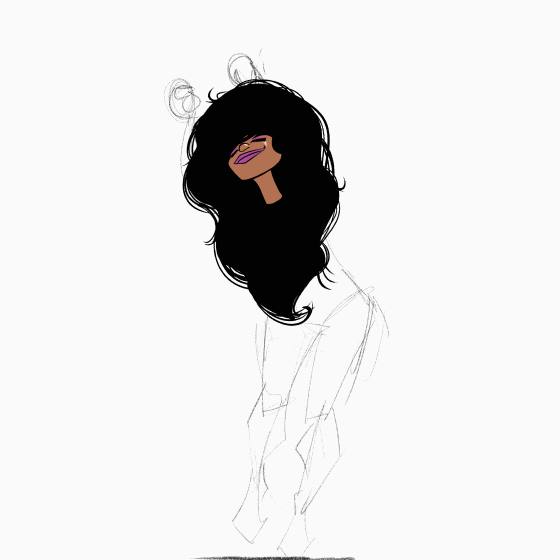
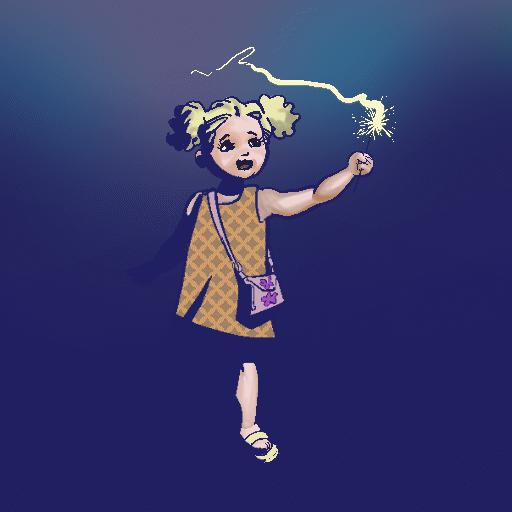
And to really give her liveliness and bounce, I added a second layer of hair:

And some headphones:


The Final Touches
The headphone cord is just drawn with no keyframe trickery. I drew 12 frames instead of 24, used the onion skin, and redrew when it didn’t flow correctly. If you slow it down, you can clearly see in every other frame that the cord doesn't line up with her hand or ear:
For shadows, create a new folder above all the others. If you’re clever with folders, you can use “Clip at layer below” to keep from drawing on the background. In this case, I just set the layer to “Darken” instead of “Normal.” You can also set layer properties on this folder, which I used to add a screentone effect.
The shadows were the only element of this 24-frame animation that I had to draw 24 times. Depending on how much motion you have, you might be able to get by with less. Clip Studio is incredibly flexible in this regard... if you have a few frames that need unique drawings, you can do it, and if you have a few frames that will bear a single drawing, you can do it!
More Fun
The beauty of animating with keyframes and transformation tools is that you can very quickly swap out drawings! Here she is again, with a new head!

With just a little more drawing, you can turn a man:
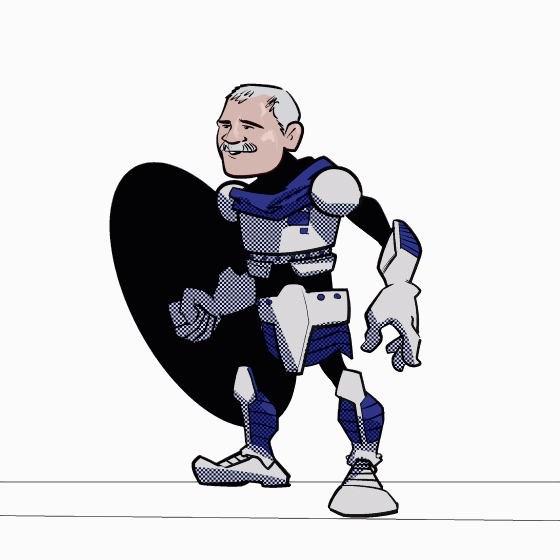
Into a woman:

And don't forget that you can easily add a smooth, looping background to your animation:
If you want to view my original file of the Dancer animation, here it is:
I hope this helps! Clip Studio is growing more powerful by the month, and I'm excited to see new artists adopting it.
Users who liked this post


Comment