
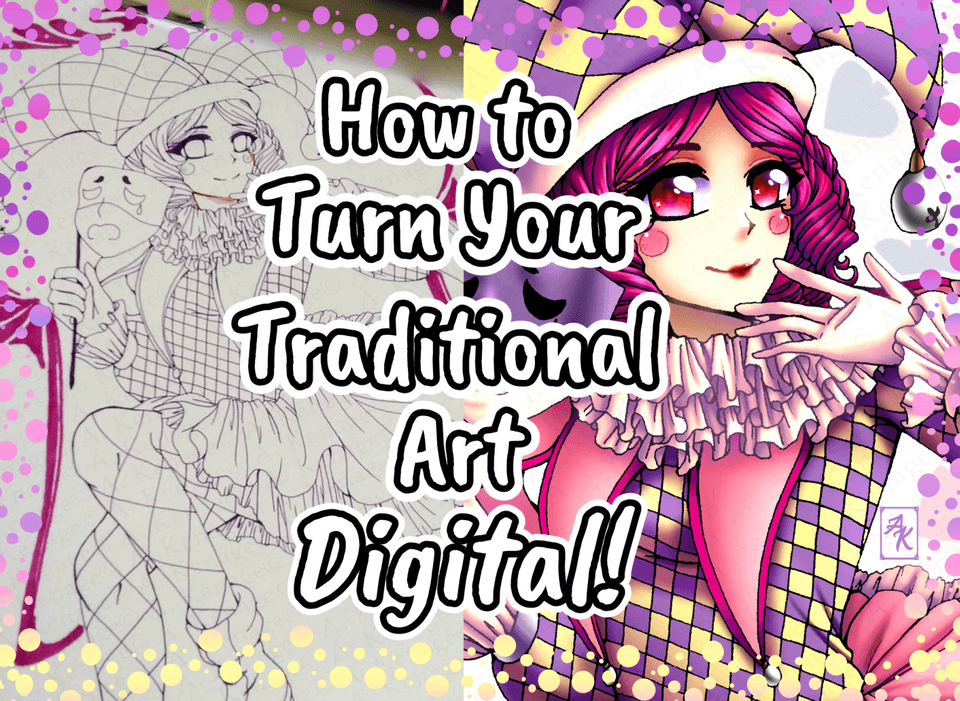
Introduction
Hi guys! I am Zari & today I will show you how to draw hair that suits your character. We will observe hair specifications that will stand your character out.
Some tips, which I will give you, be helping you not only in digital, but in traditional styles.
Let's get started!
Main CSP Tools:
1. Default CSP G-pen
2. Fill Tool
3. Auto Selection Tool
4. Default CSP Airbrush
5. Eraser
6. Colorize! Auto Colouring in CSP! Waw.
Shortkeys:
DELETE - deletes everything
CNTRL+Z - deletes previous step
CNTRL+C - copy
CNTRL+V - paste
CNTRL+T - selects layer, so you can move it as well as transform shape
SHIFT – using when selecting multiple objects, layers in a group
CNTRL – using when selecting multiple objects, layers from different areas
STEP 1:
Create a canvas of any size.
For example I choose 2500 x 2500 px, 300 dpi. For black & white images choose 600 dpi.
Pick G-pen.
Tip 1: Use raster layer for your sketch
Tip 2: Create a vector layer for your lineart as well as colouring
! Create a vector layer for your lineart as well as colouring. Quality of your image will be fine when you will decide to change your quality to 4k or more!
You can convert raster to vector, as well as vice versa!
(Layer -> Convert Layer -> Type (K) -> Vector Layer).
STEP 2: Learn the basics
Hairline
To find right place to hairline, use your character's nose to measure. Face contains 3 noses as a measure! Do the measure nose first, later find hairline, as well as comparing if you did place chin correctly.
(Measures may vary, when you use perspective, so be careful)
Hair Growth
Dividing hair growth in 3 different parts will help you orient, when you creating a hairstyle!
Tip 3: Start with a bang
Start with a bang. It will show you in a better way how you continue to draw hair, where a parting is.
Hair Length
Short hair - Medium hair - Long hair
Hair Types
There are types of hair: straight, wavy, curly, coily.
Hair Types: Straight
Hair Types: Wavy
Hair Types: Curly
Hair Types: Coily
Hairstyles
Hairstyles: Pigtails
Hairstyles: Buns
Hairstyles: Ringlets
Hairstyles: Braids
Use a Heart Shape to create braids for your character's hairstyle.
Now you can mix up any of these styles as well as types of hair yourself.
Tip 4: You always can use a reference for a desired hairstyle
Now as you can create different hair styles, time to choose a proper hairstyle for your character.
STEP 3: Analyse a character & create a hairstyle for them!
Creation of a Character
Creation of a Character STEP 1: Choose the character you would like to draw
Female or male or other.
I have chosen a female character from my Webtoon. Her name is Amanda, she is head of a class.
Creation of a Character STEP 2: Decide on character's personality & style
Character threats: cute, brutal, usual, badass & so on.
Amanda is very responsible, in some things she is harsh, as well as she an easy heart, who can fall in love with an appearance first. She likes mandarins, as well as to singing in karaoke bar after school. Her style is neat & clean. She uses expensive perfume as well as clothes.
Now we have some picture of Amanda on who she is. I have decided on her main threats; it is time to create a hair style for her.
Creation of a Character Step 3: Choosing hairstyle for your character, adding standing out details
Picking up main details that affecting character: Responsible, easy heart, mandarins, neat, luxury.
1. Responsible. For responsibility is very suiting, strict straight hair.
2. Easy heart. Romantic nature comes with wavy hair.
3. Mandarins. Can be added as hair pins, hair belt, hair bow with a colour or a texture, so on.
4. Neat & Luxury. Wavy hair becomes ringlets, as she puts much attention to her look.
Hair pin, belt, bow are becoming luxury scarf with a mandarine print on it.
Voila!
We have something we wanted to be suit our character! Appealing! Remember that character's changing during the story as well as hairstyle.
Create more fabulous looks! Let's colour now! Yeyz.
STEP 4: 3 ways of easy colouring.
Way 1: Paint over + AUTO SELECTION TOOL
Create a new layer, BASE COLOUR layer, below the lineart above other layers. Paint over your hair area.
Select with a AUTO SELECTION SUB TOOL (Refer to editing layer only) everything else with holding a SHIFT key. Choose layer with a base colours.
Click to DELETE key on your keyboard several times to make sure it did deletion of all pixels till lineart if you use raster layer.
Or use ERASER.
Use ERASER to erase what we couldn’t delete with AUTO SELECTION TOOL.
Repeat the same process with accessories.
Way 2: Fill Tool + Shadows & Highlights
Make a new layer under the lineart.
Choose FILL SUB TOOL (Refer other layers).
Fill the areas you want to colour.
Fix unfilled corners with a FILL SUB TOOL (Paint unfilled areas).
For shadows add the new layer above the BASE COLOURS layer. Clip the layer.
There are two ways to colour: direct colour, multiply layer.
Add main hightlights.
Add additional highlights + use AIRBRUSH Tool to make edges softer, put the layer mode on Screen. Change opacity.
Way 3: Colorize + AUTO SLECTION TOOL, Shadows & Highlights
Set your lineart layer as a reference.
Put hint colours on the new raster layer below the lineart.
Use hint image & colorize.
Edit -> Colorize (Technology preview) (Internet access is necessary) -> Use hint image & colorize.
Add eye colours + colours that are missing!
Duplicate layer.
Clip it to the lineart (Blending mode: Multiply).
Choose the layer with hair.
Use AUTO SELECTION TOOL (Refer to editing layer only) on your lineart. Select areas, which are outside of your hair area.
Click DELETE key on your keyboard.
Image is cleaned from not necessary white background.
Create a new layer, clip it to the layer below. Put Layer mode on Multiply. Add shadows, highlights. Create a new layer, clip it to the hair layer above the shadows. Use the same colour as you used for shadow, create with the AIRBRUSH glowing effect.
Tip 5: Never use black or grey colours
Never use pure black or grey colours for your shadows & colouring.
Tip 6: Remember about a light source
Remember about a light source! Use references, if you are not sure how to put light/shadows.
Tip 7: Simplify character look
If you create a character for your comic make sure to simplify character look, as well as to create texture templates for your main assets such as a scarf, pins, gems.
Practice is a key!
Thank you!
Thank you for reading. I believe you like it.
Users who liked this post


Comment