How to animate flames in Clip Studio PAINT
Hello! In this article I will teach you how to animate flames in Clip Studio PAINT in a very simple way and achieving a great result.
Previously I explained in a very basic way how to animate fire in Clip Studio PAINT:
But this time we will do all this animation, from the movement to the color, we will even add some very simple effects.
What we are going to do:
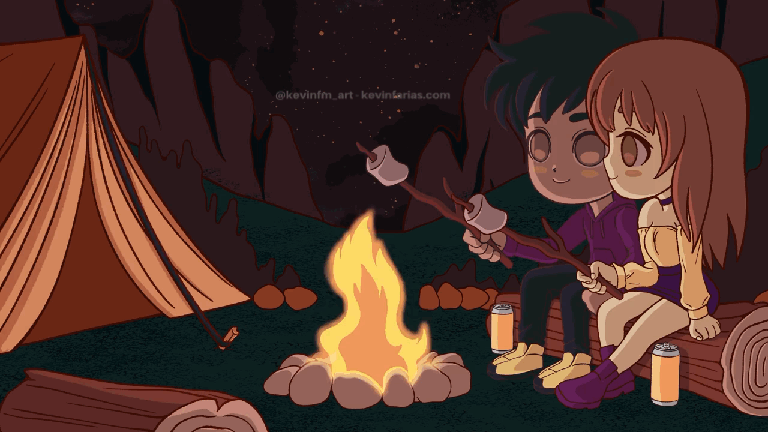
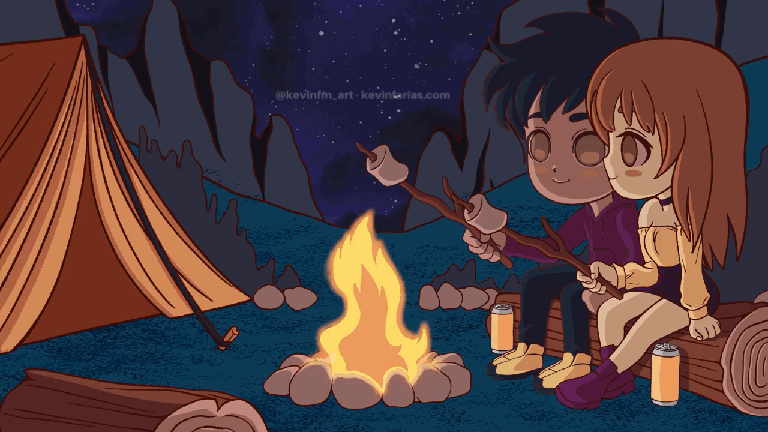
We'll start with this scene:
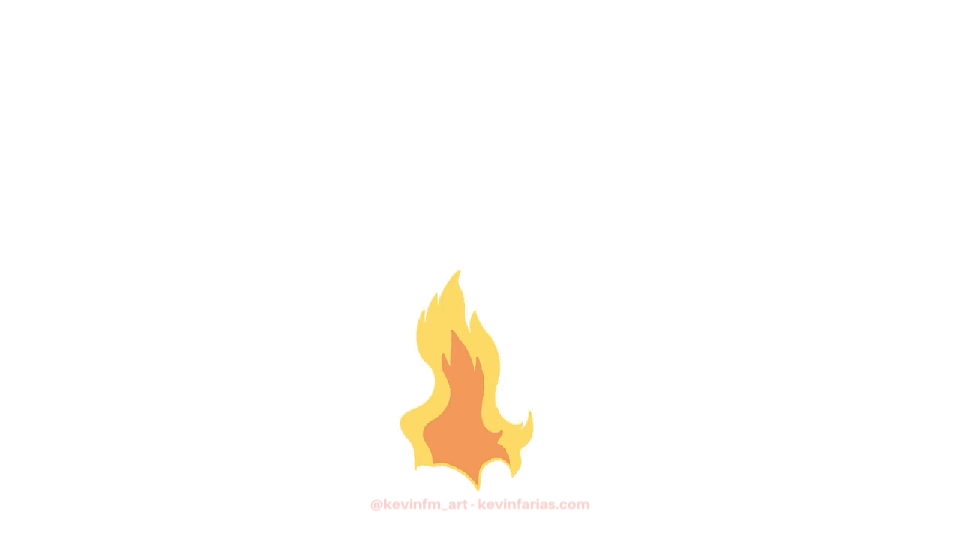
And we'll create an animation of a flame of fire to integrate it into this scene:
Before beginning, you must understand the movement of a fire flame, which I explain below.
Explanation Cycle of movement of Fire
We start with: Ascent, then the Swelling, to continue with the Division and end with the Reduction. To return to the Ascent again, remember that we will carry out the Animation cycle.
Although we will be guided by the following concepts, in this new animation we will make the flame a little more realistic.
So the time has come to create our animation and for this, I invite you to see the following tutorial called:
How to animate flames in Clip Studio PAINT (VIDEOTUTORIAL)
The video is in Spanish, but you can activate the subtitles in your language, you will surely find it.
What did you think of the tutorial? I made it as simple as possible so that you too can manage to create your own animation.
Step by step of the Animation Process:
Now, I invite you to see again the step by step of the process of this animation.
1. Scene that we are going to animate
This Animation has animated only the eyes of the characters, so now it needs us to animate the campfire and that is where we come in, making the animation of the fire flames.
2. Animation Cel to Layers Folder
The first thing we are going to do is go to the timeline and create a: New Animation folder.
By name, fire. Or as you want.
Usually we would create a new animation cel to start with our animation, but this time we will do something different.
Once the animation folder is created, we are going to go to the layers panel to create one: a new layer folder.
It automatically acquires the number 1 as its name.
Now we are going to create different layers inside this folder of layers, which are:
LINE (Fire flame edge line)
CENTER (Center of the interior of the flame where the fire is hottest)
BASE (General color of the flame)
GLOW (Flashes of the fire flame)
Once we have finished we go to the timeline with the option specify cels we select drawing 1 in frame 1 of the timeline, so that it is visible.
As you can see, we have converted a layers folder to an animation cel, this folder allows us to create the layers that we want, which I think is great and is unique in Clip Studio PAINT.
3. Pen Tool
Now we are ready to start animating, for this we will draw with the Pen tool, in Sub Tool: Textured.
4. Pose Clave 1
We select the LINE layer and we are going to make the first drawing of our animation, as I explained before we will start with the rise of the fire flame, which is the following:
5. Edit Flame Animation Folder
Before continuing, we are going to leave the duration of the animation of the flame at 12 frames, for this we take it from the far right, leaving it at frame 13.
Because? Because in frame 13 with specify cels we are going to select drawing 1, which will be a guide to correctly make the animation cycle of the fire flame.
And finally we leave the blue bracket at frame 12, which will be the duration of the flame of fire.
6. Flame Animation Key Poses
Now in the timeline we go to frame 3 to create a: New Animation cel.
Once this new animation cell is created, we change its name in the layers panel to 3, to continue working in order.
As you can see, when creating this new animation cell in the layers panel, a new layers folder has been created with all the layers that we created previously, including the same names.
This will happen with each of the new animation cels that we are going to create in this animation folder.
Which I think is great and worth using! It will save us a lot of time.
To make this new drawing we are going to activate the onion skin, which will allow us to see the previous drawing and the following one:
And this would be the key drawing of frame 3.
Key Pose 3 (Frame 5)
We already have 2 drawings, now we go for the third, which will be located on frame 5, we create a new animation cell and in the layers panel we change the name to 5. We select the Line layer, activate the onion skin and perform this drawing, which will represent the concept: Swelling.
Key Pose 4 (Frame 7)
We go to frame 7 to create a: New Animation cel, in the layers panel we change the name to 7.
We select the Line layer and activate the onion skin in the time line, to continue with this new drawing. This drawing represents the concept: Division.
Key Pose 5 (Frame 9)
The next drawing that we are going to do is in Frame 9, we create a new animation cel, we change the name to 9 in the layers panel.
We select the Line layer, activate the onion skin and create this new drawing. Which will represent the concept of: Reduction.
Key Pose 6 (Frame 11)
Finally, we are going to create the drawing of frame 11, we create a new animation cel, we change its name in the layers panel.
We select the Line layer, activate the onion skin and make this new drawing, which will be the last key drawing of our animation.
Key Drawings of Fire Flame Animation
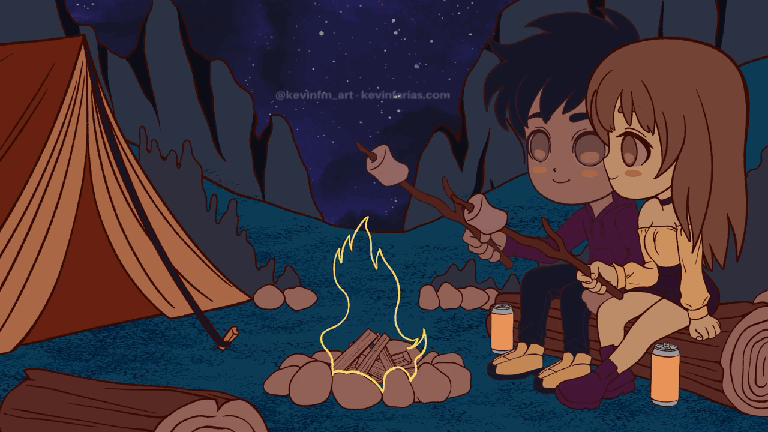
This is the animation with the key drawings we have achieved so far:
7. Inbetweens
Now is the time to smooth the movement of the fire flame, for this we will create new animation cels in the frames: 2-4-6-8-10-12. Always activating the onion skin when drawing, to see the previous drawing and the next one.
Inbetween Frame 2
Inbetween Frame 4
Inbetween Frame 6
Inbetween Frame 8
Inbetween Frame 10
Inbetween Frame 12
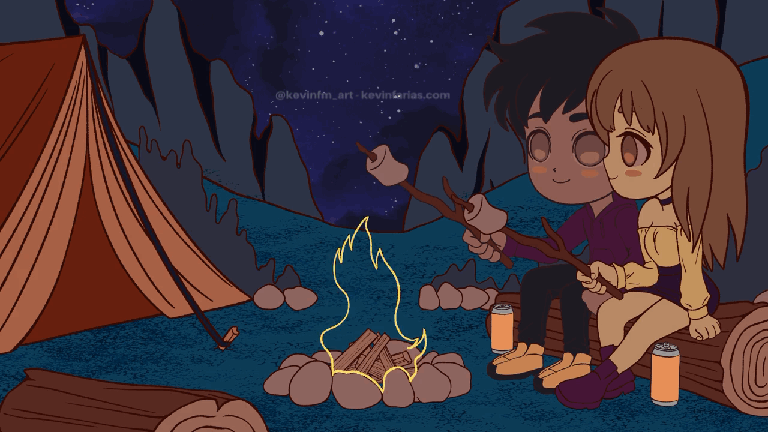
Fire flame animation with the Inbetweens
8. Animation Base Color
The first thing we are going to do is hide all the layers of the animation scene, leaving only the animation folder called FIRE visible, which is where the animation we have been working on is.
Then we enter each of the drawings and select the BASE layer, which is where we are going to paint.
And to paint we select the Fill tool, in Subtool: Refer to other layers.
And we click paint the area of the fire flame.
For this we will continue using the same color with which we made the line of the flame.
And we do the same with each of the animation drawings, achieving the following result:
Animation of the flame with the base color

9. Flame Animation Core
Now in the layer called CENTER, with the pen tool we are going to draw the center of the fire flame.
To do this, we are going to be guided by the shape of the flame, making a few small changes and we are going to choose an orange color.
Doing the same with each of the animation drawings we can achieve the following result:
Animation of the flame with the core
10. Fire Flame Glitter
Now we are going to make all the layers of the animation project visible again.
Next we enter the fire animation folder, in drawing 1 and select the layer: GLOW.
Then we select the Airbrush tool, under Soft Sub Tool.
To paint the edge of the fire flame with the same orange color used previously.
And doing the same in all the drawings we can achieve the following result:
flame animation with glitter

11. Post production
Now we are going to make some adjustments that will further improve our animation.
The first thing is to extend the blue bracket to frame 24, which will be the final duration of our animation.
Then we select with the cursor at the top of the animation of the fire flame.
Right button, copy.
Now we move to frame 13, we select it.
Right button, paste.
And voila, we have duplicated the animation.
Now I'm going to make visible a very simple light animation that I made.
Which helps it look like this:
Flame animation with ambient light
general atmosphere
And to make our animation of the fire flame integrate much more into the scene we are going to do the following: We are going to create a new raster layer above all the elements that are in the background.
We name it: Environment
And we paint with the fill tool that is in the upper part using the same orange color as the center of the flame.
Now in the combination modes we are going to change from Normal to Multiply.
And now our scene is much better and all the elements are more integrated.
12. Export Animation
Finally we will export our animation, it is something simple that we all know but it is worth doing it again.
Go to File – Export Animation – Movie (You can also export it as .gif format if you want)
In the next window we can put a name to our animation and we can choose the format, I will choose .mp4
Then this window appears where we have the measurements of the video to be exported and also the frames per second. We click OK and our animation will begin to be exported.
And ready! We've finished and exported our animation, now let's take a look at it.
13. Final Fire Flame Animation
This is the animation we have achieved, it is simple but it turned out great!

As you could see it is easy to animate a flame of fire, I hope you can do it too! See you in the next TIP!


Comment