
Introduction
Hello everyone, I’m back with another tutorial. This time, I’ll show you 15 time-saving hacks in Clip Studio Paint that you can use to streamline your workflow and work more efficiently. Alright, without further ado, let’s jump right in!
TIPS Video
Below is the explanation video if you prefer watching it over reading.
1. Companion Mode
The latest version of Clip Studio Paint allows you to turn your phone into a “remote control” when you draw. This is useful when you use a tablet or iPad without a keyboard. You can always have your phone by your side to execute different commands.
1. To set up, make sure that you have the latest version of Clip Studio Paint installed on your main device and your smartphone.
2. From your main device, tap the “Connect to smartphone” icon in the command bar → a QR code will appear on your screen.
3. Open Clip Studio Paint on your phone → click “Get started” → click the Companion mode icon → Scan QR code → allow Clip Studio Paint to access your camera → Scan the code on your main device.
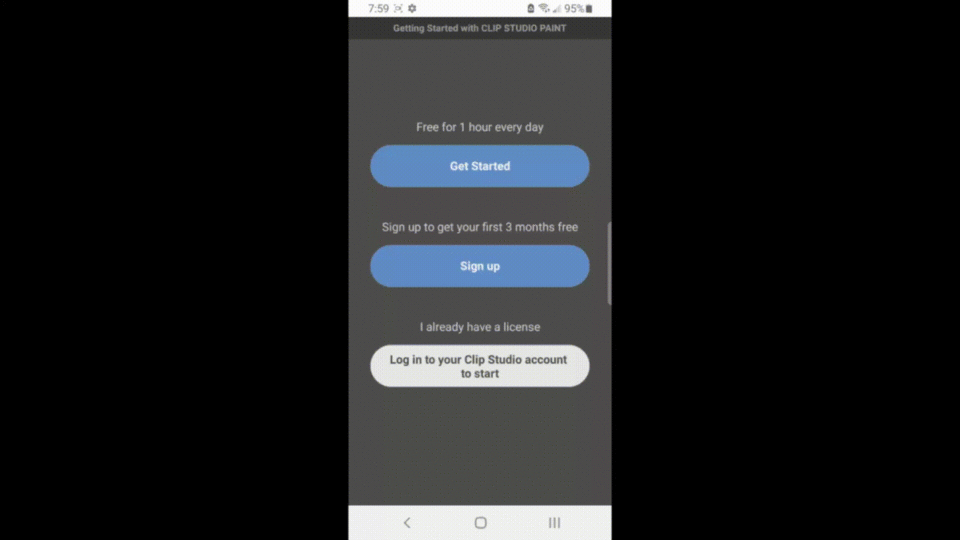
*Note: make sure that both your devices are connecting to the same Wifi. At first, I couldn’t connect because my phone and my computer are connecting to different lines.
Now you can use your phone as your “remote control”. You can choose color, change brush size, rotate canvas, undo, redo, and a lot more! Feel free to explore different options!
These are the 4 common functions I used:
1. The main companion screen: I use this screen to quickly undo, redo, access the lasso tool, and flip my canvas instead of pressing the combination Ctrl+Z, Ctrl+Y on my keyboard.
2. The color wheel: usually, when I draw on a smaller screen (such as my 10 in. screen tablet), I hide other unnecessary tool boxes to increase space, so having the color wheel on my smartphone screen really helps!
3. The keyboard button: my tablet don't have an external keyboard, so have this buttons on companion mode saves me time.
4. The navigate screen: This is more helpful to me when I draw on my computer than on a tablet, I used it to quickly rotate canvas, undo, redo, and zoom in + zoom out. Instead of pressing the combination keys (such as Shift + Space, or Ctrl + Space), I can execute the action quicker.
After you are finished drawing, disconnect by tap the “connect to smartphone” button.
2. The Command Bar
The Command Bar is a bunch of icons located above your canvas, at the top of your window.
It serves as a quick way to execute an action such as: Open a new file, create a new file, save, fill, snap, etc.
Do you know that you can add to the Command Bar by dragging and dropping your tool in it? I usually add the brushes/tool that I used frequently to save me the trouble of switching between the Sub Tool menus.
There are 2 ways to add to the Command Bar:
1. Right-click on the bar → Choose [Command Bar Setting…] → Choose Tools or Command you want to add → Click [Add] → Close the setting dialog.
2. Choose the tool you want to add (in this case I will choose my inking brush) → Drag to the Command Bar. That’s it!
To remove a tool from the Command Bar:
Right-click on the icon → choose Delete.
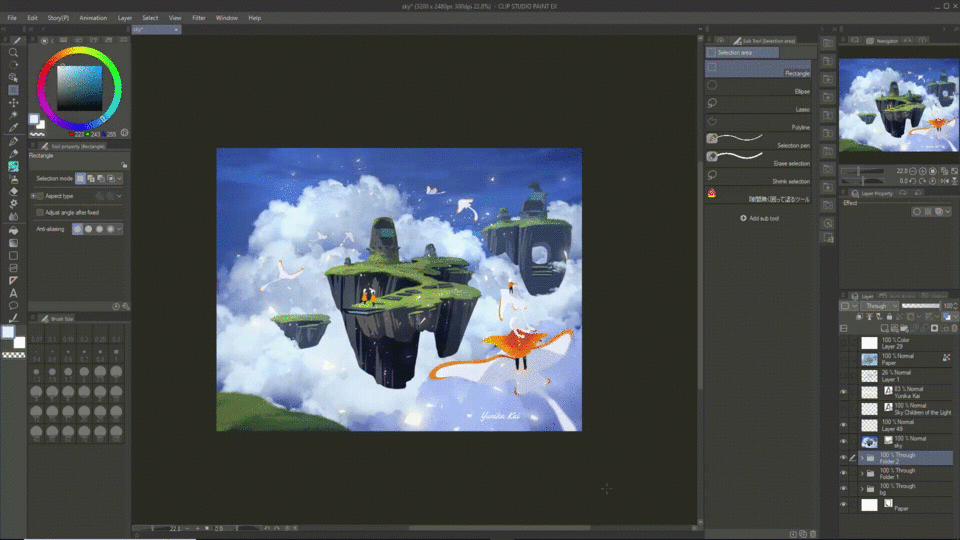
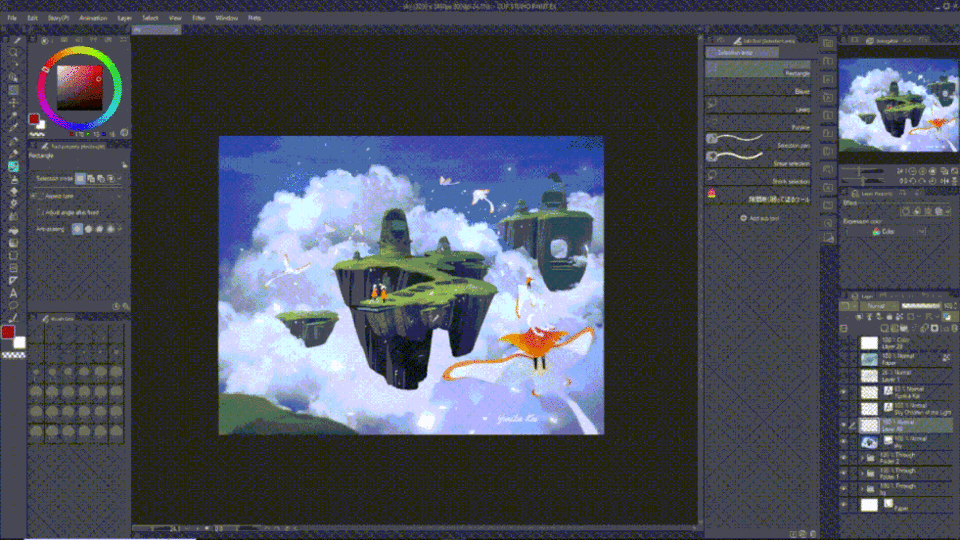
3. Pose Scanner
This is something I recently discovered in Clip Studio Paint. Do you have a picture of yourself or a model that you want to study? Instead of importing it to your reference window, you can actually import the pose directly into your canvas, and it will be imported as a 3D model! That way, you can study how the pose looks from different angles!
To use this function, you first need a photo. This is a photo from Rachel Bradley’s pose reference pack for artists. I bought it from cubebrush. If you want to check her content out, here is the link:
Then go to File → Import → Pose Scanner (image) → Choose your photo → Choose your body type (in this case I’ll choose Female) → Wait for the software to process.
Even though it isn’t 100% correct, with minor adjustments, I think it is good enough for me to study the pose from different perspectives!
4. Color History
Have you ever picked a color, chose a different one, and wanted to choose the previous ones again, but completely forgot which color was it? Don’t worry, the Color History palette has your back.
To enable the palette, go to [Windows] → choose [Color History]. This palette contains all of the colors you used so far, and the latest one is in the top left corner. This saves me so much time trying to figure out what colors I just used.
5. Select Layer
If you are the type of person who used bazillion layers when drawing, then this might be your time savior.
If you want to know a specific object on your canvas (such as a hat, or hair) is on which layer, you just have to hold [Ctrl + Shift] or [Command + Shift] (if you’re using macOS) and click on the object.
6. Split Layer View
Another useful tool if you have a lot of layers. You can actually spit the Layer palette into 2 different parts and scroll individually through each of them. This makes it easier to manage layers all the way at the top and layers all the way at the bottom.
Click the [Show Layer in 2 panes] button locate in the Layer palette → Drag the divider where to the appropriate position.
To turn it off, just click that button again.
7. Select Using Ctrl
If you want to select what you just drew on a layer, instead of using the lasso tool to select out the part, you can save time by holding down [Ctrl] (or Command) and clicking on that layer! The same thing applies if you want to select the drawing in an entire folder. Just hold down [Ctrl] → click the folder.
8. Select Color Gamut
Basically, it will select everything that has the same color as you specified. I used this function to extract the colors/texture from a reference image.
Choose [Select] → choose [Select Color Gamut] → choose Selection Type (choose [Add to Selection] if you want to select multiple colors) → click [Refer Multiple] if you want to refer to more than one layer, and choose the type of layers you want to refer to → pick the color from your canvas → press [OK].
9. Color Pick
1. From layer: Right-click to quickly access the color picking tool.
2. From your screen: Go to [Edit] → choose [Pick Screen color].
This is super useful when you want to pick whatever from your screen without the trouble of downloading and importing the image into your canvas!
10. Change Brightness to Opacity
People often use this function to make the lineart imported with a white background transparent. But I often use this when I want to make a brush with a white background transparent.
For example, this brush I downloaded this flower brush from ちりぞう. When I paint, I need to choose a sub color in order for the white part to have color.
But I don’t want to choose a mono color for the flower, instead, I will extract the black line out, and makes the white transparent.
This can be achieved by first, use the brush to draw the flower → choose the layer I just drew on → go to [Edit] → [Convert brightness to opacity]
There you go, you have the lineart ready for coloring!
11. Merge Visible to New Layer
I often use this function to merge whatever is on my canvas to another layer. If later I make changes and want to revert back to the original, I can always delete that merged layer at the top!
Right Click on any layer → Merge visible to new layer.
12. Split & Rearrange Windows
Do you know you can split your current canvas view into 2 different ones? Besides the navigator, I often use this to keep track of what is going on on my canvas. I recommend this if you have a large monitor.
Go to [Windows] → [Canvas] → [New window] → drag the new window to your desired location. You can let it floats on your canvas, or set it to one side.
13. Erased + Color Without Crossing Reference Line
Are you tired of zooming in to erase the overflow color outside of your lineart? You can turn on the Anti-overflow function by:
1. Set your lineart layer to a reference layer by clicking the [Set as Reference Layer] icon in the Layer palette.
2. Go back to your coloring layer, and choose your brush/eraser.
3. Click the “wrench” icon in the Tool Property palette → choose [Anti-overflow] → Tick the box “Do not cross line of reference layer”.
Now you can color and erase with ease, the software will take care of not crossing your lineart layer. (*For the visual demo of this, please refer to my YouTube video, for some reason, I couldn't attach the .gif file in this section).
| Bonus: a quick way to lay base color:
1. Set your lineart layer as a reference layer.
2. Download this material from Clip Studio Assets:
3. Select the [Selection Area] tool → Click the [Add sub tool] button → Choose the material you just downloaded → Choose [Add palette]
4. Create another layer below the lineart layer → Choose your base color → draw the selection around your lineart.
5. Now you can combine with the “anti-overflow” function to quickly adjust/paint your base color!
14. Vector Layer + Eraser
Lineart has never been so easy with vector layer. You can always change the line width and brush type within a matter of seconds!
To create a vector layer, first, click the vector layer icon in the layer palette or go to [Layer] → [New Layer] → Vector Layer → OK. After this, you can use any brush to draw as normal.
Have you ever found yourself zooming in during the line art phase to erase those little lines? Exhausting, isn’t it? With the vector eraser, it will save you so much time.
On the toolbar, select the [Eraser] icon → choose [Vector] (only works if you are on a vector layer). On the [Tool Property] box, we have 3 types of erasers.
1. Erased touched areas: this means that the vector eraser will have the same function as the normal eraser.
2. Erased up to intersection (SUPER USEFUL!): you only need to touch the extra part of the lines, and it will automatically erase up to the intersection.
3. Whole line: erased the whole stroke.
I found myself using the [Erased up to intersection] a lot. It saves me tons of time when inking comic.
Also, you can change the line width without redrawing the line over and over again.
Select the [Correct line] icon → [Adjust line width].
In the [Tool Property] palette, select either [Thicken] or [Narrow]. Then paint over the area you want to increase/decrease the width.
Additionally, if you don’t like the type of brush you are drawing, you can change the brush shape by going to [Operation] → In the tool property box, click the drop-down arrow in the Brush Shape → choose your brush.
If your brush shape is not available, you can register the shape by going to your desired brush → click the Setting icon (the wrench icon) → Go to [Brush Shape] → Click [Add to preset]. Done!
For more information on vector layers, you can go to the Vector section in my old TIPS article:
15. Change Brush Size
You can quickly change your brush size by press and hold Ctrl + Alt → drag your brush across your canvas to change its size.
Or you can quickly change the size by pressing [ and ] on your keyboard. [ is decreasing and ] is increasing. I set my stylus button to these shortcuts to quickly change the brush size!
Conclusion
Alright, that’s it for today's tutorial. Thank you for taking your time to read until the end. I hope you find any of my tips useful and help you work more efficiently! Until next time, have a wonderful drawing time!
Users who liked this post


Comment