How to use vector layers in your workflow
In this tip, I will share a few ways to use the vector layers efficiently in your workflow.
When creating a new file with Clip Studio Paint, you will be introduced in the [Layer] panel, with the paper that will be used as the default background of the canvas and a raster layer called “layer 1”.
Basically, everything you want to do can be done using raster layers whether you are working on lines or on colors. If, however, you want to resize your work, the quality of your lines will not be the same.
That is where vector layers are really useful as they register a lot of information while you draw your lines. Thanks to that, it is possible to resize the line without any quality loss and the information stored can also be changed using the [Operation] tool and the [Correct line] tools.
Even though a vector layer can not be filled with color, or blurred using the [Filter] function, among other things, its usefulness lies elsewhere.
To make a vector layer you can either go to the layer menu or click on the button above the [Layer] panel.
1- When sketching
Obviously, since vector layers are so useful with lines, they are mostly used when making the line art.
I would suggest, however, using vector layers as early as in the sketching stage.
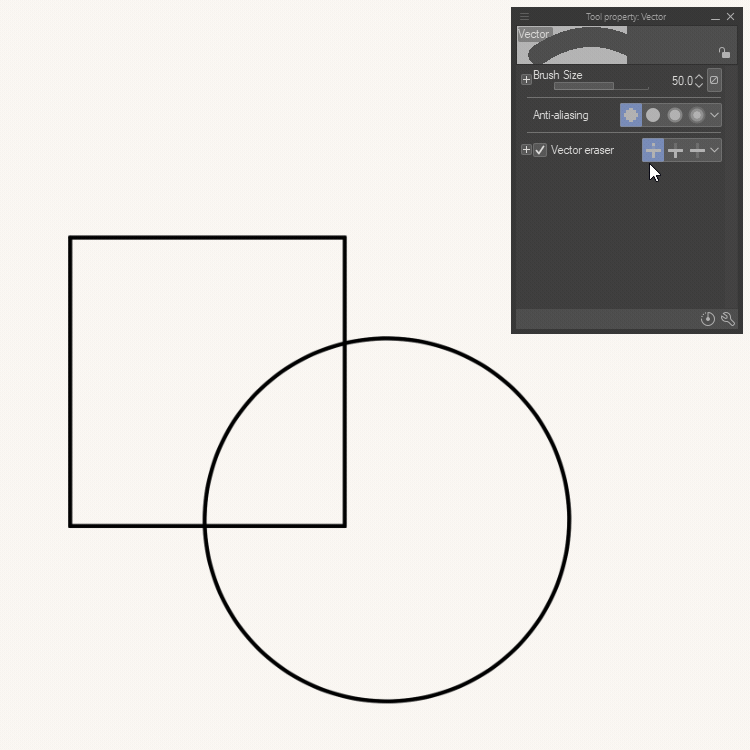
Of course, depending on your workflow, there might be a few steps before that, like thumbnailing. Once you start placing lines, consider using vector layers as they will let you achieve a cleaner sketch faster. All the brushes that you are familiar with when working with lines are still available, and you will have access to more tools designed specifically for vectors like the [Vector] eraser.
When making a sketch, the vector eraser allows you to erase a whole line directly or the part until it intersects with another line. Sketching is then more fun : since we can go as rough as we want, cleaning up the unnecessary lines afterwards becomes easier.
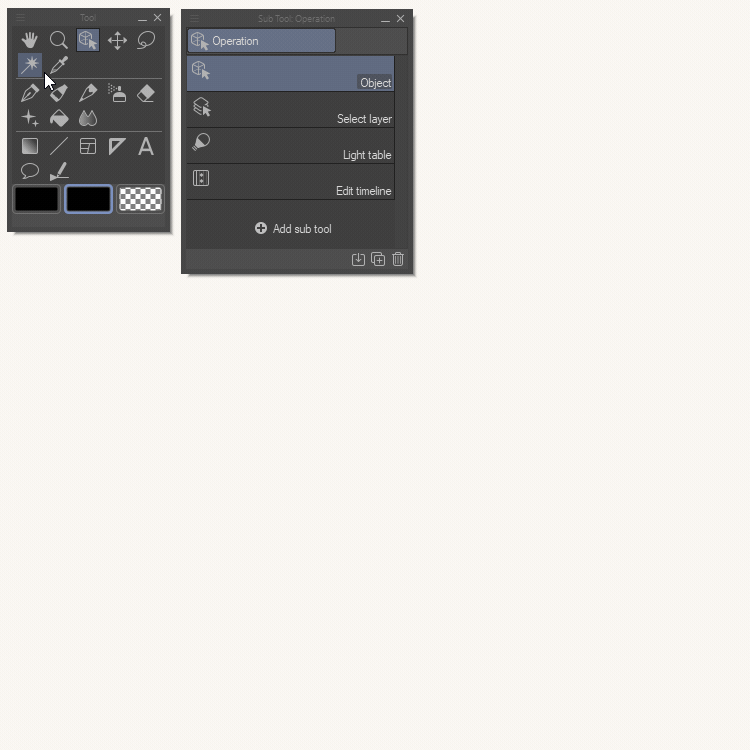
Using the [Object] sub tool in the [Operation] tool will let you adjust the position and form of each line by moving their control points.
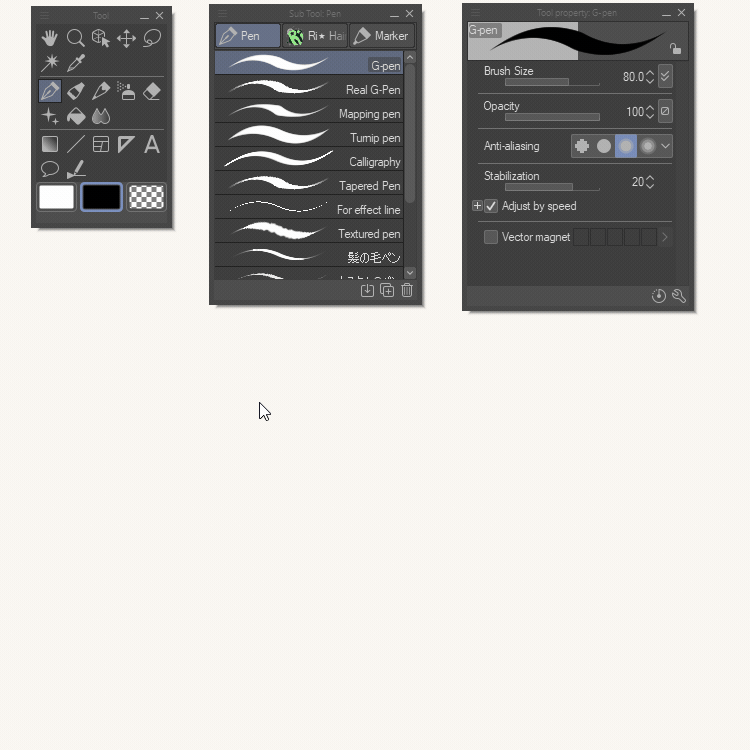
💡 Note: All the other tools, like pens, brushes, airbrushes and even erasers will be considered the same on a vector layer and will have control points to adjust them. For example, using a hard eraser on a vector line drawn with a pen will not actually erase it, but place another vector line, made by the eraser, to merely hide that part. It is the same if you are using a pen or brush with a transparent color.
To actually erase part of the vector line, it is necessary to use the vector eraser with the [Erase touched area] option, for example. That would divide the line into two different lines.
2- When doing the line art
Once the sketch is done, it is time to make the line art. Here are a few ways that could help make it but before doing anything, start by duplicating that sketch layer to keep the original safe.
a- by adjusting the sketch
If your sketch is satisfying but all the lines have confusing sizes, or the pressure was not right on some lines, it is possible to change the thickness of the whole layer or individual lines by using the [Object] sub tool in the [Operation] tool. By clicking on a line, you can see all the control points that compose it. Also, in the [tool property], you can change the color, the size and the shape of the brush.
Dragging a control point will change the shape of the line. Round control points are found across the line, and are used to make curves. Square control points define the endings of the line, and if dragged, will increase its length. They are also used to create edges. Right clicking on a control point will give the option to split the line, as well as add or delete a control point.
More adjustments to the line can be done by using the [Correct Line] tool. Here are a few sub tools that might be of help.
→ The [Adjust Line Width] sub tool allows you to thicken, narrow, scale up or down and even fix the width of a line with a set variable when applied. Ticking the [Process whole line] option will apply the change all over that individual line;
→ When applied near the endings of two lines, the [Connect Vector Line] sub tool will connect them as one line;
→ The [Simplify Vector Line] sub tool will reduce the number of control points that make the line;
→ When selecting a line, the [Pinch Vector Line] and [Redraw Vector Line] sub tools allow you to move or modify its shape.
→ The [Control Point] sub tool can be used to do specific operations on control points like moving, adding and deleting them. It can also split the line and even adjust the width and opacity by dragging left and right on that specific point.
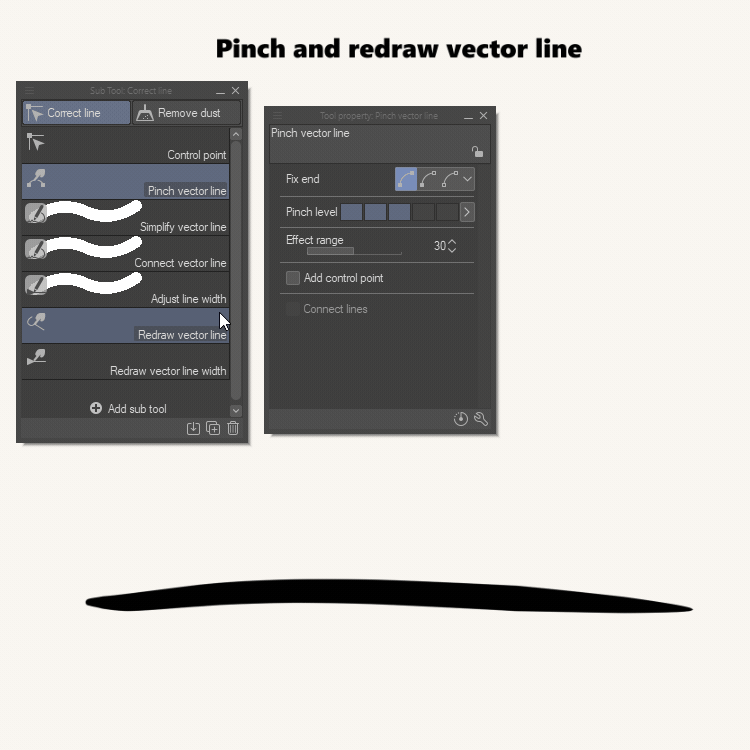
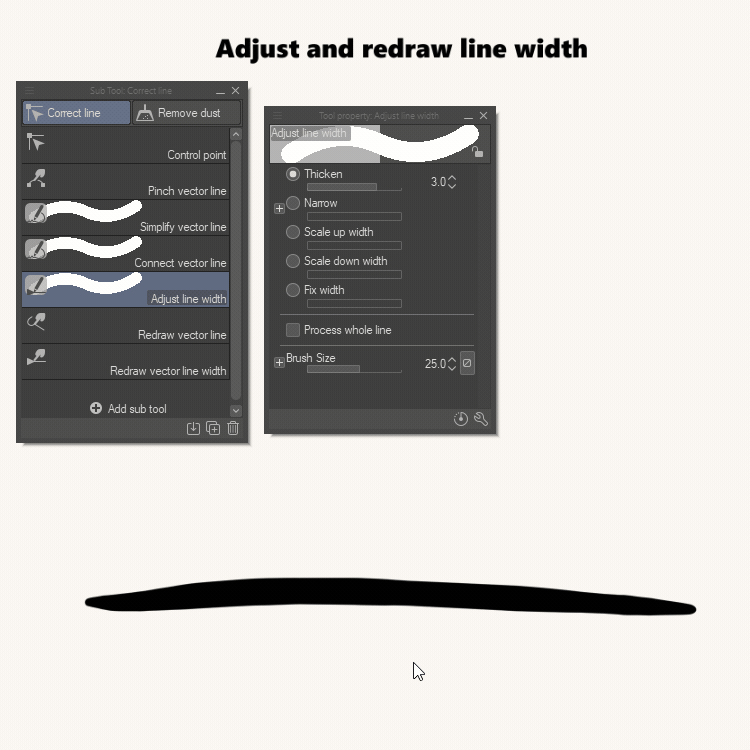
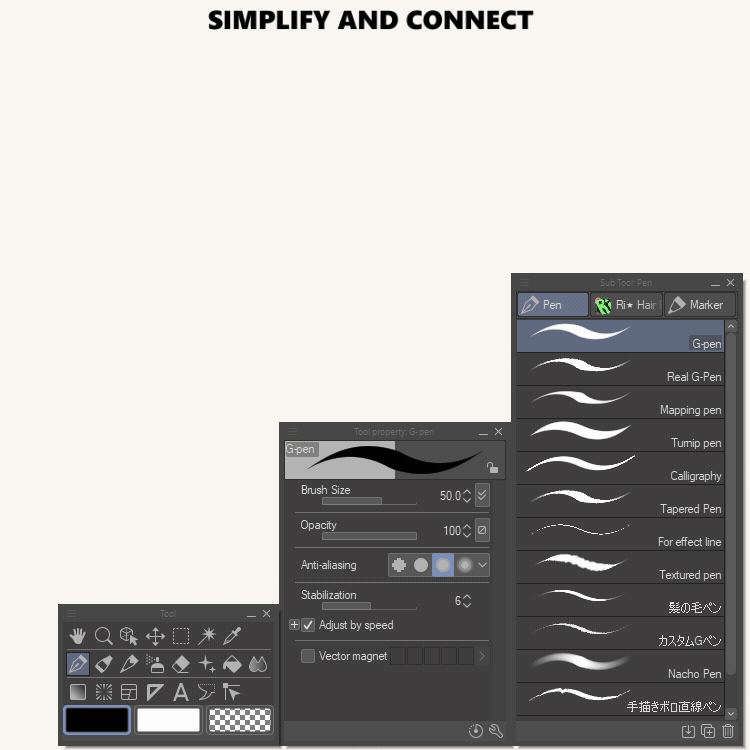
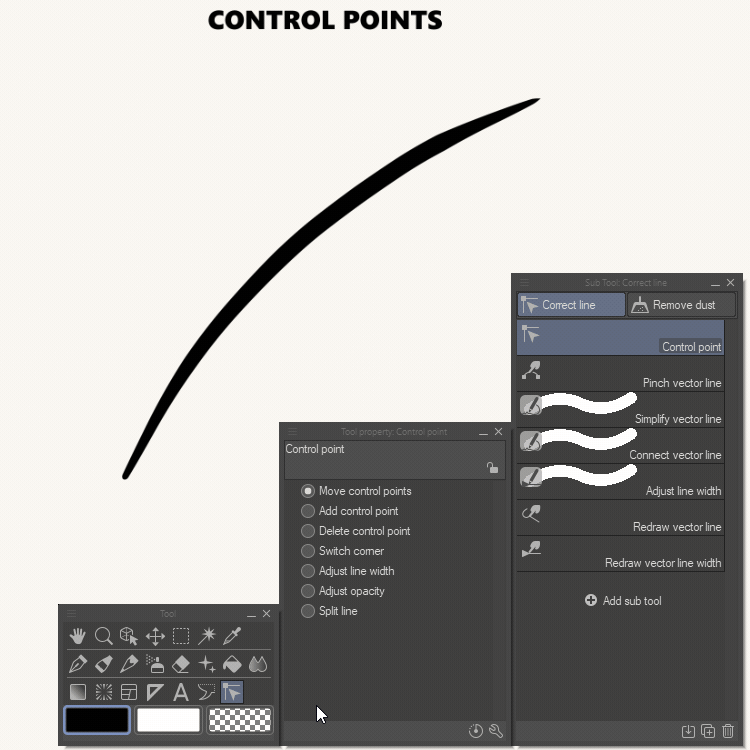
These three first tools are the most useful in my process when working with lines. Because they tend to have a lot of control points, I use the [Simplify Vector Line] sub tool to make it easier to change the shape of the line after. The [Adjust Line Width] sub tool helps change the width of certain parts giving the illusion of pressure. Finally, the [Connect Vector Line] will combine lines to make them feel seamlessly flowing on the canvas as one single line.
b- by drawing on a new layer
Another way to make the line art is by drawing it on another layer using the sketch as a reference. For this we can use two methods.
First method : if we are somehow satisfied by the lines of our vector sketch, we can create a ruler from that vector layer by going to [Layer]>[Ruler/Frame]>[Ruler from vector]. Then, we create a new vector layer. Once we get that, we right click on the ruler icon on the right of the vector layer to select it and we drag it on the new layer.
Finally, we right click on the icon again and select the [Draw along ruler] option.
This method gives use a new layer with equally sized lines. The ruler can be used to redraw each line with applied pressure too.
It is important to note that the pen can only snap to one ruler at a time and each ruler corresponds to one vector line.
💡 Note: If a vector line overlaps itself, the ruler created from it will probably make Clip Studio fill some of the ruler paths automatically when drawing the lines. While it's not a big issue, try to not have a vector line overlap itself.
Second method : if the sketch layer is still too rough to create a ruler from it, drawing above the reference using the [Figure] tool is also a viable option. The one tool I recommend is the [Curve] sub tool because it can follow the lines and curves of your reference easily. The lines can be processed with the [Correct Line] tool later on.
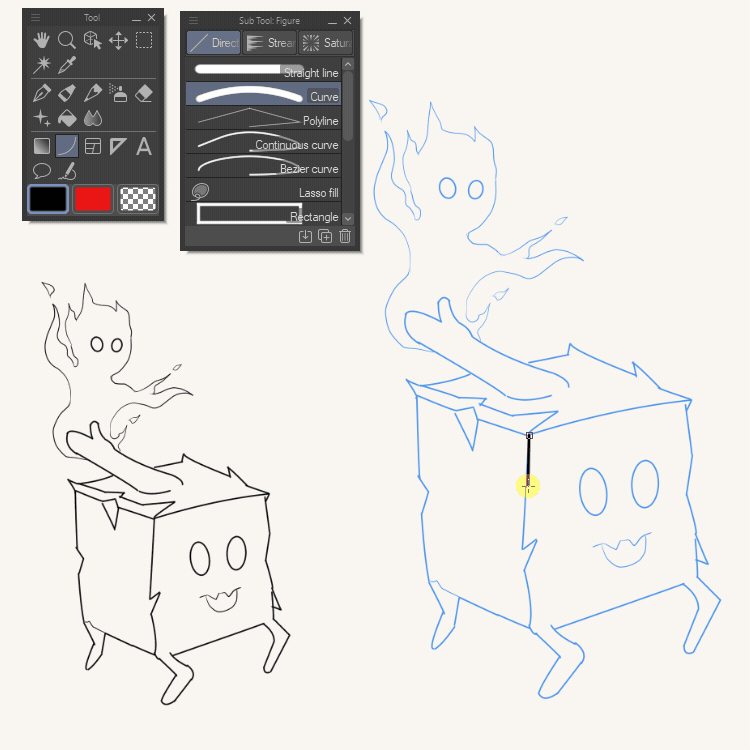
💡 Note: There is an option in the [tool property] of the sub tools that is called [Vector Magnet]. When it is activated, the endings of the line you draw will automatically connect to form an unique line. Therefore, it is really useful when making circles, because with the [curve] sub tool, we need to, at least, make four lines to get all the curves correct.
If the [Vector Magnet] option is not available, try clicking on the wrench to open the sub tool details and search under [Correction]. Activate the little eye to make it appear in the sub tool property.
3- When using effects
Until now, we only used vector layers for lines, but actually they can also be used later on in your process when making effects using brushes. When using the [Airbrush] tool for example, the vector will register the same information it does with lines, so a lot of modifications can be done later on.
When using the [Droplet] sub tool for example, on a raster layer, it is necessary to define all the parameters in the tool property before applying the line, then, if it was not what we expected, we can erase and repeat.
On a vector layer, once the line is on the canvas, you can modify all its parts using the control points and all the tools presented earlier. Furthermore, when using the |Object] sub tool in the [Operation] tool, by clicking on the wrench and opening the sub tool details, it is possible to modify different aspects of the brush. The amount of particles and even the texture can be changed there.
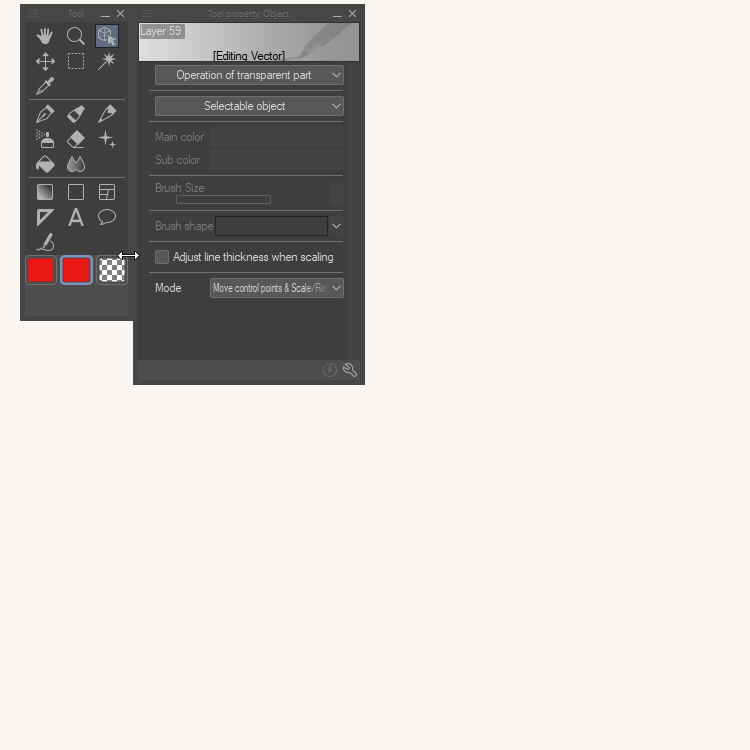
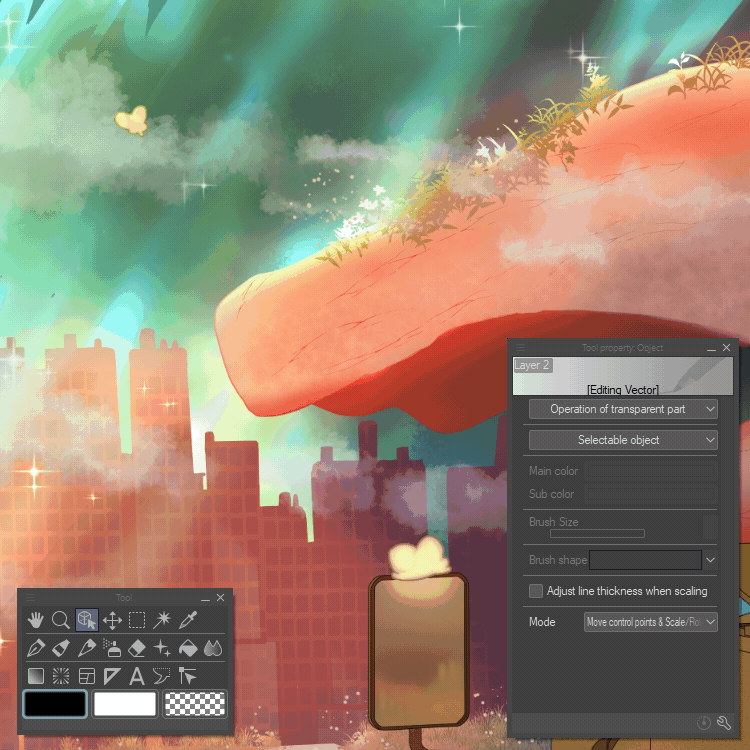
Blending modes still work on vector layers too. If more adjustments are needed, like blurring, it is possible to rasterize the layer and then apply the filter.
4- When creating small art
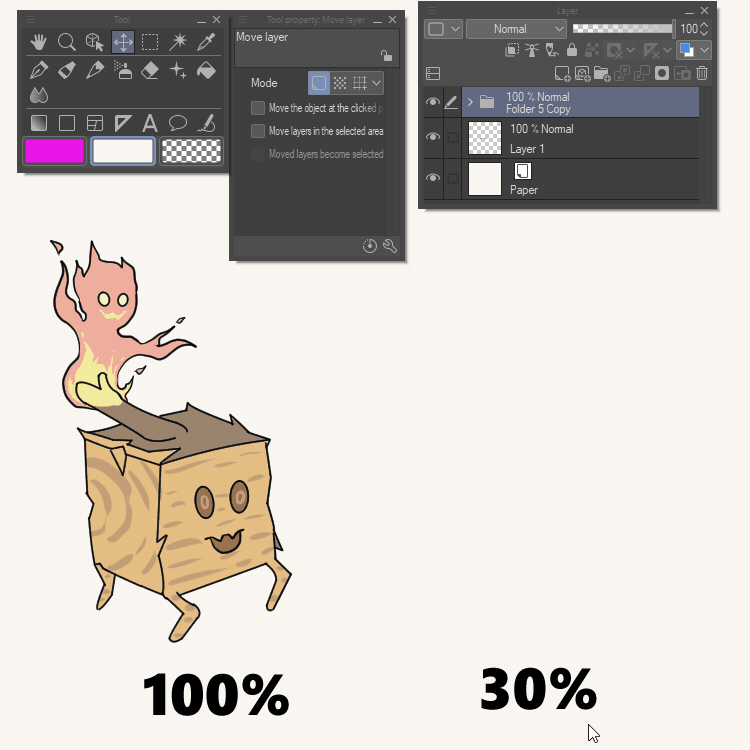
Taking advantage of the vector layer’s ability to be resized, we can draw the subject at a higher resolution, and then reduce its size to the one needed.
That feature works wonders for small characters used in games.
First, we draw the lines at a higher resolution, then we reduce them to a size of 60 by 60 pixels. We can then adjust the lines to a more appropriate size and color inside it.
Following that train of thought, we can also comfortably make details on the canvas using that method.
💡 Note: Vector layers can be rasterized but raster layers can not become vector layers. (Actually they can but the result is not that great.)
5- When working on geometrical shapes
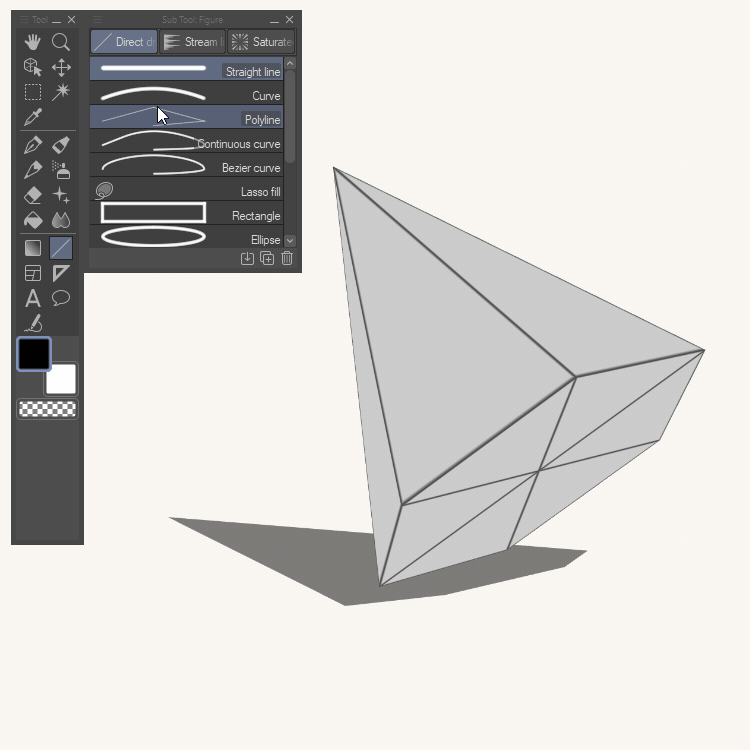
When making the background, objects, houses and cars among other things, I recommend using vector layers. The [Figure] tool and the [Vector eraser] are just amazing for that kind of task.
Those shapes can be obtained via a photo reference or a 3D object. Tracing from a 3D object can be quite tedious if you are using a normal pen/brush, but the [Figure] tool can trace it a lot faster. Also, if you need the lines to show the pressure, you can use the previous techniques, create a ruler from the vector layer and follow it with the necessary pressure.
6- When working on comics
Time is one of the most valuable resource when making comics. Using vectors will not only speed up character and background production but also improve your panels and balloons.
Clip Studio Paint has tools for creating balloons, panels and effect lines made by default on vector layers. Like for any vector layer, all the previous tools can be used to modify and adjust them.
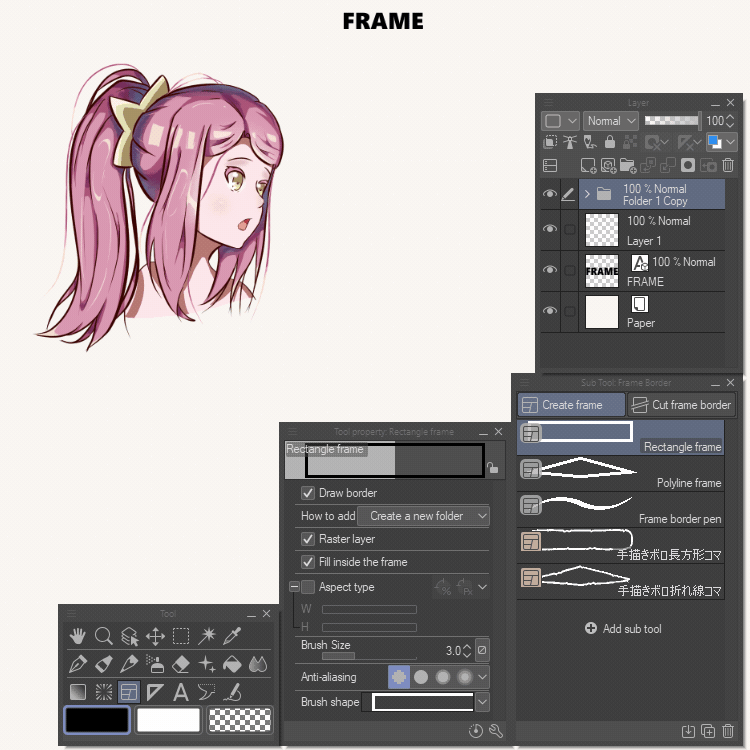
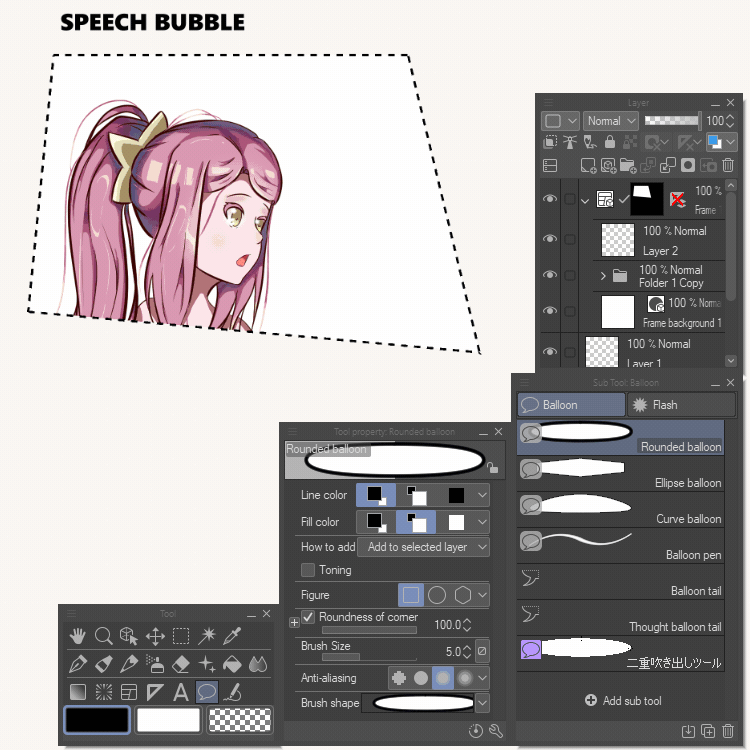
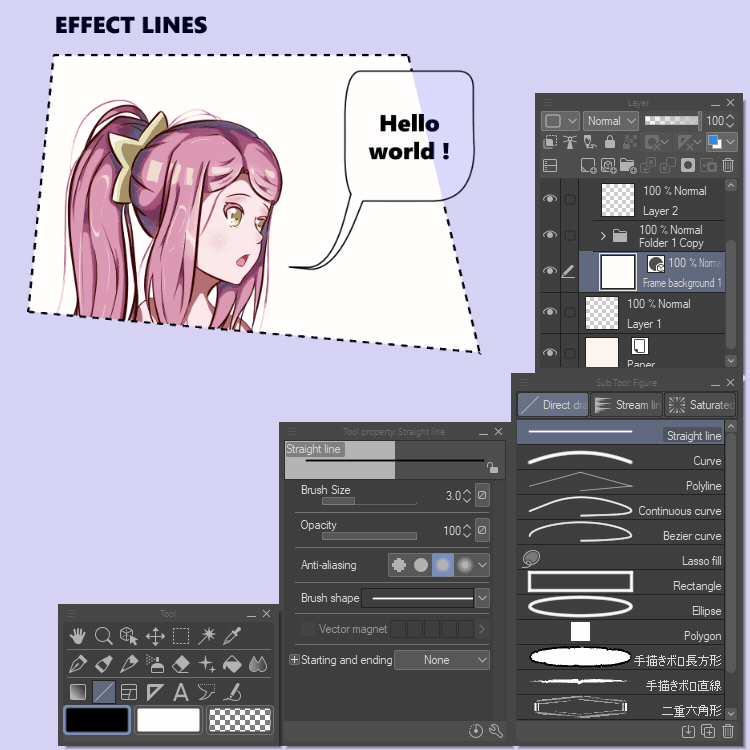
7- Other useful tips
If you are working on many vector layers, and you wish to merge them, first make sure to duplicate them and place the originals in a safe folder. I do not really recommend merging vector layers, as they can be put into a folder and referenced as they are.
A few problems might arise from merging, for example, some lines might disappear. It means that one of the layers might have registered an eraser other than the vector one, or a transparent stroke was used. If the layer with the problem is hard to find, try merging them one by one until it is found. Use the [Object] sub tool to select the transparent line and erase it then adjust your other lines accordingly.
Another problem that might appear when merging is that some strokes might suddenly increase their width. One way to correct that is by finding the layer and adjusting the width so it matches the others and only increase it back when merged.
It is also possible, for those who need it, to work on SVG files. Clip Studio Paint can Import those files and Export vector layers to that format. All the features explained before can be used on the imported SVG file.
💡 Note: SVG files will only register the vector lines, anything else made on a raster layer will not be in the file.
When coloring, reference the vector layer or the vector layer by clicking the lighthouse button above the layer panel. Then, create a raster layer below and pick a [Fill] tool. Set it to use references; here it is our vector layer. Adjust other parameters in the tool property like the [Close Gap] option that will allow the color to not bleed out of small gaps and activate the [Fill up to vector path] so the color will stop right in the middle of your line.
Some brushes also have that option and another one called [Do not cross lines of reference layer] that will restrict the colors applied inside or outside the referenced line art.
Here are some other tips that I made last year that could be useful and go a little further into the specifics of this subject.
There are some official tips too that might be of help.
Thank you for reading and see you again in the next tip.


Comment