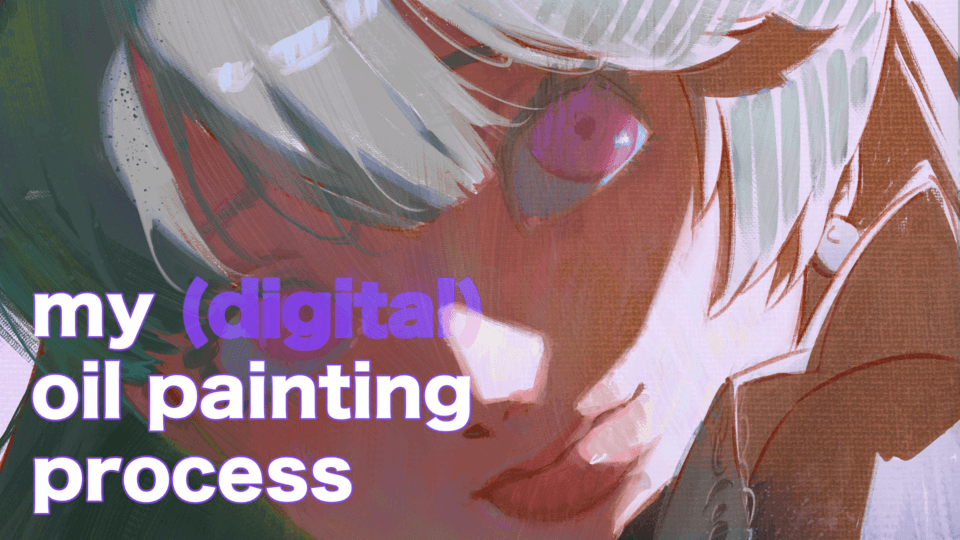
How to create a tone using the Rectangle tool
My name is Mashiro93 and I distribute materials under the name "M'no" on ASSETS.
In this article, I'll show you how to create tone materials using the rectangle tool.
(1) How to make stripes
- Create a material folder beforehand.
This time, I created "How to create a tone using the Rectangle tool."
- Use the rectangle tool to draw a horizontal line.
(Use the rectangle tool for both thin and thick lines)
(Don't use the straight line tool as it may not connect properly)
・Surround the area (square).
・Edit → Register material → Image
Material name → Material image
(There will be white lines at the connection parts, but don't worry about it)
Brush material settings → Check Use as paper texture (T)
Paste action → Check Tiling (L)
・Top, bottom, left, right
・Left and right only (horizontally long tones)
・Top and bottom only (vertically long tones)
・Save material to → Select the folder you just created.
・Search tag → Enter the PN.
・OK
That's it, it's finished.
The width of the stripes will change depending on the range shown in green.
I tried making it with thin lines.
-Stripe tones are easy to make and have many uses, so it's useful to make several different types.
(2) Double and triple lines
(3) Dashed line
(4) Vertical dashed line
(5) Lattice pattern
(6) Square pattern
That's all.
The results will vary depending on the range you specify, so please try out different things.
Thank you for reading this far.
I hope this will be helpful for your material creation.
The tone I created for this example is available for free on ASSETS under the name "M's Rectangle Tool Tone."


Comment