
Video:
Hi! My name is Iarlis and today I'm bringing you a tutorial on how to make an illustration with movement.
This is a tutorial for beginners, starting with a bit of animation concept so you can bring your illustrations to life!
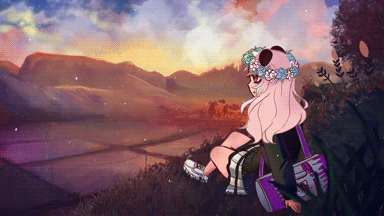
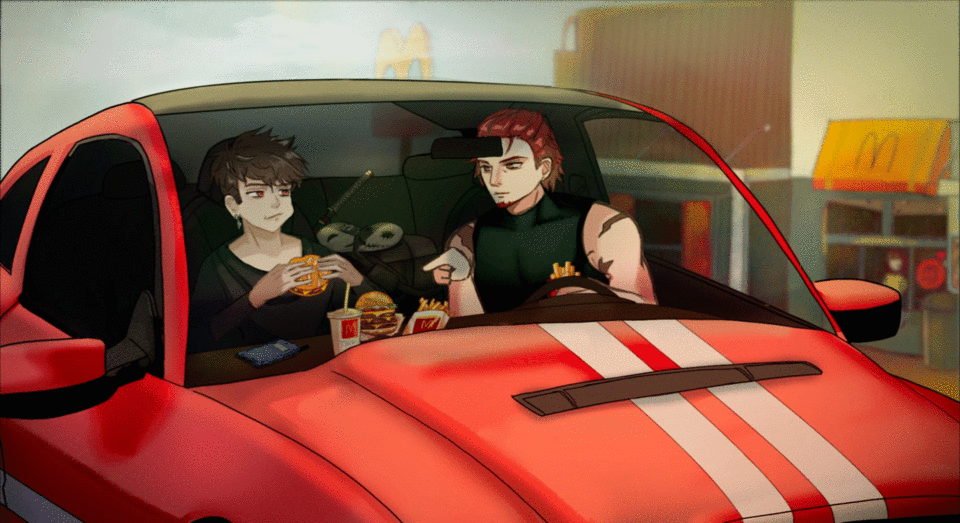
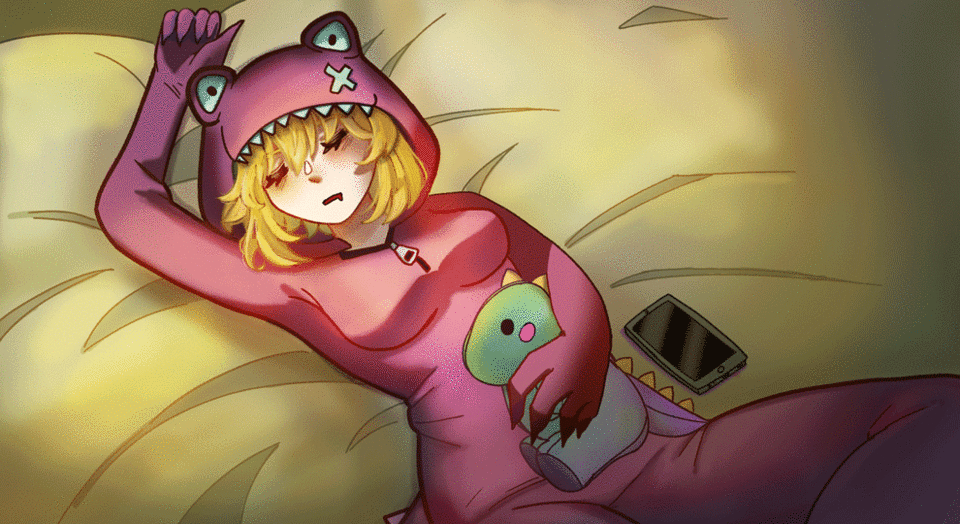
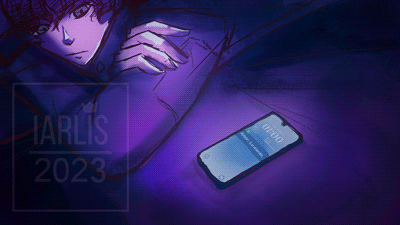
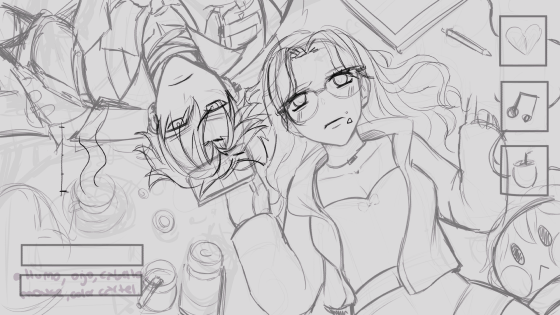
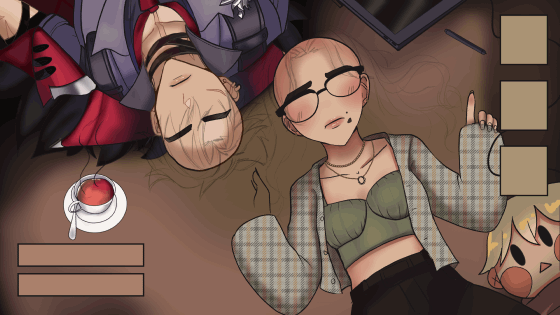
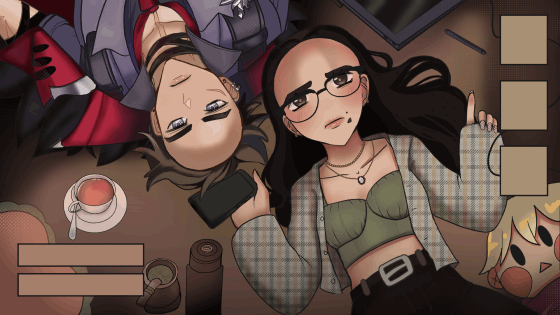
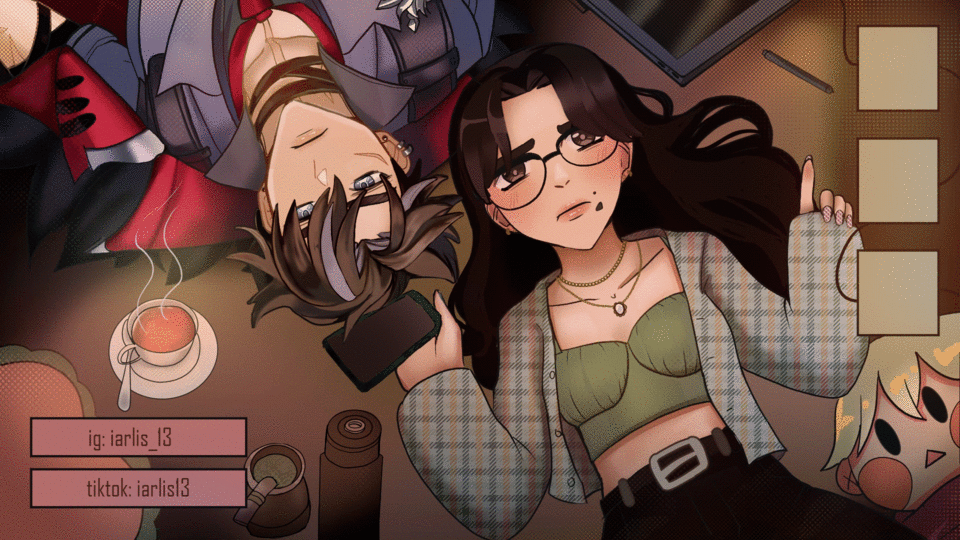
What we'll do will be something similar to these commission examples <3
Examples:
Step 1: Sketch + Explanation of the timeline
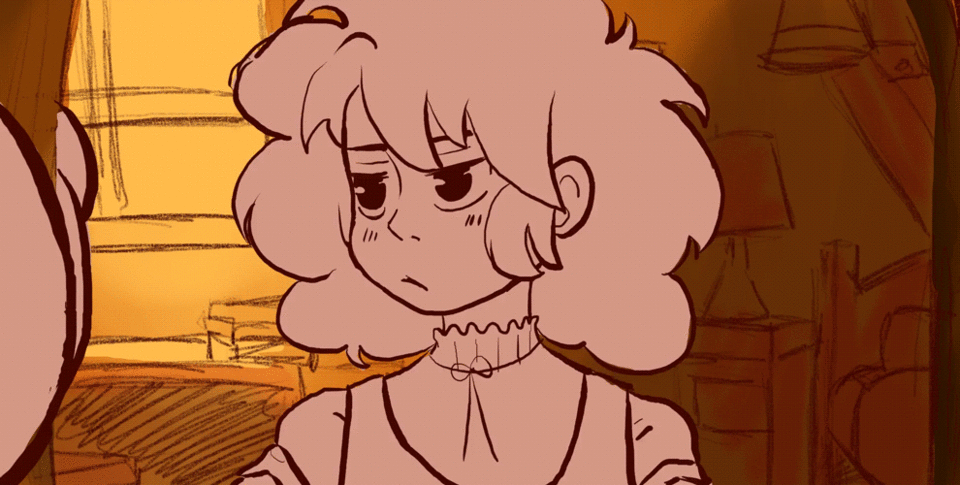
It's important to mark the movement we'll make in the illustration in the sketch. Obviously some people do it right away, but when making a simple animation, we should mark the important points.
Example: eye movement, hair, clothes, etc!
Tip:
If it's your first time animating, I recommend you make simple movements: blinking, hair, landscape. Sometimes, less is more.
Timeline
Let's create the timeline, go to “window” -> timeline.
We will leave it at default.
1: This is the animation folder, it is a folder where we can put various layers to organize. It is like a normal folder but this one is exclusively for animation.
Why not put a normal folder? The normal folder is registered in the entire timeline. This means that we cannot shorten or lengthen it.
2: This is the onion skin layer, I'm sure most of you have heard of it. It is used to see the previous and subsequent drawing to guide us between the frames.
3: This is the well-known animation cell. It appears as a layer inside the animation folder and with its help we can create the sequence.
Animated sketch + animation concept
Now that we understand a little bit about the timeline, we'll move on to classifying the sketch. Let's sketch the animation.
A basic concept of animation is that the more frames you have together (more drawings) the slower the movement is. And the further apart the drawings are, the faster it is.
If you want to make a more complex animation with movement, I recommend you do the well-known key poses. But in this tutorial I'll just focus on a simple animation.
Animation practice examples I did at my university <3
If you are interested in complex animations, this official Clip Studio tip explains it in more detail
1) Normal folders can be used for organization (as in my case).
2) Animation folders are mandatory when animating since they allow us to move around the timeline.
As an animated sketch I will only do blinking, coffee smoke, cell phone and pupils.
The rest will be animated in After Effects
Step 2: Lineart and color
The lineart and color step is the same as we do for an illustration. In the normal illustration we use the normal folders and in the animation lineart we will use the animation folders that I explained above.
To guide you with the color of the animation use several animation folders, DO NOT do all the full color in a single layer because otherwise it will be difficult when going to the next frame. Separate it by: Lineart, Base color, shadow, brightness.
So that everything does not look messy when looking at so many animation folders, organize it with the normal folders.
Hair: preparing the strands
For the hair we are going to separate the strands: static BASE and then the divided strands. In the hair part we don't need the animation folder (I was going to do it in clip studio but I decided to do it through after to show you, that's why there is the animation folder)
It looks weird without hair haha. The base hair will be what won't move.
So! We have to prepare everything to then put it through after. We will do the hair as we usually do but separating the strands to prepare it.
At this moment I am separating the strands by PART A and PART B, which would be the bangs, and subdividing the strands.
This helps me to have a better order when exporting it in PNG and adding it to the after.
Step 3: Export to add it to After
We will export like this. We will export the animation but we will hide the folders that we must animate later in After Effects. In my case, it would be the locks and other things like logos and symbols.
Exporting animation:
We will hide the folders we left behind to import them later in After Effect. The animation that we are not going to modify and that we made in CLIP Studio will be exported as a movie.
I recommend that you always color the folders that you will animate elsewhere. In this case, purple is the folders that I will animate in After Effect.
It would look like this before the after effects.
PNG export for after :
Remember the smoke I made at the beginning? That's an animation I'll add in the after but how do we export it? We'll export it as a sequence of images.
So the steps to follow would be this:
File -> export animation -> image sequence
For the strands, we will respect the order. Do not export everything in full, but each strand with its respective name. It is tedious but it will help us when we import it.
AFTER EFFECTS
Importing files
RECOMMENDATION: watch the video to understand it better. I will try to explain it here.
For the hair we must “anchor” so to speak
This way the hair will move but in place and not just anywhere.
Okay we have the rotation, we'll keep it simple haha.
Let's activate the frame (what's next to rotation) and we'll move along the timeline and change the number. In my case I'll put 7. And then at the end we'll put 0 again to create the loop.
To export the animation we must go to:
File-> export -> add to Adobe encoder queue or processing queue.
We can export it in png as an image sequence or h.264.
In my case, both ways because I want to improve certain details and add things in Photoshop <3
Result:
So never limit yourself <3 and I look forward to seeing your beautiful animations!
Users who liked this post


Comment