
Hello! In this article I will teach you how to create your first Animation in Clip Studio PAINT, whether you are a Beginner or you are just starting out in the world of 2D Animation, you will be able to achieve a simple LO-FI style Animation.
If you have Clip Studio PAINT PRO or Clip Studio PAINT EX you can follow the whole process and achieve your own animation!
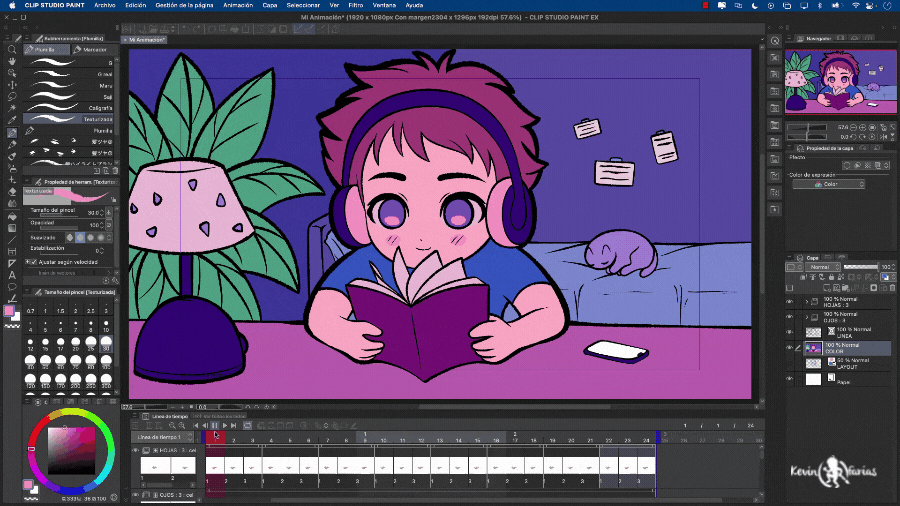
This is the Animation that we will make:

I will show you the whole process to create a similar animation, you will see how entertaining and easy it is.
So, I invite you to see the super tutorial called:
VideoTutorial: How to animate in Clip Studio PAINT (BEGINNERS)
The video is in Spanish but remember that you can activate the subtitles in your language, you will surely find it :)
What do you think about the video? We saw step by step the whole process to make a simple LO-FI style animation.
Animation creation process:
Now, I invite you to see the step by step again through images:
1. Project creation
We go to File - New and we choose the last option, Animation. And in Preset we choose 1920 x 1080, we change the name of the story and the most important, we change the Speed to 8 and the Duration to 24 Frames. Once ready, press accept.
2. Timeline in Clip Studio PAINT
Remember to activate it at the top in: Window - Timeline.
3. Save your Project
In File - Save As, you can save your project, choose your folder and don't forget to always save in .CLIPSTUDIOFORMAT
4. Animation Layout
When creating the project we will have some things by default, an animation folder and the paper layer that is the white background color. To start from 0 we are going to delete the Animation folder in the layers panel, leaving only the paper layer.
And we create a new raster layer named LAYOUT.
And to draw on this layer the sketch of our animation we are going to choose the pencil tool, with the Pencil sub-tool. If you want to do the sketch with another brush, you can do it!
And we get the following result:
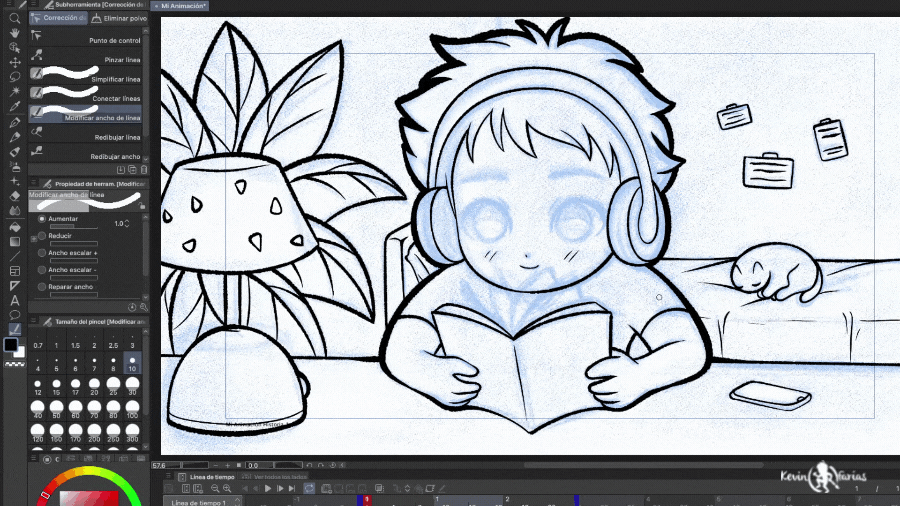
5. Animation Lineart
We select the Layout layer and activate: Change Layer Color and lower the opacity to 50%.
And we create a new layer to make the line, but this time we will choose a New Vector Layer.
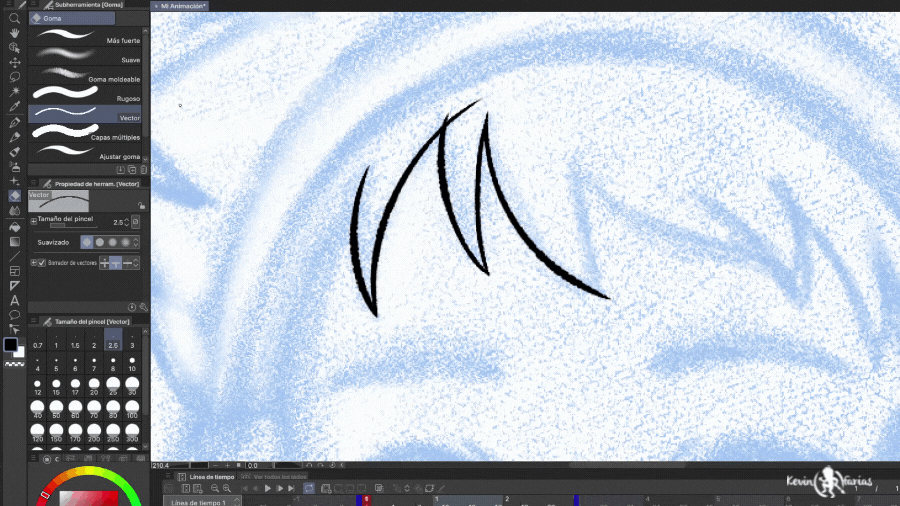
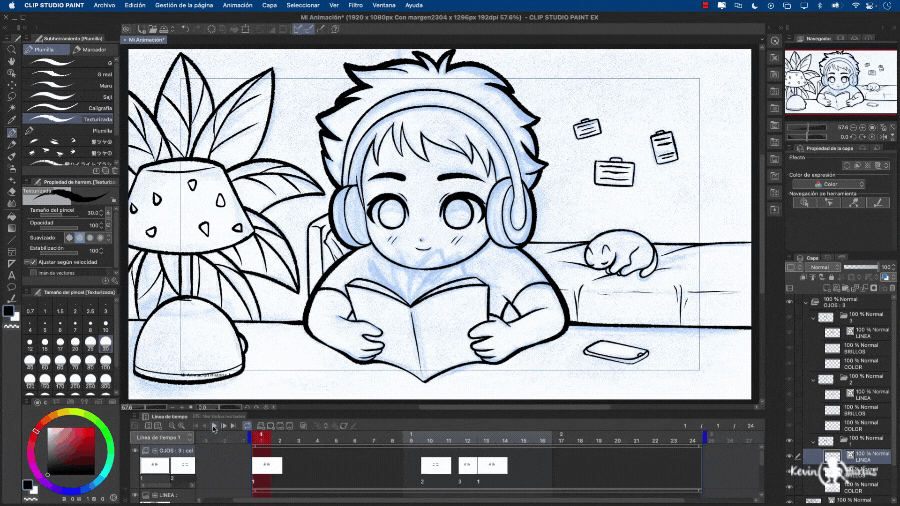
And with the Pen tool in the Textured Sub Tool we are going to make the line of the Animation but only the area that will not have movement.
Why did I choose Textured Sub Tool? Because I want to make this animation have an artistic touch.
And sometimes we will have to cut lines, for this we have a great tool in Clip Studio, by choosing the Eraser tool in Vector Subtool we can cut the lines that we do not need.
And if you want to modify the width of the line you can also do it, you must go to the Line Correction tool and choose in Subtool: Modify line width. And in the Tool Properties window you can choose Zoom In or Zoom Out.
Being able to edit the width of the line in this way (Table Line)
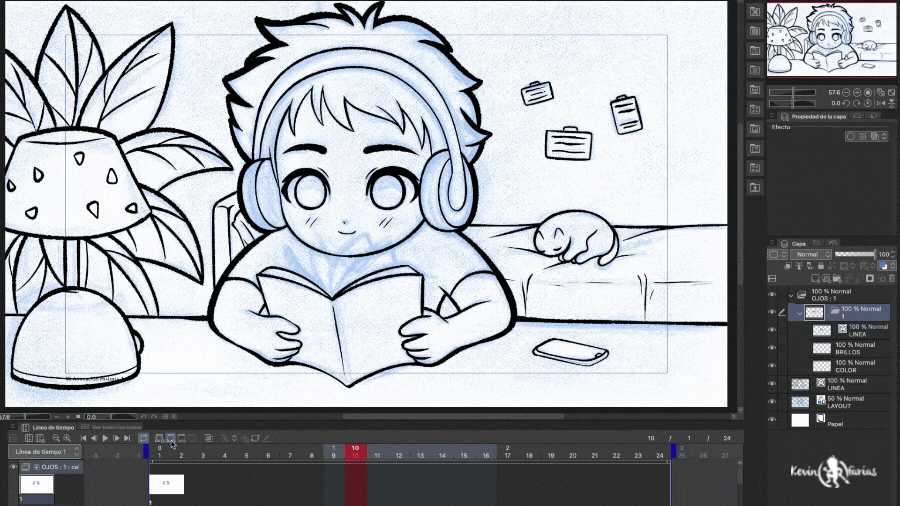
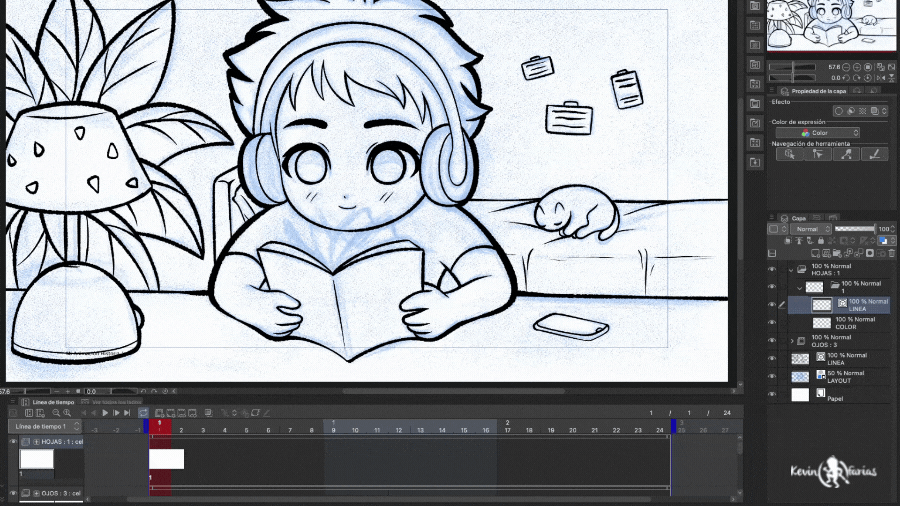
6. Eye animation
Now is the time to start animating, for this we will start with the simplest, blinking the character. To do this we have to go to the timeline and create a: New animation folder.
And then we must create a: New animation cel
And now we are going to do a trick that I love! In the layers panel inside the eyes animation folder we are going to create one: New layers folder, we give it the same name as the Frame, that is: 1 .
And we can create different layers, in this case we will create a vector layer called: Line. And a rasterized layer called: Color.
And now we select the line layer from the eyes animation folder and make the eyes open.
By making a frame a layer folder, we will create a new animation cel at frame 10 and when creating this new drawing you will notice that it creates a new animation cel respecting all the layers and names of the previous cel, something that I loves!
And in the eye animation folder line layer we're going to make the eyes closed.
Remember to activate: Enable onion skin, to see the previous drawing.
Now we create a new animation cel at frame 12.
But first we go to frame 13 and activate: Specify Cels.
And we select drawing 1, to make the open eyes visible again in frame 13.
And in frame 12 we draw the half-open eyes.
And we see the animation that we have achieved so far, just with the blinking.
7. Book Animation
Now we are going to create a New animation folder, called sheets.
We create a new animation cel and we are going to repeat the same previous step.
We create a layer folder with the same name as the frame, so we can create more layers inside this folder. The layers that we will create will be: the line layer and the color layer.
And we draw just the pages of the book on the line layer of this animation folder, which is what we're going to animate.
Now we create a new animation cel in frame 2 and as you will remember, create a new animation cel respecting the number of layers and their names.
And ending with the drawing in frame 3 we have the animation ready.
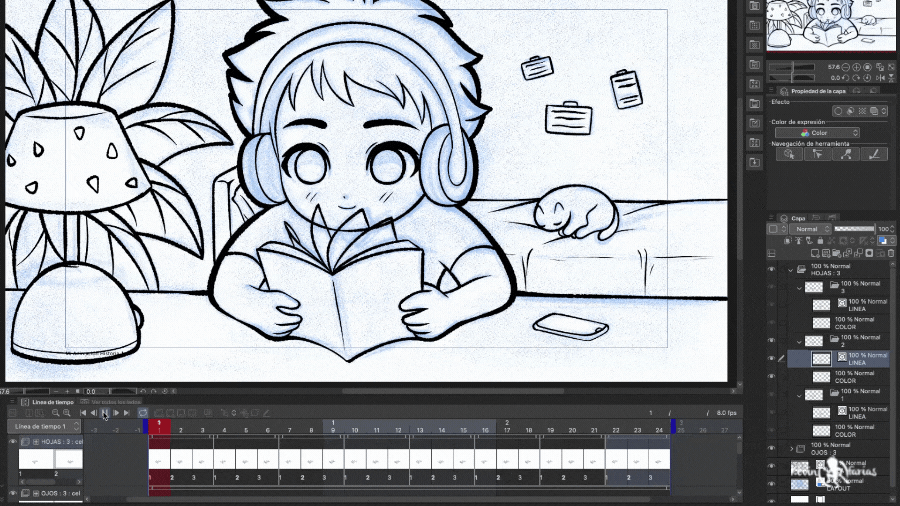
Now we need to reduce the duration of the animation of the pages of the book, for this we take this animation folder from the far right and leave it at 3 frames.
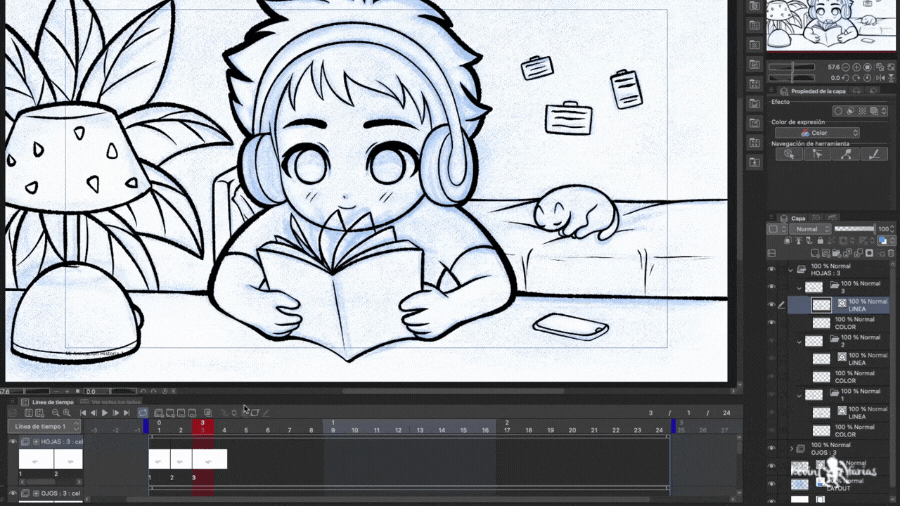
Next we are going to copy this animation into the same animation folder. To do this we put the cursor in the upper part of the animation of the pages of the book, right button - copy.
And on frame 4 which is empty with right click - paste. And we do the same throughout the timeline until the end.
Obtaining the following result:
8. Animation Cleanup
This is the result we have achieved so far, the animation line.
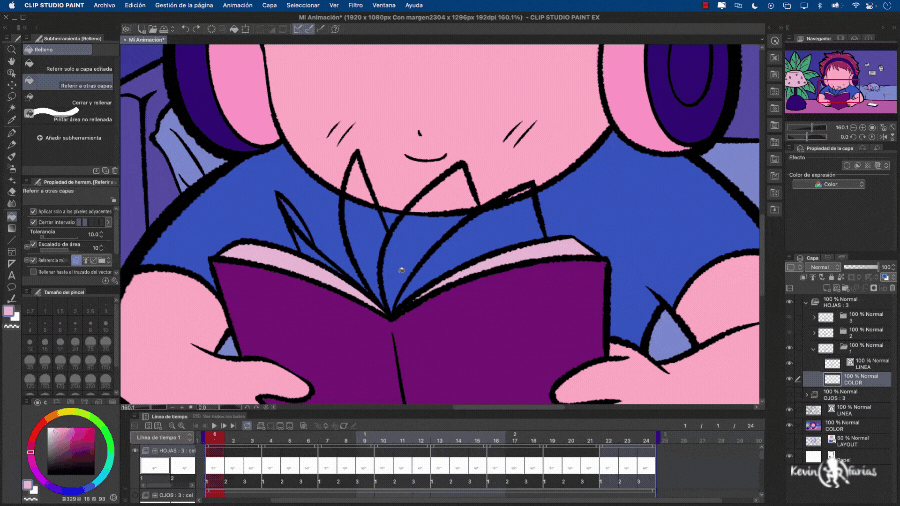
9. Animation Color
It's time to add color, for this we create a new raster layer called COLOR below the layer of the animation line, here we are going to paint all the elements that do not have movement.
We choose the Fill tool and in Sub Tool we change to: Refer to other layers. This way we can paint on a different layer and it will read the border line to fill the fixed elements of the Animation with color.
Achieving it this way:
10. Color of the Animation of the pages of the book
Now we are going to paint the animation of the book, we select the first drawing of the animation, then the color layer and we paint with the pen, the same tool with which we made the line.
11. Eye Animation Color
We do the same process, we choose the eyes animation folder and we paint the 3 drawings of the blink animation.
We paint the light part of the eyes and the iris. And if you want you can add an extra color to the eyes.
Achieving the following result.
12. Border Line Color
Now we are going to add some extra detail, we will paint the border line with color and you will notice that by doing this our animation will look even better.
To do this we create a new layer above the Line layer called: Line Color. And we go to Edit - Fill. But it is very important to have activated in the layers panel: Snap to Lower Layer, as I show in the following image:
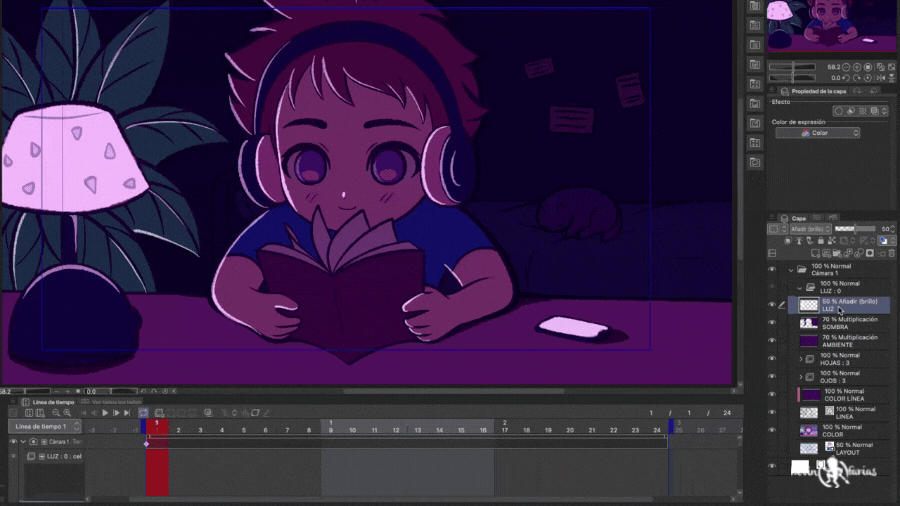
13. Animation Environment
Now we are going to play with the lighting of the animation. We will create a new raster layer named: Environment. We go to Edit - Fill to paint the entire work area, with the same color as the border line. And in the layers panel in the blending modes we activate: Multiplication and lower the opacity to 70%.
14. Shadow Animation
Although this animation will have flat colors we need to create depth between the foreground and background elements. To do this, we are going to create a new raster layer above all the others and name it: Shadows. And with the pen tool we paint only the background of the animation. We will also leave the opacity at 70%.
15. Animation Lighting
As a final touch we can create a new raster layer called: Light. To add a few small touches of lighting to the scene, in blending mode we change it to Add (Brightness) and leave the opacity at 50%.
16. 2D Camera in Clip Studio PAINT
If you want to change the camera frame, that can be easily done in Clip Studio PAINT by creating a 2D Camera, but before we create it we're going to turn on the 2D camera render, which will actually show us the camera frame that we'll export as video or gif.
First we go to Animation - Playback Settings - Render 2D Camera.
If in the timeline we activate beach we will see the real shot of our camera.
Now we will create a new camera to change the frame. To do this we go to: Animation - New Animation Layer - 2D Camera Folder.
And with the Operation tool we can move the camera in the frame that we want.
But for the camera to work we need to move all the layers and bring them inside the Camera folder, like this:

And if we activate play we see the final frame of the camera that we have edited.
17. Light Animation
As a final detail we are going to make an animation of the light in a very simple way. To do this we create one: New animation folder above all the layers, we name it Light.
We take the light layer created earlier and put it inside the new animation folder called Light.
And in the animation folder called light we activate the option: Specify Cels.
And we select the drawing called Light 1
In the timeline in the area where the drawing is with the right button - Duplicate layer.
We now have 2 of the same drawings inside the Light animation folder. Now we go to frame 3 and activate: Specify Cels.
And we select drawing 2 called Light 2, finally we change the opacity to 70%.
Now we take the duration of the light animation leaving it at 4 frames.
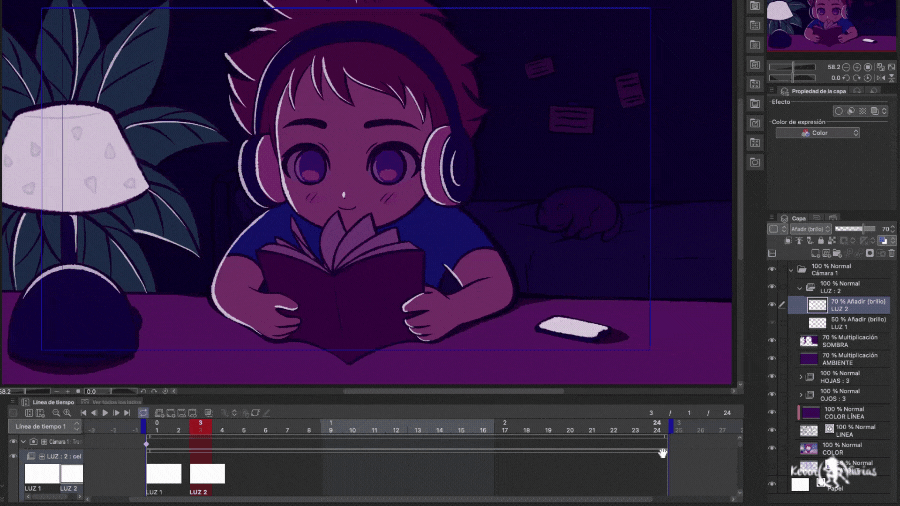
Then at the top of the light animation with Right Click - Copy.
Then in frame 5 with right button - Paste. And we do the same with the rest of the frames.
Managing to complete the timeline with the light animation.
18. Export Animation as Movie
Go to File - Export Animation - Movie
We activate: Apply 2D camera effects and change the FPS (Frames per second) to 8. And we press accept, to export our animation as a video. You can choose .mov or .mp4 format
19. Export Animation as Gif
File - Export Animation - Animated Gif
In animated GIF export settings we change the width and height in case we want a large and good quality gif, press accept and our animation will be exported as .gif
20. LO-FI Style Final Animation
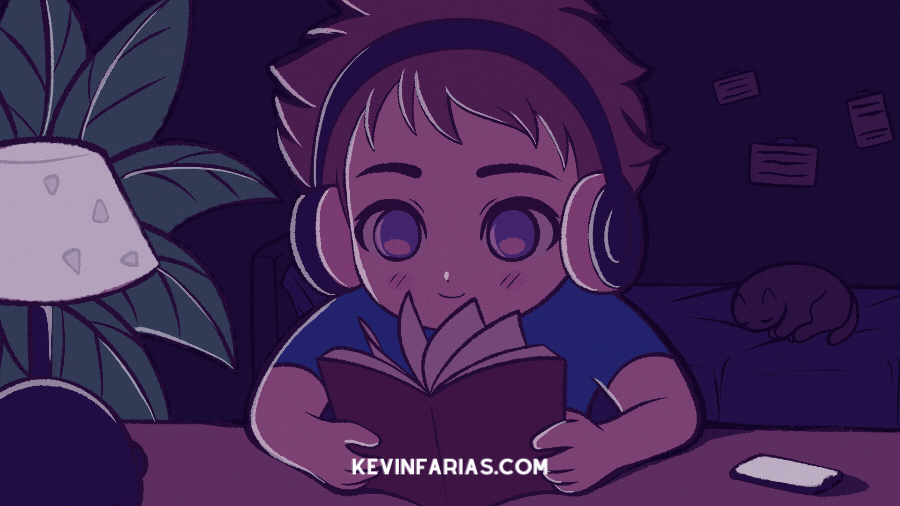
I hope this article has been very helpful to you and that it motivates you to make your first animation, as you could see it is easier than it seems.
I wait for you in the next TIP!
Users who liked this post


Comment