Animating Illustrations - Basketball!
Hello there! This is Marvin and I'll be teaching you how to make a more sophisticated animated illustration in Clip Studio Paint. You can either watch the all comprehensive video or read the text. Enjoy!

Step One - Setting up the Workspace
Setting up a workspace in clip studio pro is a very simple process. The first step is to create a new project. Just like you always do, click file, new, and a tab will open up.
But unlike how you usually do with illustrations, select the option “Animation” under the “Use of Work Section”. Set your preferred aspect ratio, blank space (for pans), and frame rate (you can change this at any point later on so no worries!) and create your scene.
Now that your project is open, make sure you have your timeline window open. If not head up to the windows tab, and scroll down to the “Timeline” box. Click it for your timeline.
Step Two - Prep Work
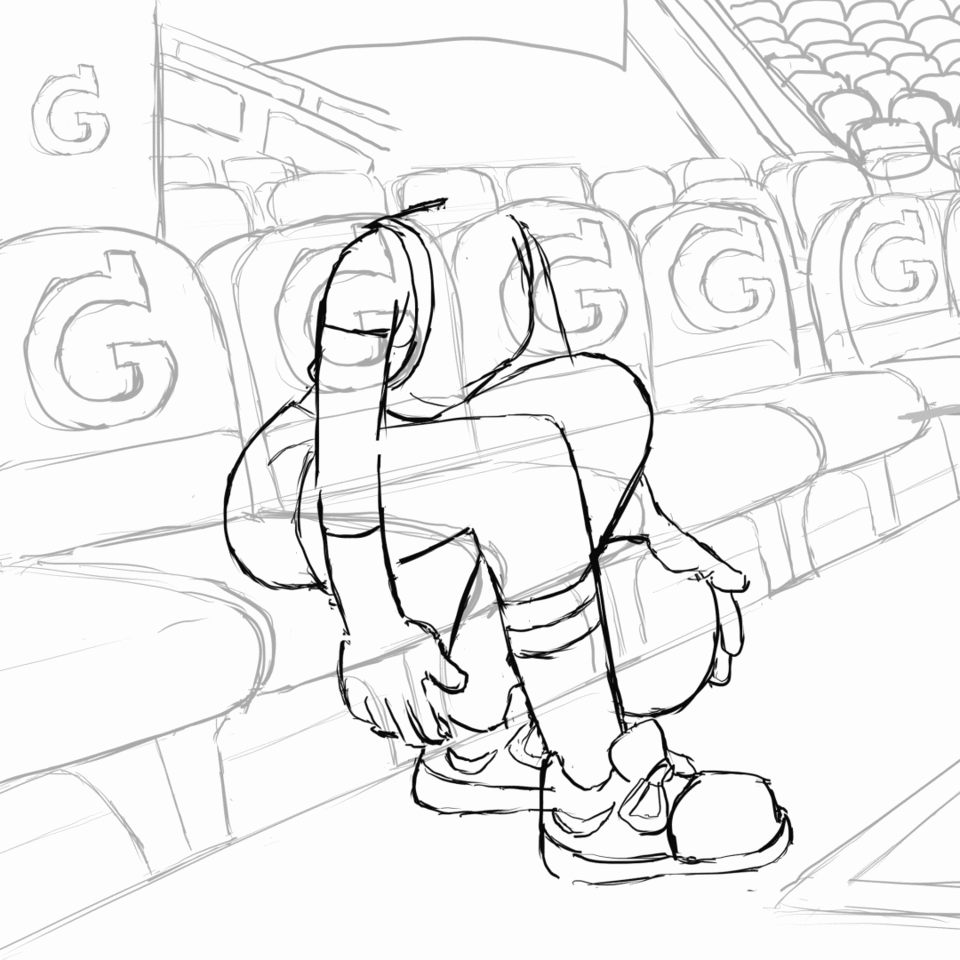
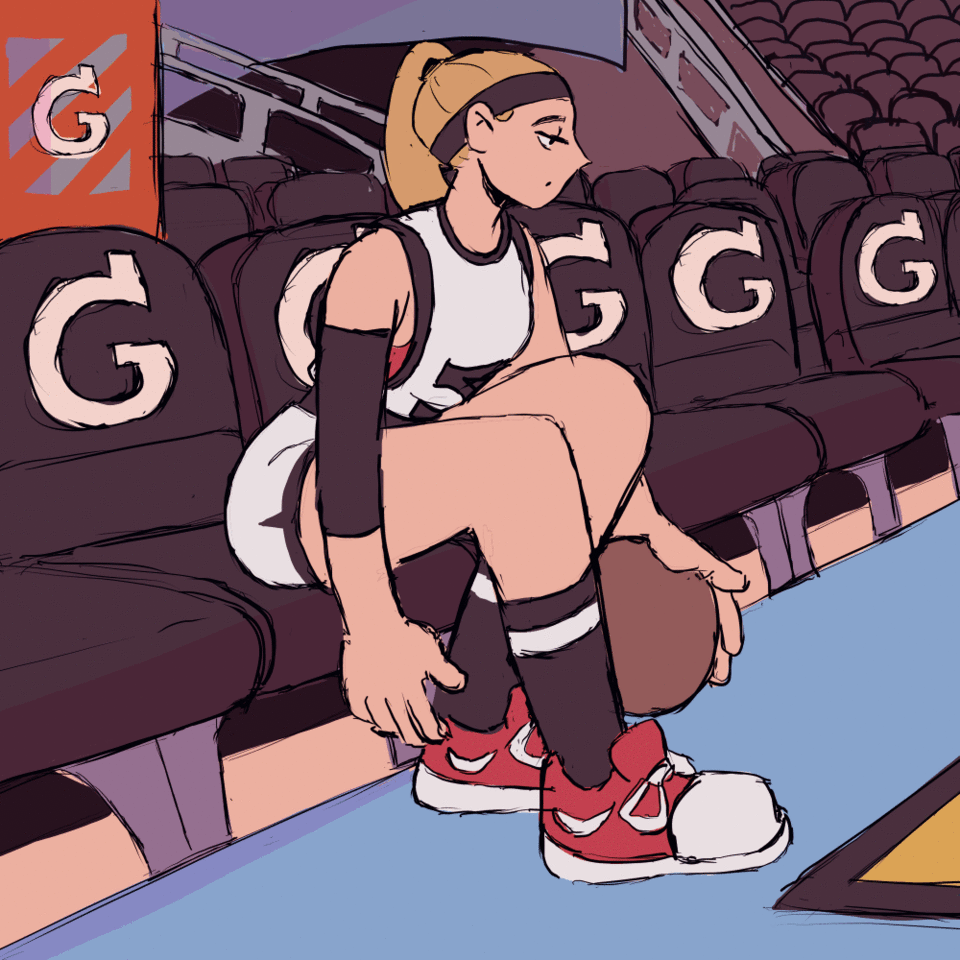
After creating your workspace, try to design your characters before you create your illustration. Usually I wouldn’t do anything like that for an illustration, but when animating, you really need to have a solid understanding of the weights and volumes of your character. Really sitting down and thinking about it helps alot! It doesn’t have to be much, I just drew her in a neutral pose.
After that's out of the way, sit down and draw out your scene. Color it in as well so that you have a good idea of what the colors of your character are! (Or easier, color in your design, I just happened to have colored my illustration).
Step Three - Setting up the workspace.. Part two??
Now that you have your character drawn, you have to create a “New Animation Folder”, by pressing the button on the timeline. Your animation layers will all be within this folder. After creating this, click “New Animation Cell”. You will now migrate your illustration into your animation folder. Copy and paste your animation into the animation folder. You will notice nothing happened!
This is normal, just go onto your layers window on the side and rename your pasted layer to the name of the first cell (Layer 1) in the folder. Then proceed to delete the original cell. This will cause your pasted drawing to replace the old one.
Now just click “Create New Cell” again, and turn on “Onion Skin,” also found in the timeline bar, and you're ready to conquer the world!
Step Four - Key Poses
Now with your onion skin activated, start drawing out the main poses for this animation. For my basketball dribble, the key poses are whenever the ball leaves the hand, or when the ball touches the floor. Omite the other frames for now. By doing this instead of going straight ahead will do wonders for your loop. Planning this stage is necessary to ensure your animation stays within 24 frames (CPS PRO Limit) and loops properly. After this there you animation should be choppy but still readable.

While working, you should be extra aware of your weights. For example, I sat and felt the weight of a ball coming into and leaving my finger tips (in my imagination) and the velocity of the ball bouncing on the floor. I felt the force of my feet as they left the ground, and came back to it, etc. It always helps to think about these things and or act out everything your characters do. I do that everytime I animate.
I did not animate the head because I wanted to treat it like a secondary action, just trailing behind the body. I'll tackle this in the next step.
Step Five - Fill in the gaps (in 3D and 4D!)
Now with the key poses figured out, fill in the gaps of the animation. There are plenty of tips and tricks to keep in mind. For example follow throughs and timing. Make the object move faster (with the usage of less frames) the closer they are to the center of their movement. The ball spends one frame on the floor for every four in the hand of the b-baller. There are rules called the 12 principles of animation, but I find that for slower anime styled animation, many of the rules aren’t necessary. Look up Richard Williams’ “Animator's Survival Kit” for tips to achieve a classic animation style. Also keep a close eye out for body inconsistencies. Keep coming back through the frames to nail out the wonky lines. This process takes A LOT OF TIME. Watch my video for visual help, and just saying, it's playing back at 30x speed!

Again, when animating secondary movements (hair, clothing, drapery, etc), do not animate it until the primary movement is fully locked down! Create a new animation folder, and animate it there. When you want to edit its motion with the lasso tool, the rest of the body, which is on another layer, will not get in the way of that. This will save you hours of work. Phew!
Step Six - Color
Now, one to the final and most gruesome part of the animation… Coloring it in. This is really straight forward, but so slow!! First start with creating another new animation layer. Because I like to color with the brush tool then the bucket tool, having all the color on one layer saves a lot of time. By doing this, your colored sections of the body parts will be new barriers for bucket bleeding. Using the bucket tool becomes easier with more body parts already colored in. Usually when I’m coloring in the last part of an animation, sometimes I don’t even need the brush tool anymore!
After roughly two hours of pain, turn the background colors back on and TADA!!

You could add some shading as well in compliance with the backgrounds. I did not do it, but it would give the gif that extra UMPH!
Conclusions
I have two goals for this tutorial; firstly, I wish to teach how to set up a working animation workspace within Clip Studio Paint. Secondly, but more importantly, I wanted to show the animation capabilities of Clip Studio Paint. I feel like with other animated illustrations there are only small and basic movements. I wanted to show with this tutorial that a more complex movement if easily doable within the ever encompassing CSP software. I wanted to give some variation to the other tutorials already on this site. I hope you as viewers have gained something out of this, or at the very least found this an entertaining experience. Thanks, and have a great day!


Comentario