3D models for character drawings
Video
Create character
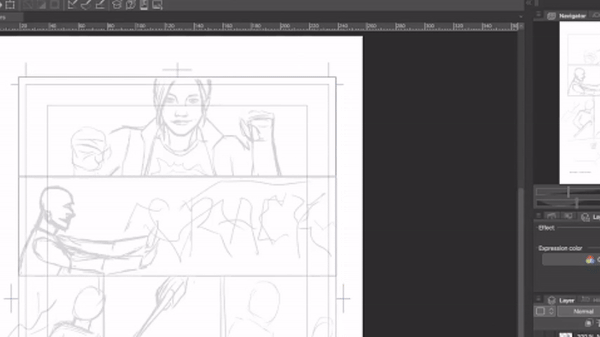
I start with a sketch. I draw my comics in traditional format, so I think about the whole page at the time. If you are working on the webtoon, you can take a chapter as an example.
First, I need to identify what kind of characters will appear in the page/episode. If it’s background characters it doesn’t make sense to spend a lot of time on preparing body and head. Sometimes I just create poses and adjust body type during lineart stage.
In this case, I have two main characters interacting for the majority of frames of the page, so let’s make them in 3D.
We start with importing 3D body from default Clip Studio assets. To do that open assets window and drag and drop figure from the menu on the right.
If you don't have it, go to Windows menu, select materials -> 3D.
We can immediately adjust height and head to body proportions and also change overall body type. For background characters this might be enough. To do that you can just click on the area or move the cursor around.
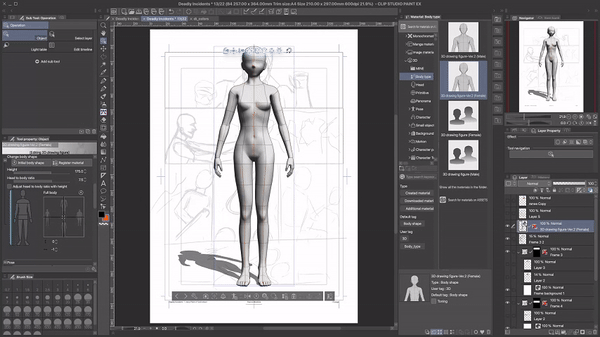
But if we want to fine-tune figure, we can do that as well by selecting specific body parts. Click on the body part that you want to change then drag the cursor around until you like the result.
Once we ready, we can save our body type as an asset, so we can reuse it later on different pages/chapters.
Bonus tip: you can add your folder in asset window and save all your stuff there, body types or 3D models, you can also move assets that you’ve downloaded from asset store.
Now let’s do the head. Clip Studio Paint introduced heads with facial features in version 2.0. The important thing here is camera angle. You want to make sure that the face is looking good from any angle. To achieve that we should pick the front face camera angle before starting to morph the face.
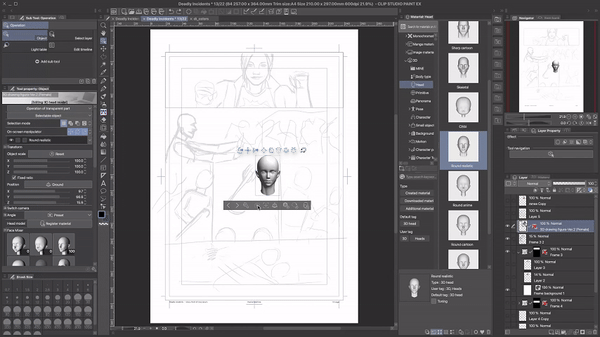
Clip Studio provides several heads which are useful for different drawing styles,
you can also combine multiple heads into one to make the one perfect for your character.
Creating head is quite similar to creating a body: simply select any feature and adjust parameters until you are satisfied with the results. If you are unsure what specific parameter is changing or you can't see any difference in the front view
it might be useful to switch to the side view. Especially, when you are changing parameters for nose and ears, it can look quite good from the front but really weird from the side. You can also change left and right side of the face separately by clicking on side face buttons.
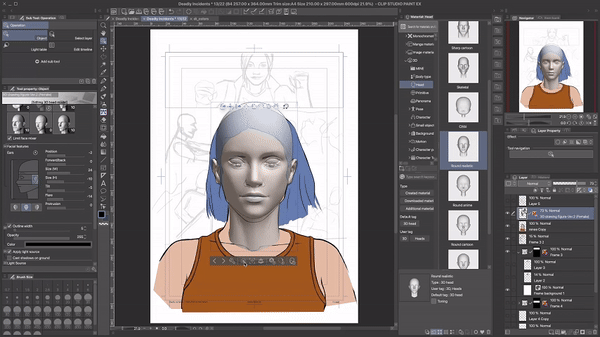
Don't forget to save the head when you're done!
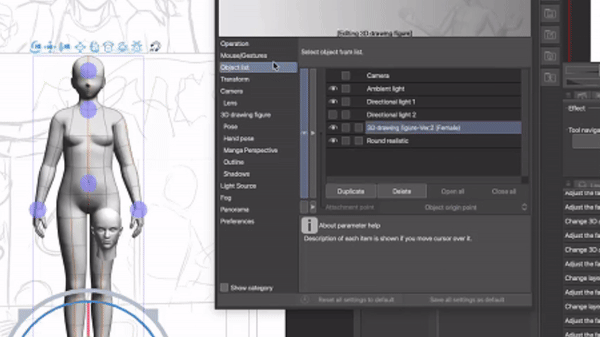
Finally, we should combine body and head together. To do that, open preferences window (Sub Tool Detail) and go to the Object list tab. There you can assign parent object by dragging one 3D model over the other. You can also specify attachment point.
This will help with positioning later on. After that, we can slightly adjust position and size of the head until we achieve the perfect fit.
Pose character
Since we've already done a lot of prep work, we can relax here for a littlie bit and use standard poses from the asset store. Head and body will be posed automatically. We don’t need to change anything manually.
I have two tips here: first, start posing 3D character outside of the comics/webtoon frame. You can always move layer there later, but this way you have more controls and can see things better.
Second tip is to start from the existing pose which is closest to your desired result.
3D character models in Clip Studio Paint are super flexible, you can basically adjust every angle and even break anatomy and laws of physics while doing it.
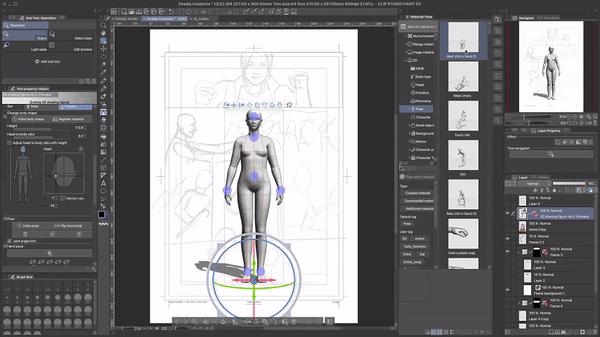
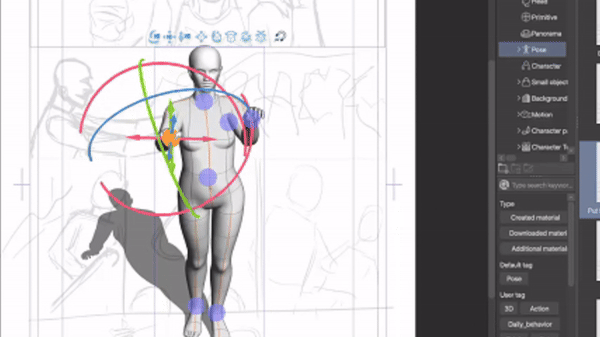
To adjust specific part of body, you should click on it using left button of the mouse,
then click on colored arrows to move part or on arc to rotate.
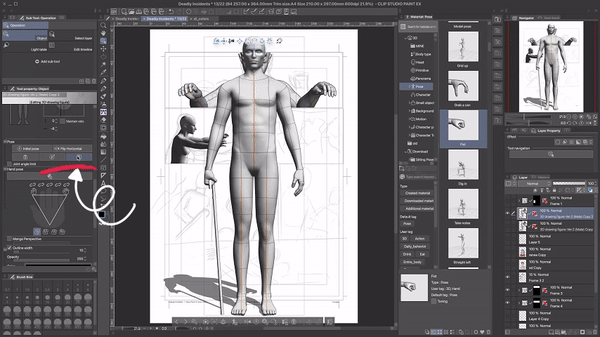
Posing hands might be tricky. But thankfully Clip Studio Paint has specific controls just for the hand and fingers separately. You can find it in Tool property window below the body type controls.
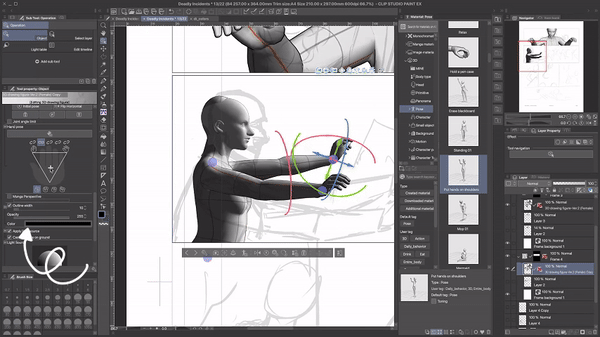
You can also use real time pose capture to adjust hand position which you can find in tool property window. You can use camera from your laptop or from the phone if that's mpre convinient to you. When you did the perfect pose, you can stop the recording and hand on the model will repeat it after you.
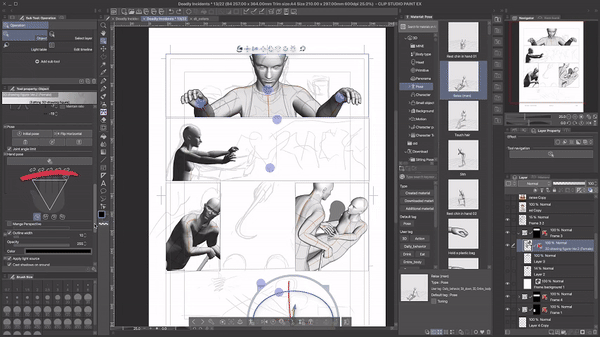
Besides poses from asset store we can also use photos as references. To do that just click on the 'Pose from photo' button and select image from your computer.
Lines
The last step is to convert 3D object into character. The easiest way is to simply rasterize the 3D layer and trace object on top of it. You can also extract lines and tones using built-in Clip Studio Paint features.
Select the layer with 3D figure and right-click on it. In the menu select Convert-to-Lines and Tones. You can extract lines in vector or raster format, adjust thickness and line detection accuracy.
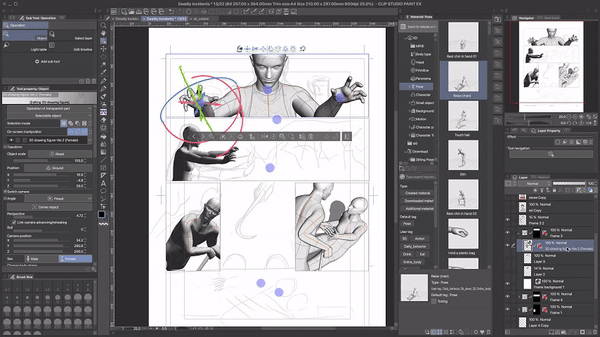
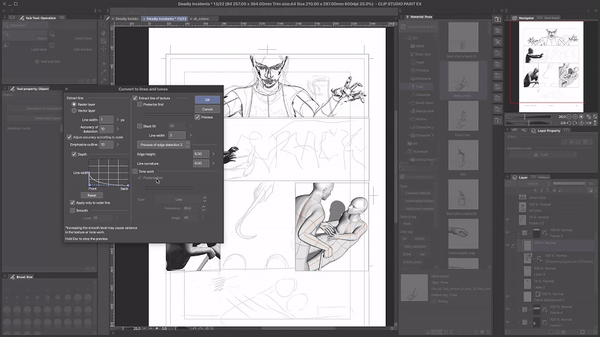
I personally prefer to trace over character model, because I like add details like clothes and propes during the lineart process. For background I like to extract lines and be done with it but that's for another tutorial.
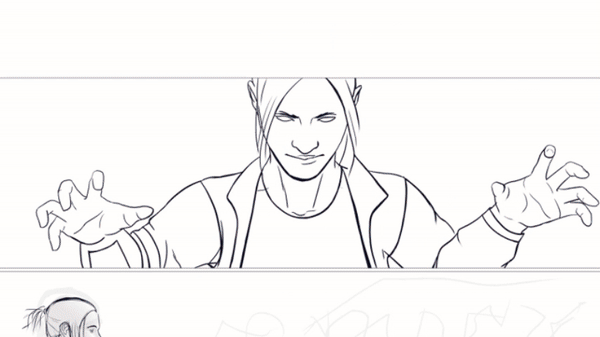
And we're done!
I hope you found this tutorial useful!


Comentario