How to paint flowers
In this tutorial, I'm gonna show you how I paint flowers and how to achieve a kind of painterly look of your painting.
So let's get started!
Here's the video of the process.
There are subtitles available in this video.
Don't forget to turn then on.
Here's the text version
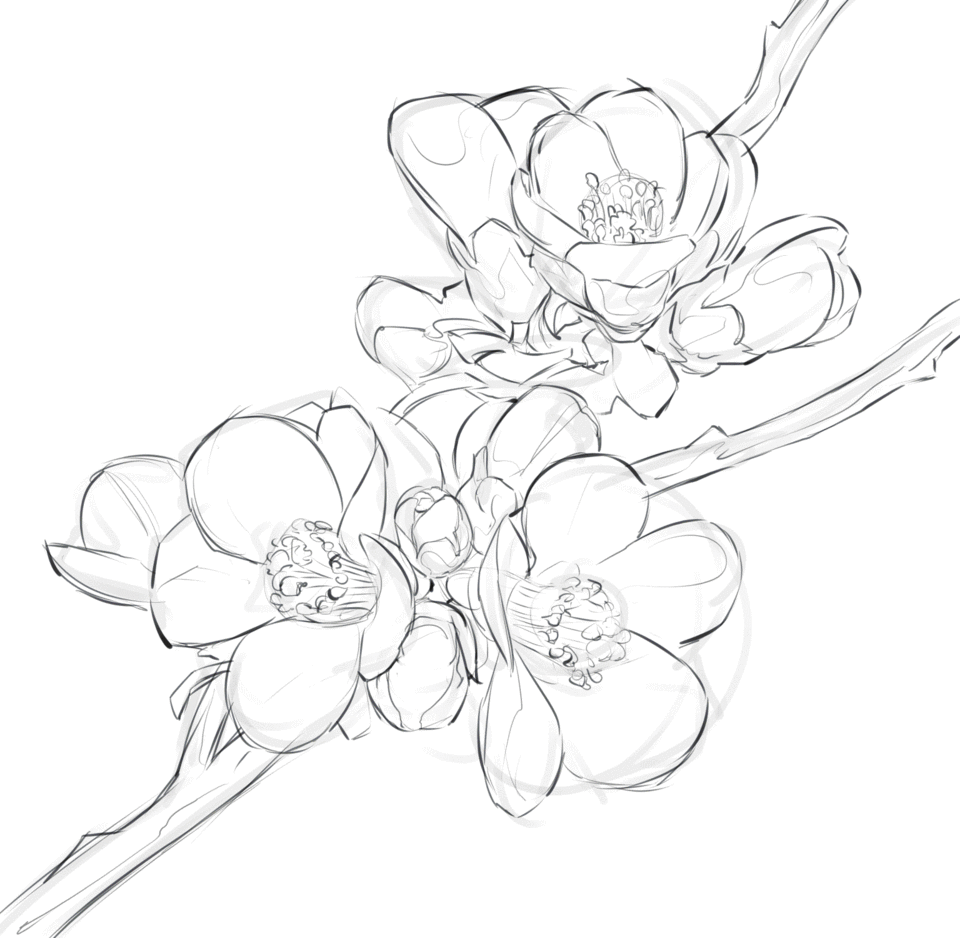
As usual, in the early stages of a painting, I like to keep things separate.
So I have flower parts, stick, background. Everything on their own layer.
Then I create a new layer and clip it to the layer below.
And now I can freely paint within this layer and don't be afraid of going off edges and so on.
Then I'll do the same for other layers as well.
This is kind of basic set up for most of my paintings.
Here are the main brushes I used.
With the first one, I've done 70% of the painting.
The second one I used to make hard edges and finishing details.
The third one is also for finishing details
First iteration.
Bold strokes, don't erase anything, don't be afraid and have fun.
And don't think about details yet.
We are gonna slowly build it up.
Second iteration.
Here's a gif of the differences between first and second.
Just adding more color.
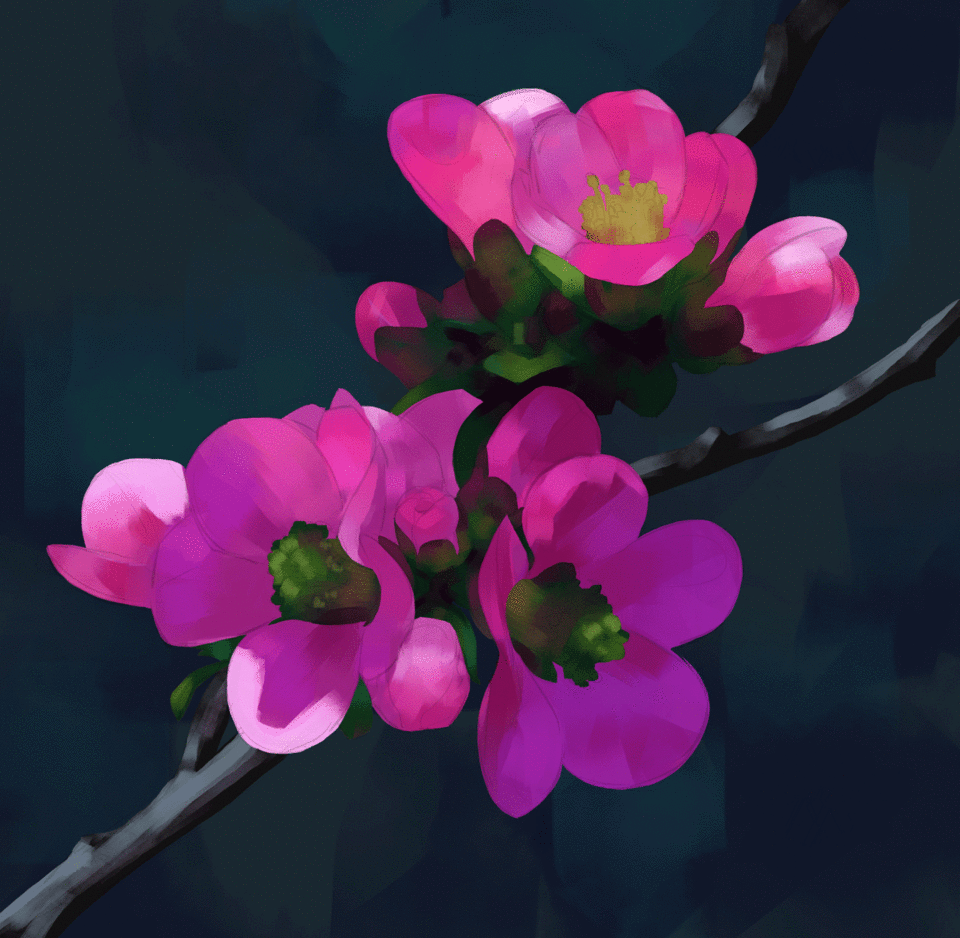
Before next pass of detailing I like to blend some edges.
I will talk about blend brushes a bit later
Now It's time to add hard edges to the painting and more details
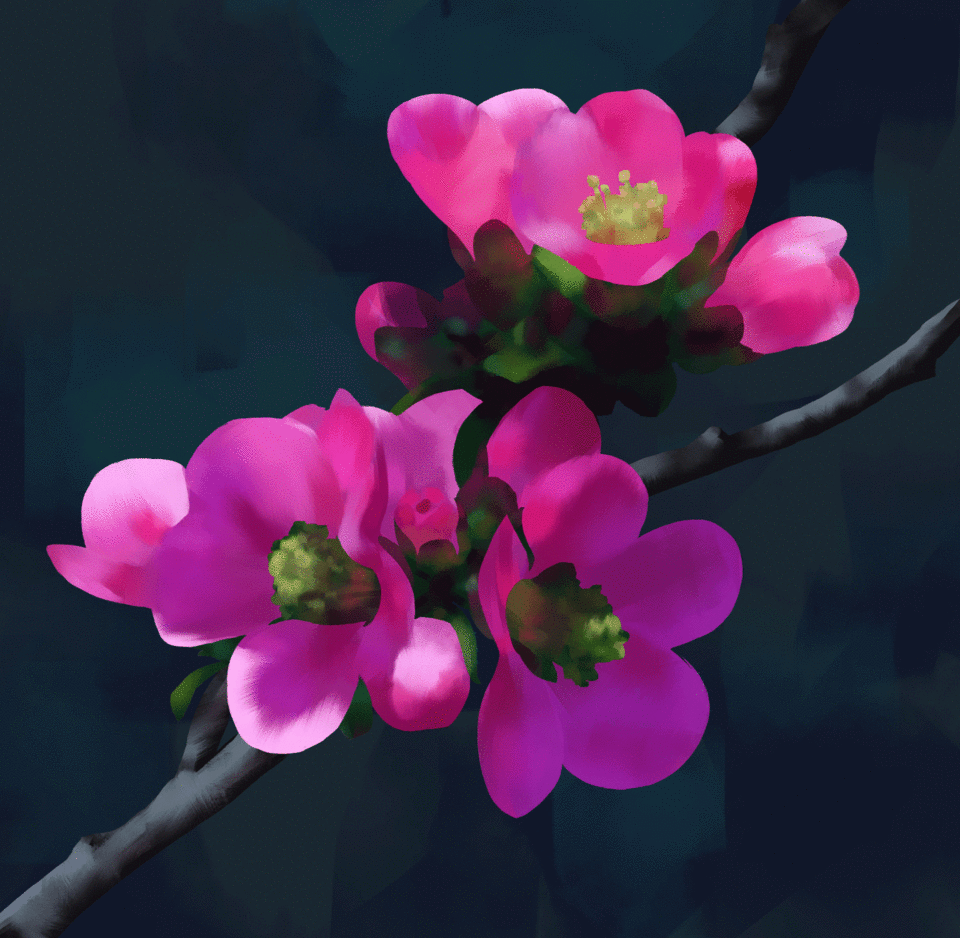
Next step.
I worked a bit on the background to emphasize flowers.
Now, the most fun part, I guess.
I made some nice blend brushes for clip studio.
Go download it, try them out, experiment!
I hope you will like it.
Download in here:
A few examples of what they do.
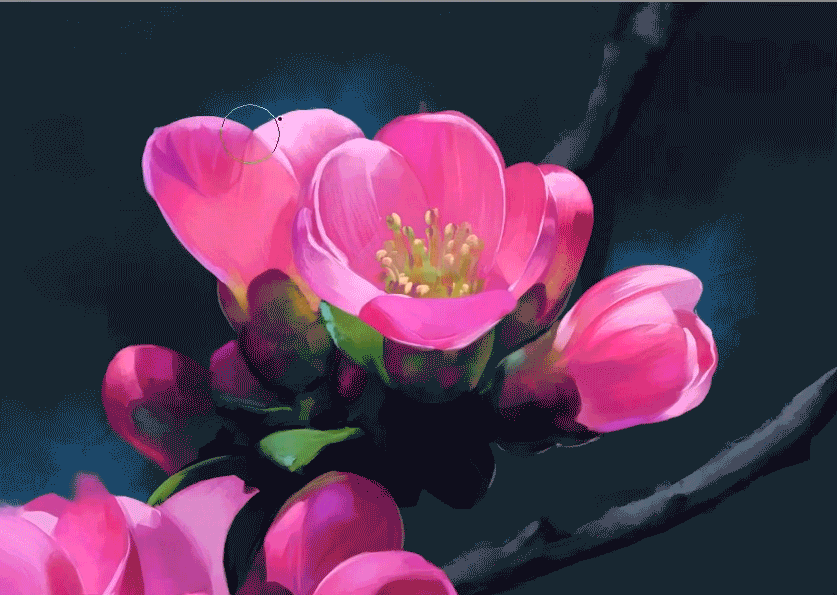
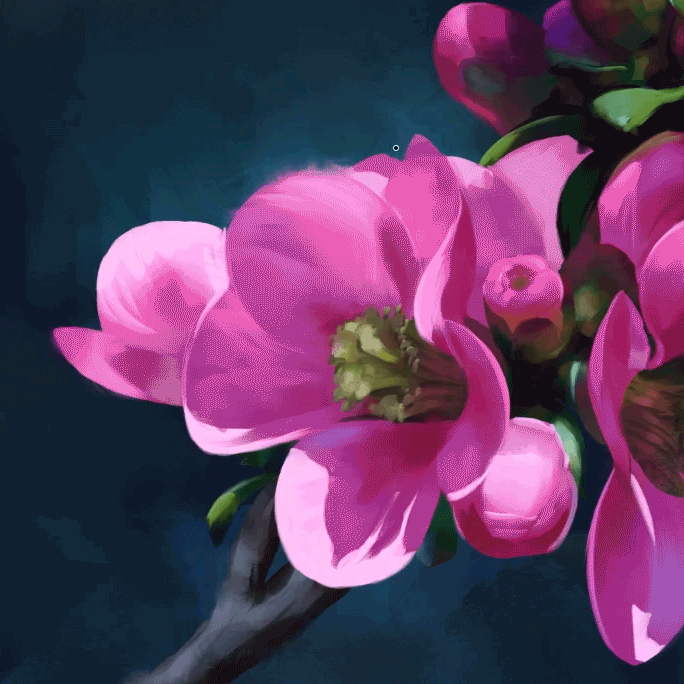
But don't overdo it!
It's important to have hard edges or it will look too blurry.
Now it's time for finishing touches.
Added some sparkles
And bloom effect where the light hits the most.
That's it :)
oh, and steps




Commentaire