Gradient Map: How I use it
Hi MarL here,
This tip will talk about Gradient Map!
Please feel free to watch the video above. I put some timelapse on the youtube description to make it easier to watch. If you prefer reading the written version, please continue scrolling. With that note, I hope you enjoy this month's tip topic.
Introduction
Gradient Map is useful for converting grayscale to color images or vice versa.
For artist, it is good for someone who wants to try different colors for their Original Characters (OC).
With that said, let's start by coloring our line art using a grayscale color set.
Color in Grayscale: Base color
Let's start with base color!
Create [New Layer]
Drag the new layer below the Lineart layer by dragging the [three lines icon] on the right side of the layer.
Go to [Color set]. You can select from the default [Standard Color set]
Use [Fill tool] to easily fill the lineart. You can either use [Refer only to editing layer] or [Refer other Layers]
Make sure to check [Apply to connected pixels only], [Close gap] and [Refer multiple : Reference layer]. Adjust Close gap as you see fit.
Make sure [Tolerance] is above 70%. Low tolerance will leave unpainted pixels but if you're using thin lines or with gap lineart check [Area scaling].
Set lineart as [Reference Layer]
Now you can now fill your base color efficiently. Use Pen brush to color small parts the Fill tool can't reach.
I separate hair, skin, eyes, inner clothes and outer clothes in five different layers.
Base color is done!
Color in Grayscale: Shadow
🌟First shadow (thin shadow)
Next is the thin shadow, go to [Color set] and use another shade of gray
Add [New Layer] > [Clip to Layer Below]
Disable Lineart's reference layer as we don't need to use it.
I use a G-pen brush to do the shadows.
Now use [Airbrush] and click [transparent color] so that the airbrush can act as an eraser. Erase bits of shadow to soften the shade and gives a gradient effect.
Use Blur tool to partially blur the shadow. Don't over-blur!
Once the skin layer is done and just repeat process for the other layers.
This is the our first shadow color looks like.
🌟Second Shadow
[Hold layer]> [Duplicate layer]
Create the second shadow using the eraser tool. Erase bits of shadow and just use blur tool to soften the edge.
🌟Third Shadow
[Create New layer] > [Clip to Layer below]
Go to color set and pick a darker shade of gray
It is similar to thin shadow process, you are just using a darker shade. Third shadow is usually my dark shadow.
Just use some brush, blur some edge and use Airbrush eraser to lighten the shade.
Color in Grayscale: Eye color tutorial
To help you give some ideas on how to color eyes manually. Here's some photo tutorial step by step process.
1. base color
2. thin shadow color
3. Use Airbrush eraser to give gradient effect
4. Using the same color as number 2
5. Use Airbrush eraser or decrease opacity layer
6. Use blur tool
7. Use third shadow color, after drawing the details use blur
8. add highlights
9. Use a darker shade of color > draw details > blur
Color in Grayscale: Highlights
Add [New layer] and [Clip to Layer below]. Use white color for highlights.
I use a pen brush and blur tool.
Use some airbrush to lighten certain parts.
Merge all Clip Layers
Before using Gradient Map. Make sure to [Merge with layer below] all Clip layer.
How to Open Gradient Map?
To use Gradient Map, there are three ways:
1. Correction Layer Shortcut
Hold the Layer > [New Correction Layer] > [Gradient Map]
Remember to Clip the correction layer.
Correction layers are adjustable layers meaning it is editable. Double click the [Adjustment Icon (left)] to go back to your previous adjustment (gradient map).
2. Correction Layer through Menu Bar
Go to Menu section> Layer > [New Correction Layer] > [Gradient Map]
3. Tonal Correction
Go to Menu Section > Edit > Tonal Correction > Gradient Map
Unlike Correction layer, [Tonal Correction] are not editable.
Gradient Map Setting
Brief introduction of Gradient Map Setting
1. Gradient Bar - Adjust the gradient.
Hold the arrow to adjust the shade.
You can also hold and drag the arrow away from the bar to remove it.
Select and arrow and go to color setting to change the color
2. Gradient Set
3. Gradient Set Setting
4. Mixing Rate Curve - another way to adjust gradient.
5. delete selected gradient bar from list
6. Create New Gradient Bar
7. Duplicate Selected Gradient Bar
8. Load to Gradient Bar - Select a gradient and click [Load to gradient bar or [Double click] to use the gradient
9. Replace Saved Gradient
Download Gradient set in Clipstudio Assets.
Click [Material] > [Clipstudio Asset]
Search gradient set for skin, hair or other things.
Clip Studio have a large community meaning more materials that can be access. So take advantage of Clip Studio Asset as there are many creators who are willing to give materials for free.
Pick your desired materials and click download
🌟How to use Downloaded Materials?
To use downloaded materials, go to
[Gradient set setting] > [Add gradient set] > [Downloaded materials tag]
Select the materials and click [Add]
Here's is my list of downloaded gradient set materials that I use for this tip.
You can now enjoy using Gradient Map. You can watch my youtube video at 13:30 - 13:55 for the Gradient Map Process Speedpaint.
Finishing Touches: Adding Highlights and Details
Now here is my Gradient Map Art.
For finishing touches,
🌟Add highlights and details
Create New Layer > Add Glow Blend > Decrease Layer opacity > Airbrush (choose Light pale color)
Focus on spot where your light source is
🌟Background
For a quick background, I just use some Cherry Blossom brush and Colorize function.
Here's is the link tutorial on how I did the background.
It is under [Using Reference Layer with Colorize]
🌟Color Lineart
Click [Lineart Layer] > [Lock Transparent Pixel]
[Lock Transparent Pixel] allows you to paint only on the already drawn areas.
Use airbrush to soften lineart color. Use colors that are similar to your drawing
WE ARE DONE!
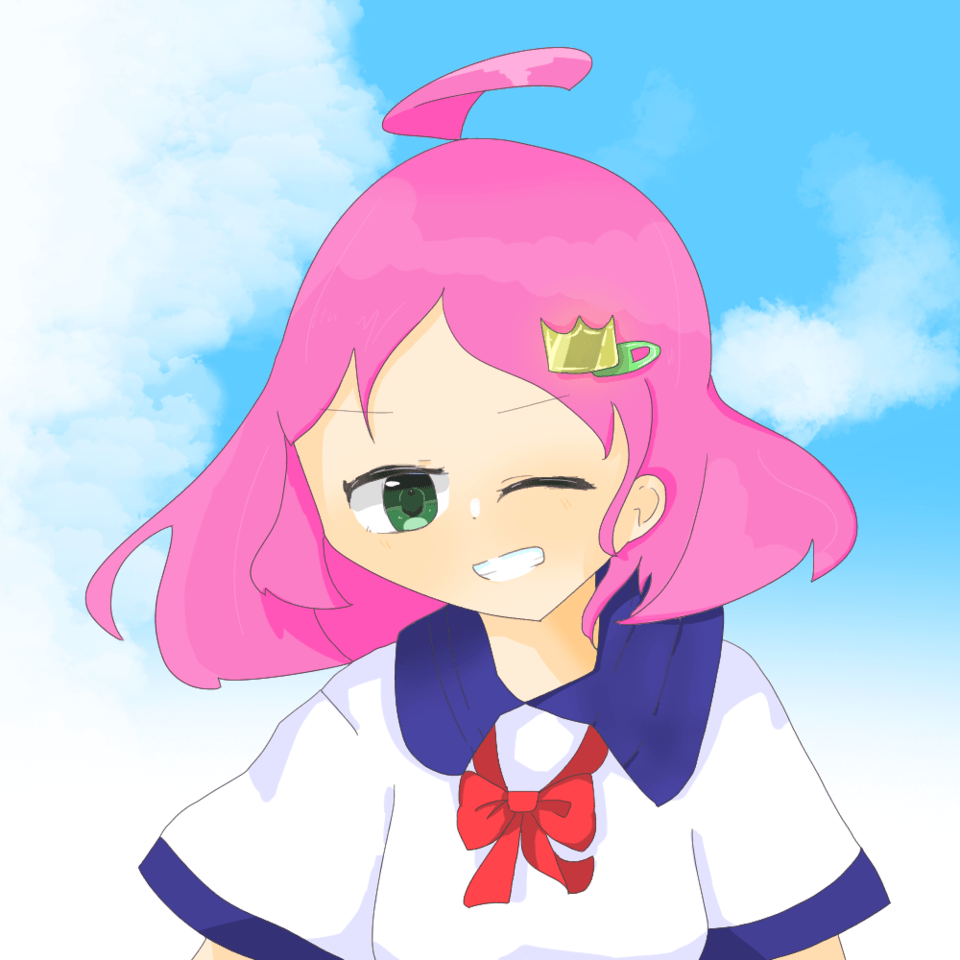
Here are some other examples that I made using gradient map. It is easy to change and experiment colours. So be sure to try it at least once especially when coloring your original characters.
THANK YOU FOR READING! See you next time.


댓글