How to draw pretty stylized jewelry for your comic & webtoon
Hello!
Hello my fellow artists,
I will be going over how to draw simple yet stylized jewelry that you could add in your comics or webtoons.
So lets gets started with understanding light direction and refraction.
Understanding Light Baby!
For all my science nerds out there this might not be new to you, but for the rest of you (who like me didn't pay much attention in physics class.) Here is a quick and simplified science of Light direction and Light refraction.
This is simply the direction light is coming from, and it will always affect how and where the shadow will be.

Harsh light gives strong shadows.
Soft light gives more spread out and weak shadows.
Light is very important in jewelry because it gives the illusion of glossiness or roughness.
Is how light bends in an object with a different optical density.
Light will bend differently in water versus in glass.
It will hardly bend in air but it would bend a lot in gel.
Here is a loose diagram of how a line of light will refract in water, air and gel.
Lucky for you the beginner artist, there are so many references on light bending that you only have to google "diamonds" "rubies" "gold" etc, to examine how light interacts with that particular gem or metal. So take advantage of references they are cheats to mastering drawing jewelry.
Now that we understand the core science of light now let us move on to drawing our jewelry.
What Is Simple Stylized Jewelry, Baby?
When I say simple stylized jewelry I mean utilizing a coloring style that uses less than 5 steps. We will be applying the basics of coloring which includes the first 3 steps: Base color + Shadow + Main Light.
But remember that if we are coloring jewels we will need to add 2 more steps: Refracted light + Bounce light. And if we are coloring metal we will need to only add one more step: + Bounce light. Solid objects like metals do not refract light that is why we don't add the Refracted light step.
Also remember that the style you choose to draw your jewelry in, is up to you and your comic style.
A trick I use when figuring out how to stylize my jewelry is to play with proportions. You can change the proportions of the gems versus the metal and even add textures. It's purely up to you as an artist.
Let's Draw a Simple stylized Jewelry, Baby!
For our tutorial please draw a jewelry that has a gem and some sort of metal. Examples are necklaces, rings or even a gold watch would work.
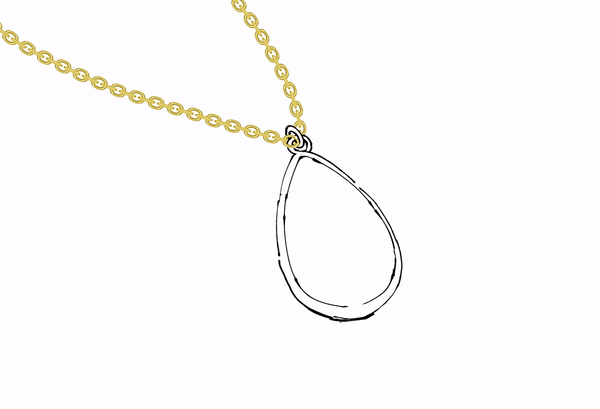
Create a rough sketch then outline it.

Fill in the base color.
Remember the base color is not the darkest color nor is it the lightest color, it is always a mid-tone shade.
If it looks odd, you picked the right colors. :P
Decide where light is coming from and draw it in. Having an arrow drawn in, really helps you stick to the light direction.
Add your shadows, remember that light refracts in jewels, so this means the shadows in jewelry varies and can be fun to interpret.
The shadows on metals bend and are sometimes very dark regardless of how light the metal is.
Now for my favorite step.
Add some bounce light and some refracted light.
For the Refracted light, simply use a lighter shade of your base color and change the Iayer mode to "Glow Dodge" or "Add (Glow)". A great rule to thumb is to place the refracted light in gradually while tweaking the layer opacity. there is no right or wrong with refracted light, as it will always look different and unique in each jewelry.
For Bounce light simply place it on the opposite side of the main light, this way the gem appears to be glowing and shining.
Since light is refracted in jewels, you can show some light passing through and reflecting on a surface, like I did in my illustration.

And Tada you are done with you simple jewelry.
I hope you learnt something and check out my other tips in these series.
Also comment below what is your favorite jewelry to wear and draw.
I love wearing gold jewelry but I love drawing blue sapphire's.


留言