
When watching this video, please display subtitles in each language.
The explanation in Japanese is easier to read on my blog, so please see here.
Introduction
This time's TIPS is a lecture on how to use the blur filter that can be used when drawing manga.
Blur filters are often thought of as a function for color illustrations, but there are unexpected opportunities to use them in black-and-white comics as well.
This time, I will introduce a lot of practical tricks that can be used when drawing manga.
The first half is about the use of screen tone work in the basic version, and the second half is about the highlight of this time, the use of texture shading in the advanced version.
It's basically explained in detail in the video.
The video also has subtitles in each language, so if you like it, please watch it first.
Since it is an automatic translation, the name of the tool may be wrong, but please understand.
I tend to omit the explanation in this TIPS, so I plan to add images and explanations later.
How to use the blur filter in black and white comics
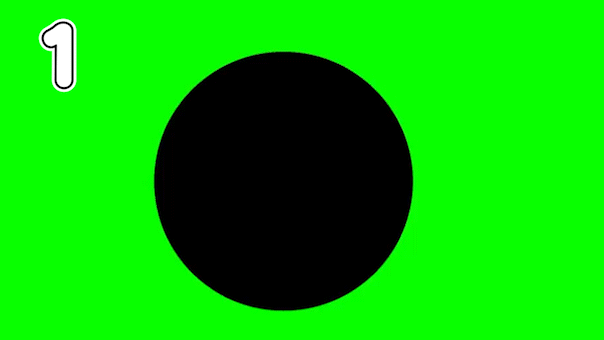
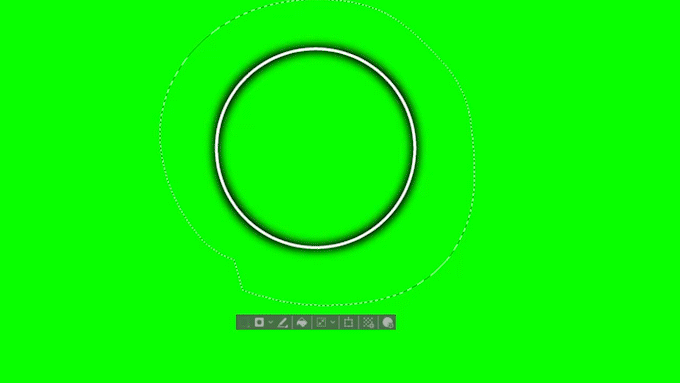
Let's try blurring this black circle.
1. First, filters cannot be used on monochrome layers, so
Change the layer property [Expression color] from [Monochrome] to [Gray].
2. Next, select "Gaussian Blur" from [Blur] in the [Filter] menu.
Adjust the [Blur range] with the slider and click OK.
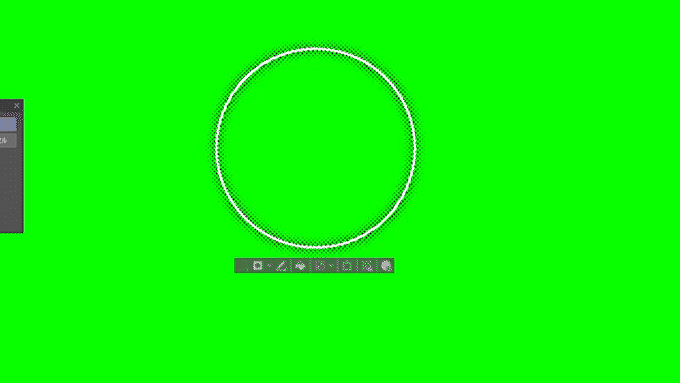
3. Finally, turn on [Screentone] in the layer property and you are done.
If you want to announce it on the web, it's okay to leave it gray,
If you plan to print for publication in magazines, etc., screentone conversion is essential.
Also, on a large canvas such as a manga manuscript, the operation of filters will be very slow.
Therefore, if you enclose only the part you want to use the filter with a selection range in advance, you can work smoothly.
Basic technique 1 Edge blurring
It is a technique to add a blurred screen tone border to what you have drawn.
It is often used for expressions such as magic and beams.
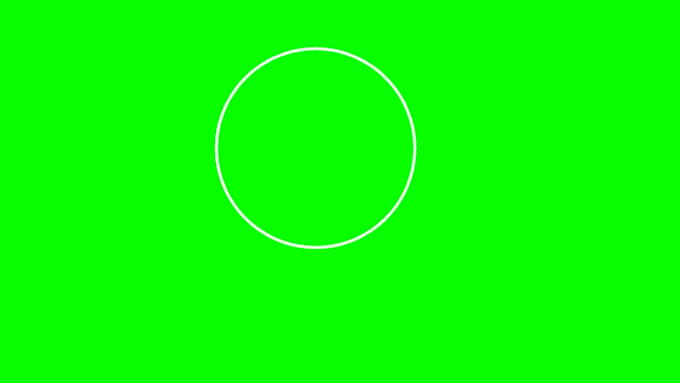
First draw a circle with white, duplicate the layer and fill it with black.
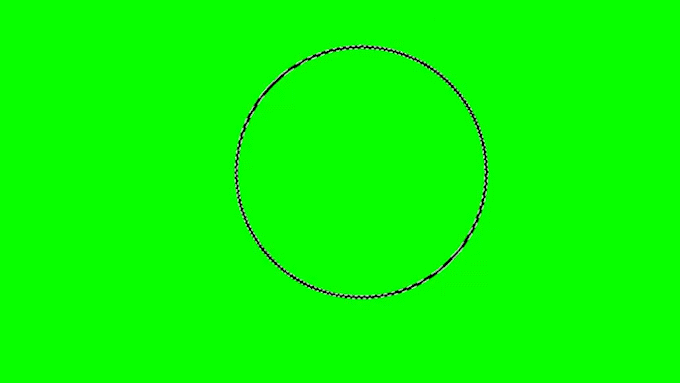
Add borders to the black circle layer using [Edit] > [Border Selection] to make the lines thicker than the original lines. Make it protrude from the original line.
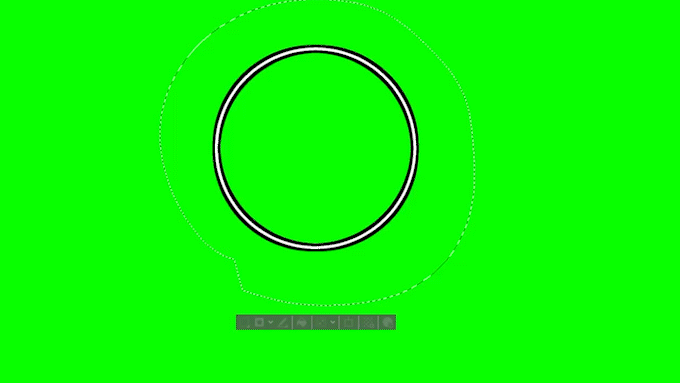
Keep the white layer up.
After changing the layer property [Expression color] from [Monochrome] to [Gray], blur it with [Blur] - [Gaussian blur] in the [Filter] menu.
Lower the opacity of the layer, turn on the screen tone effect in [Layer Property], and place it under the white layer to create a faint light effect like the one below.
Duplicate the white layer again, add borders as before, blur and turn on the screen tone effect, it will look like this.
You can make it look more shiny.
In addition, blurring the edges can be used to create a sad and melancholy scene like in the image by covering the character.
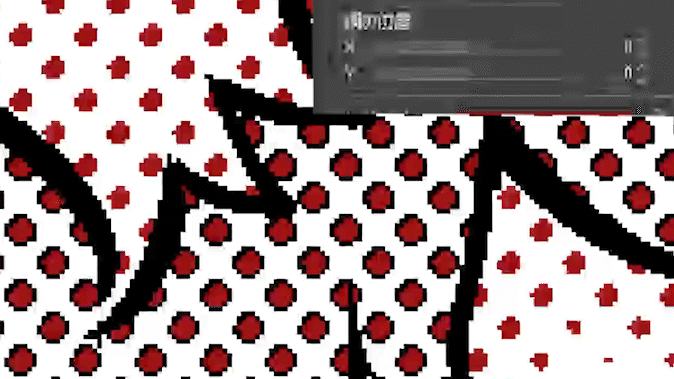
This kind of superimposition of screentones on screentones can sometimes cancel out the other screentones.
In such a case, it is good to move the position of the screen tone net to be overlaid and shift it.
The screen tone shift action below is useful.
Basic technique 2 motion blur
By aligning the movement of an object or body and applying radiation blur or movement blur, you can obtain the effect of photographing a moving object with a camera.
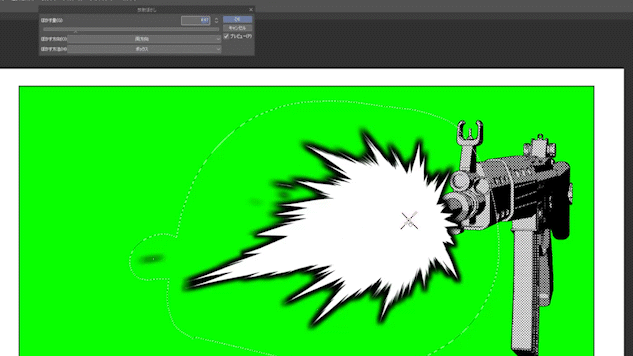
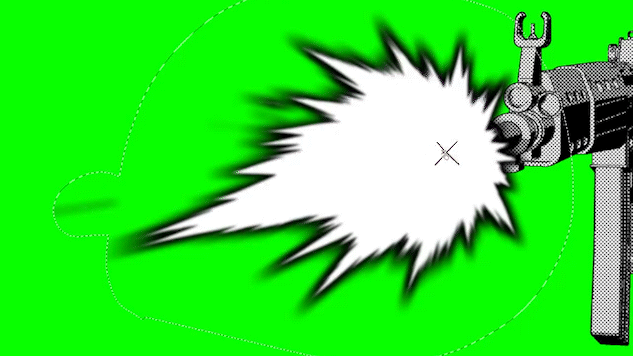
As an example, let's express the gun's muzzle flash, the bullet with radial blur, and the recoil of the gun with moving blur.
The muzzle flash and bullets look difficult, but all you have to do is use [Radial blur] instead of [Gaussian blur] for the edge blurring of basic technique #1.
For the muzzle flash, draw it in white, copy and paste it, fill it with black, add a border, and make it one size larger than the original white flash. Create a new draft layer and mark the center of the muzzle flash. This marker is so that the two layers of flash, white and black, can be blurred from the same center.
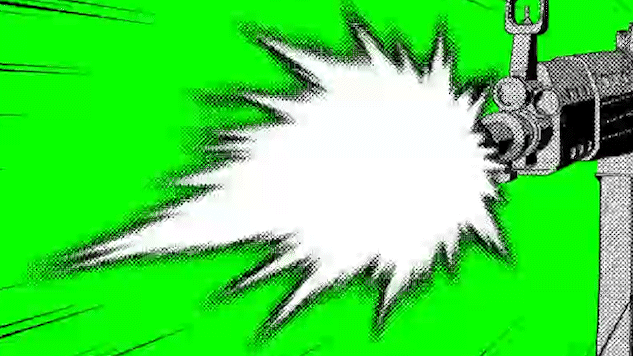
After that, apply a little [Gaussian blur] to the whole.
Applying a little [Gaussian blur] before applying [Radiation blur] or [Moving blur] will make it blur beautifully. If you don't do this, the boundary of the color extension may become clear.
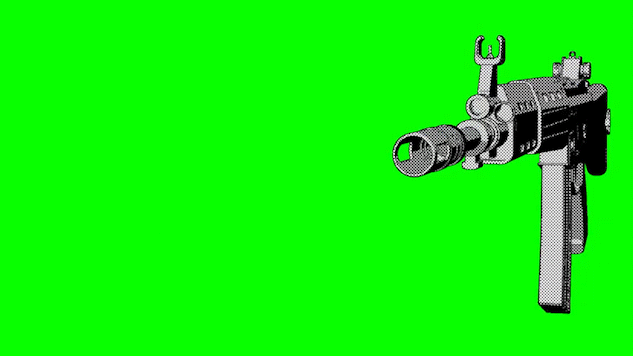
When you activate [Radiation Blur] from the [Filter] menu, a red cross will appear in the center of the radiation blur. Drag this to the mark you drew earlier to move it.

If you increase the amount of blur and press OK, you can blur like a muzzle flash coming out of the muzzle.
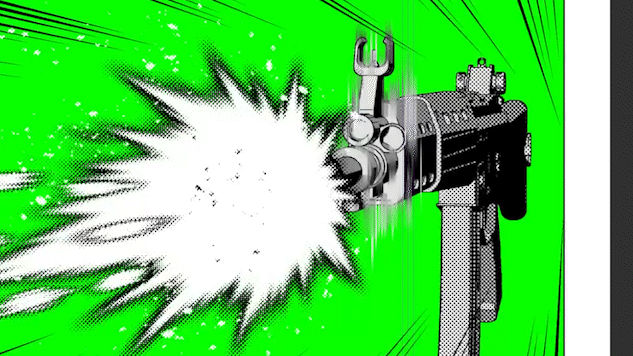
Apply [Radiation blur] to the white flash in the same way as the black flash. Set the center of the landmark in the same way so that the black flash and the center of [Radiation blur] match.
It is better to set the [Blur amount] slightly less than the previous black flash.
Finally, turn on [Screentone] in [Effect] in [Layer Property] to complete the muzzle flash.
Bullets can also be drawn in the same way. However, the center is not the same as the center of the muzzle flash, but placed on an extension line passing through the center of the barrel and the muzzle flash. The trajectory of the bullet looks better if it is aligned with the direction of motion or perspective.
You can also draw sparks near the muzzle flash with blur.
Scatter sparks in black and white with a splash brush, apply [Gaussian blur], lower the opacity a little and screen tone, you can easily draw a nice effect
I was able to improve the quality in a short amount of time.
Next, I will draw the recoil of the barrel with motion blur.
First, copy and paste the gun layer folder, cancel all screentones in the gun folder to make it gray, and then combine the gun folders to make a single layer.
I won't use anything other than near the muzzle, so I'll erase it.
You can blur it as it is, but you can set up a parallel line ruler and add a vertical line,
Draw a little movement by extending it with the fingertip tool.

Set the [Blurring angle] to 90 degrees in [Filter] > [Moving blur] to blur the muzzle vertically.
Finally, it is completed by converting to screen tone.
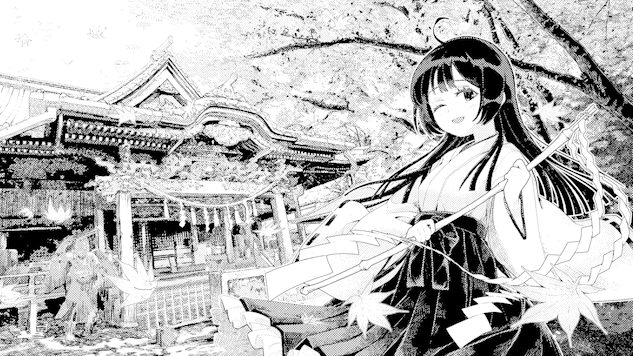
Basic technique 3 Lens blurring
This is a method of expressing blurring where the camera is out of focus on the screen. You can get a realistic effect.
As a test, I will focus on the shrine maiden and blur the picture of the shrine drawn from the photo I drew earlier.
First, remove the background screen tone effect, then merge the foreground and background into a single layer.
Next, select [Stock Selection] from the [Selection] menu.
Create a [Selection layer] and paint areas closer to the character in focus and darker areas further away.

If you create a selection on the [Selection layer] and then apply [Gaussian blur],
You can get the effect of losing focus as you move away from the focal point.
If you create a selection with a [Selection layer] and then blur it, you can blur areas with high opacity strongly and areas with low opacity weakly.
Changing the amount of blur between the foreground and the background makes it easier to get a sense of presence.
The trick is to change the blur amount for each distance from the camera.
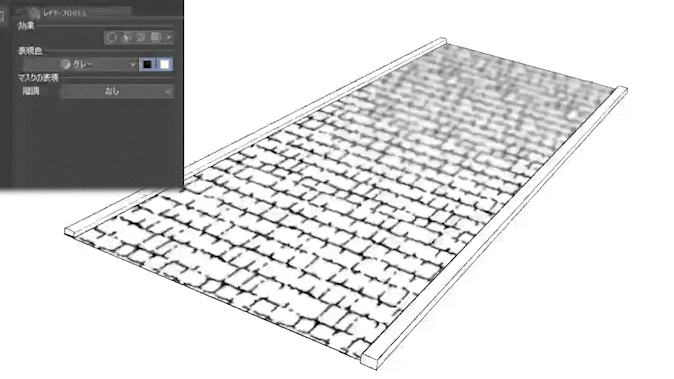
Applied technique 1 Texture blur
It is a technique to naturally attenuate the texture of the texture with Gaussian blur. After greatly blurring the areas that you want to partially attenuate, change the expression color of the layer from [Gray] to [Monochrome] to skip the details of the heavily blurred areas.
First, apply a small amount of [Gaussian blur] to the entire area, then create a [Selection layer], paint the areas where you want to erase the texture, and blend smoothly with the areas you want to keep.
Create a selection from the [Selection layer] and strongly blur it with [Gaussian blur].
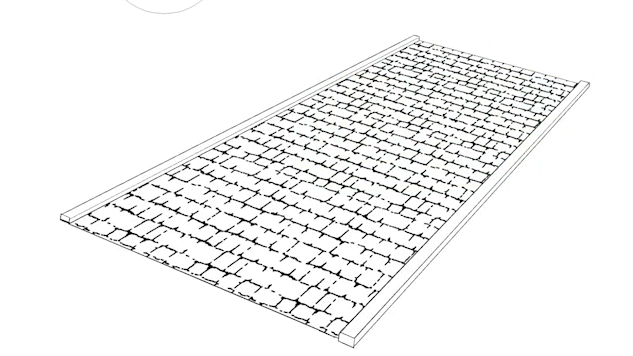
Finally, by changing the expression color of the layer from [Gray] to [Monochrome], I skip the details in the heavily blurred areas.
The degree of skipping can be freely adjusted with the expression color threshold in [Layer Property].
Rather than scraping the texture with a Kakeami brush, it can be naturally attenuated while maintaining the texture.
You can erase the depths with a perspective texture, or erase the areas hit by light with a texture with shadows.
Applied technique 2 Shadow blurring
Edge the texture and then blur,
By returning the expression color of the layer to monochrome, the density of the line that increases as it goes deeper,
It is a blurring technique that is used to draw shadows by solidifying it all together.

at the end
This time, I introduced each of the useful techniques individually, but in reality, they are often used in combination.
For example, [Lens Blur] and [Motion Blur] are often used together in battle scenes.
However, if you blur the screen tone too much, it will make it difficult to see the manga, so be careful.
Also, it may not print well, so don't forget that.
Users who liked this post


Comment