
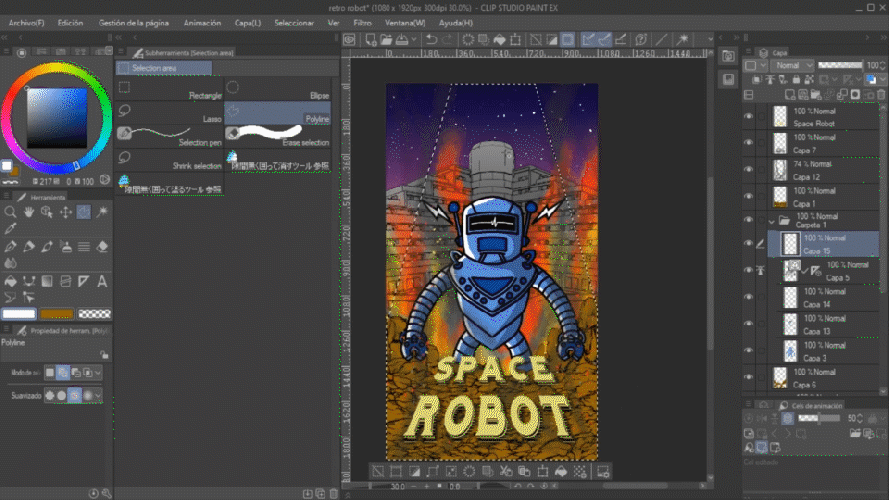
Introduction
Hello my name is Rodrigo, today we will learn how to easily create a poster of a robot with a retro style, using various materials and brushes in an easy and fun way. Let's get started.
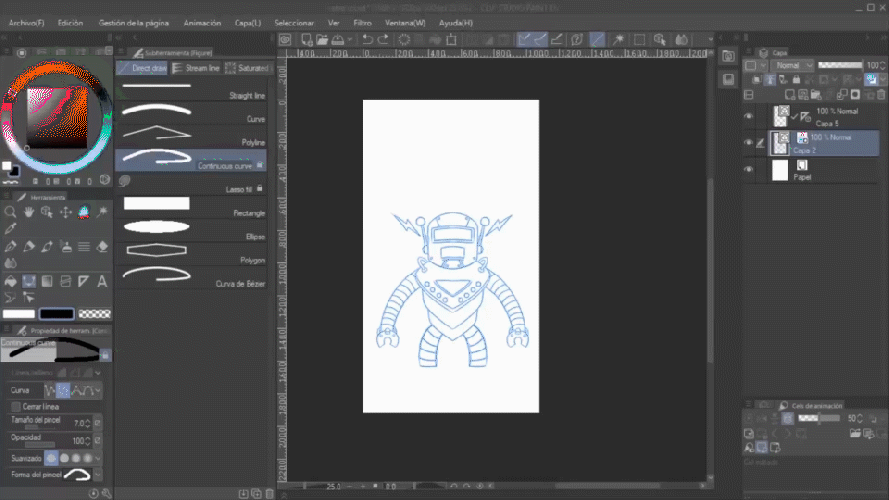
1- Create sketch of the robot
We create a new canvas, using the perspective ruler we will draw half of the robot with Gpen and lower its opacity, this sketch will be our guide for working with lines.
2 - Line work and perspective ruler
We will create the line work with the Continuous Curve tool and place the perspective ruler in the middle of the canvas to draw half of our perfectly symmetrical robot.
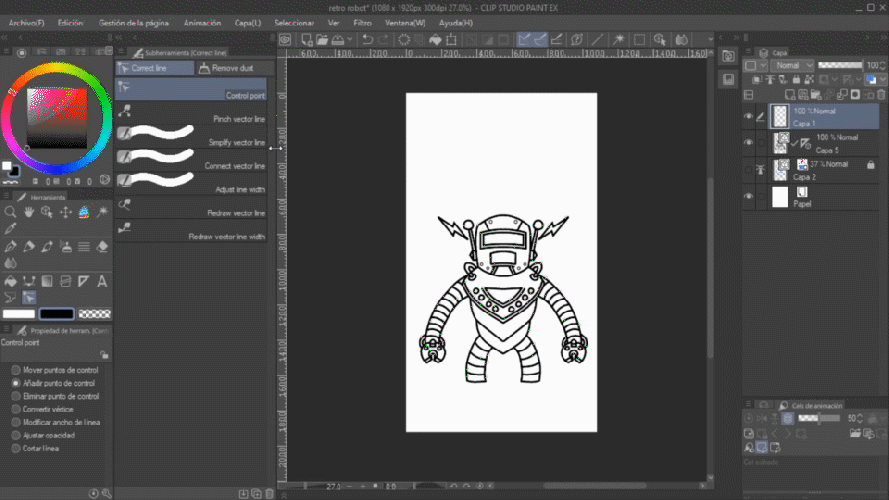
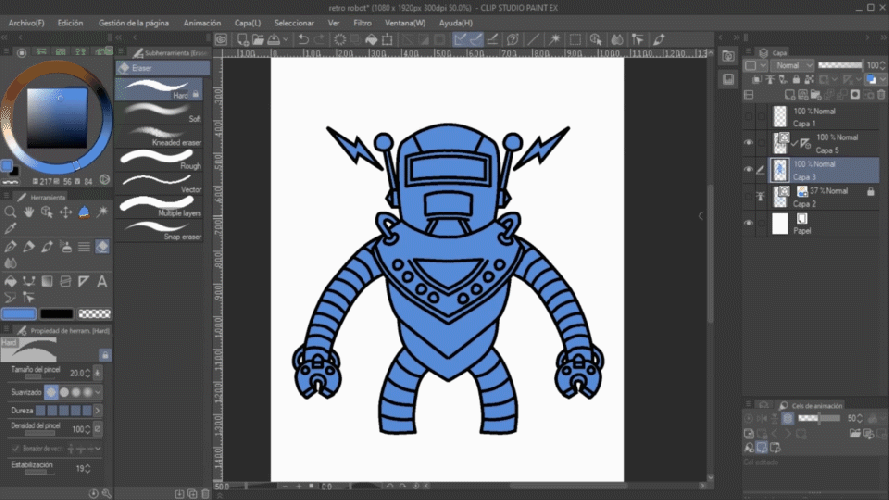
3 - Selection and Filling
With the active lines layer, and the Auto select tool (w) we will select outside the drawing, and then we will invert the selection von (crtl + shift + I) and with the Fill tool we will give it a base color quickly, it only remains to erase areas not desired, adjust color details (ctrl + U) and the base of our robot will be ready.
4 - LT layer conversion
In materials we will look for a 3D background that you like, place it behind your robot and by right clicking on the 3D layer, we will select "convert LT from layer", experiment with the adjustments and we will have the base of the background ready.
5 - Gradient
We will create a sky of colors in degrade behind the buildings, stop that in a new layer we select the gradient tool, apply the one you like the most.

6 - Text
Download and install a free retro font. Create some text on your poster and warp it. First we will rasterize the text layer, right clicking on the text layer and rasterize. now we can freely deform the layer, in edit> transform> Distort. create the shape and color that you like the most.

6- rocks and flame brushes
We will download the brushes, and distribute rocks and flames by separate layers throughout the poster, then with the spray we add details of sparks of fire and the details that you like.
HM Rock Set 1

Pincel de Sombra de Llama/Cepillo de Silueta flamea (Flame Silhouette Brush)
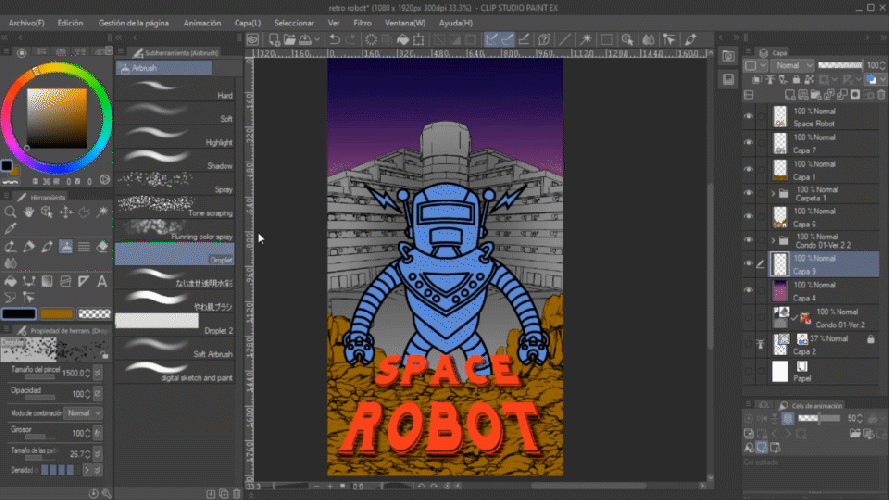

7 - Adjust saturation and color
To finish achieving our retro effect we have to reduce the color saturation of the poster, for that we are going to select all the layers and duplicate them as a backing. keeping all the copies selected we will right click> combine selected layers. then we can adjust the saturation (ctrl + U). I recommend you to scan in CMYK if you are going to print it on paper and Save in RGB if you will use it digitally. I hope you like the tutorial thanks for going to the end!
Users who liked this post


Comment