
- Video tutorial
- Introduction
Hello, my name is Rocko and today I have an easy and fun tutorial, you can use a photo of your pet and choose the uniform you can think of. If you look for references on the internet about this style, you will find period clothing and many military uniforms. This is a quick example of the workflow, take all the time necessary to add all the necessary details to it, you will learn how to create a Renaissance style painting with your pet's face, let's start
1 - Bonus Tip: How to trim with Clip Studio Paint
- We are going to cut the face of your pet, try to take a photo with a white background or a uniform color, this will help the Auto select tool (w) to better separate the face from the background. select by clicking on the edges of the face, if you select unwanted areas "Control + Z" go back, for the central part and details we will use another tool.
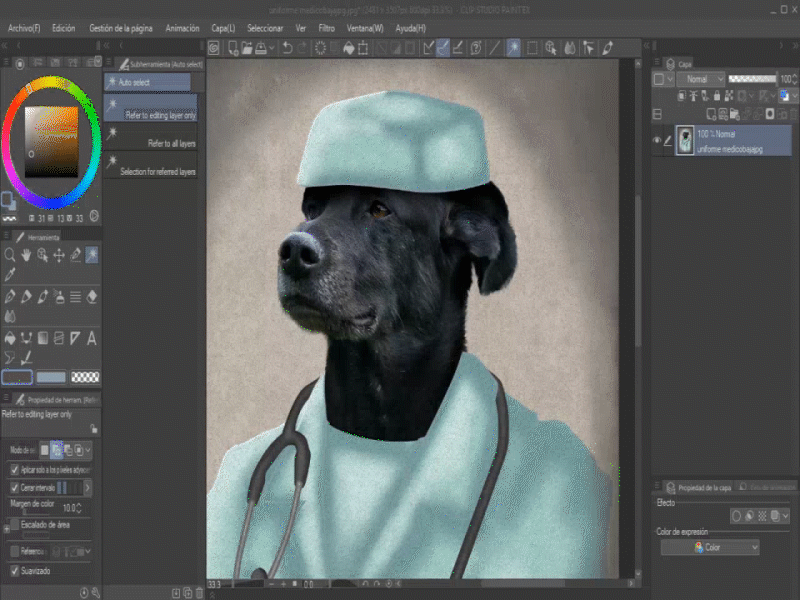

keeping the photo layer active, we separate "contol + C" and "control + V" and we will have our face ready to use, you can paste it on the canvas next to the portrait or export it in transparent ".PNG" to use later.
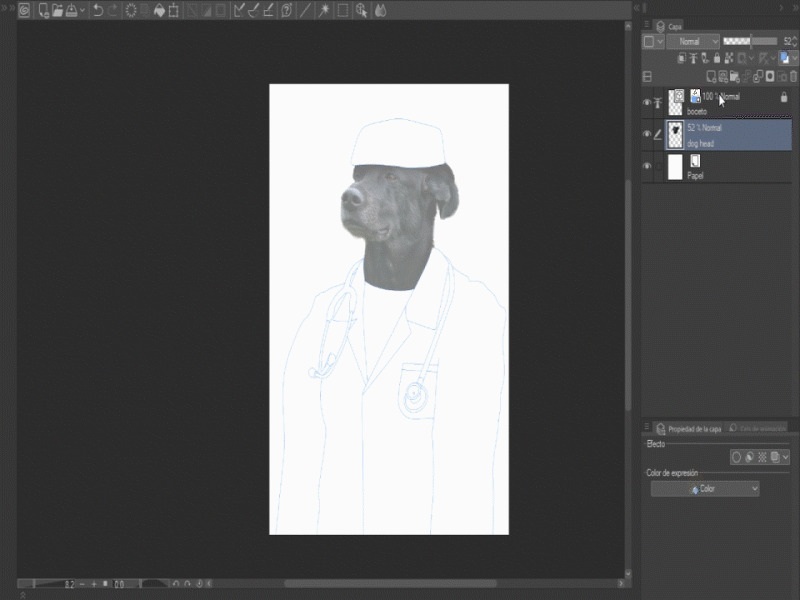
2- Create Canvas
We create a new canvas, selecting illustration in A4 format and with the continuous curve or G pen tool we make a sketch of what will be our uniform and shadow on a new layer. Make sure everything fits perfectly because it will be our base.
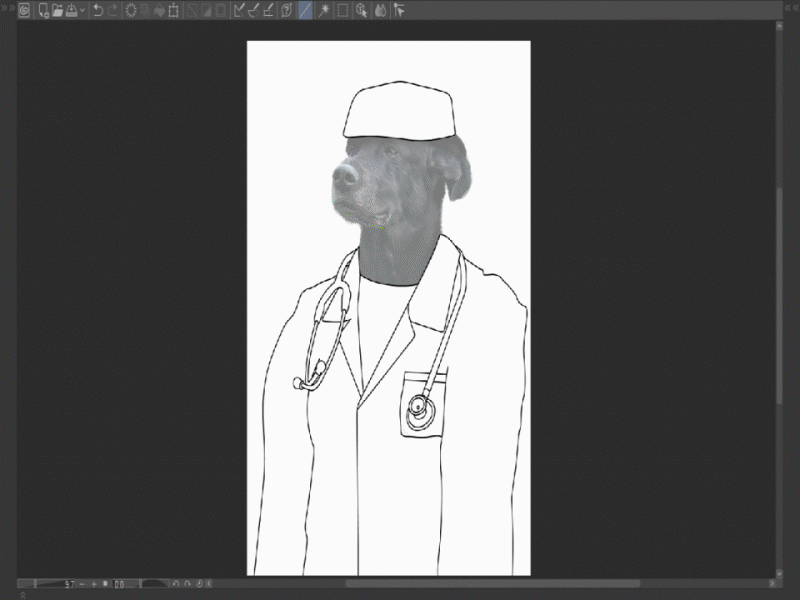
3 - Line Art - Continuous Curve
- We create a vector layer and with the "Continuous Curve" tool we make the lines work as neat as possible. (you can correct blemishes by holding down the "Ctrl" key)
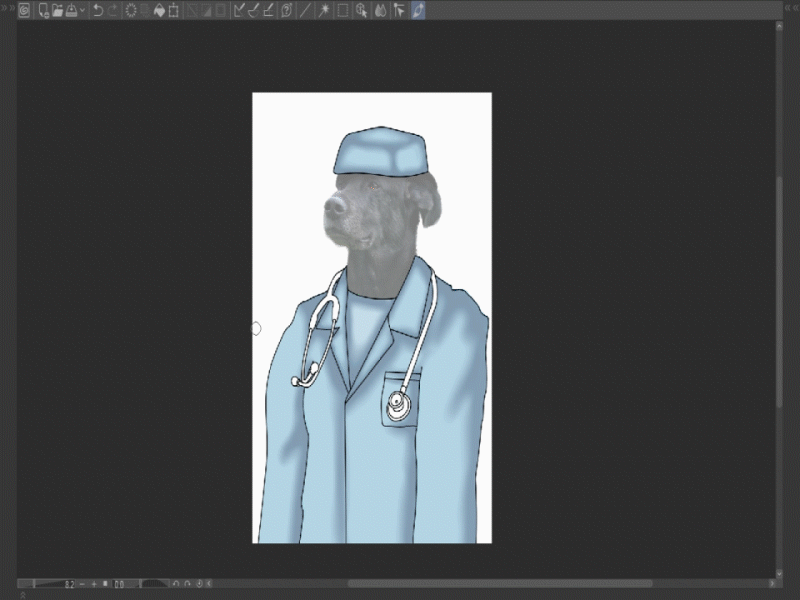
4 - Filling
- Select the background with the tool "Autoselect (w)" and invert it, fill in thinking if you want to separate the colors into different layers to work more comfortably.
5 - Brush Watercolor
- We create a raster layer over our base color, activate "adjust to lower layer" with the "Brush> Opaque Watercolor" tool, we will place the shadows and with the "eraser (E)" tool we will delete surpluses, the "Blend> Blur" tool it will soften the edges of the shadows.
We adjust the white balance in "Edit> Tonal Correction> Hue / Saturation / Lightness"
We repeat the step for each shadow, light and details that you want to add. This is a quick example, you can spend as much time as you want.


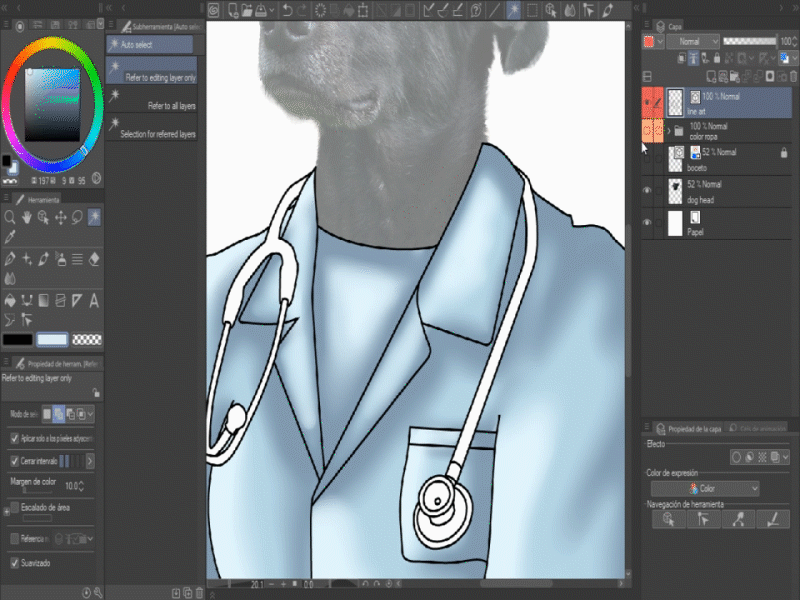
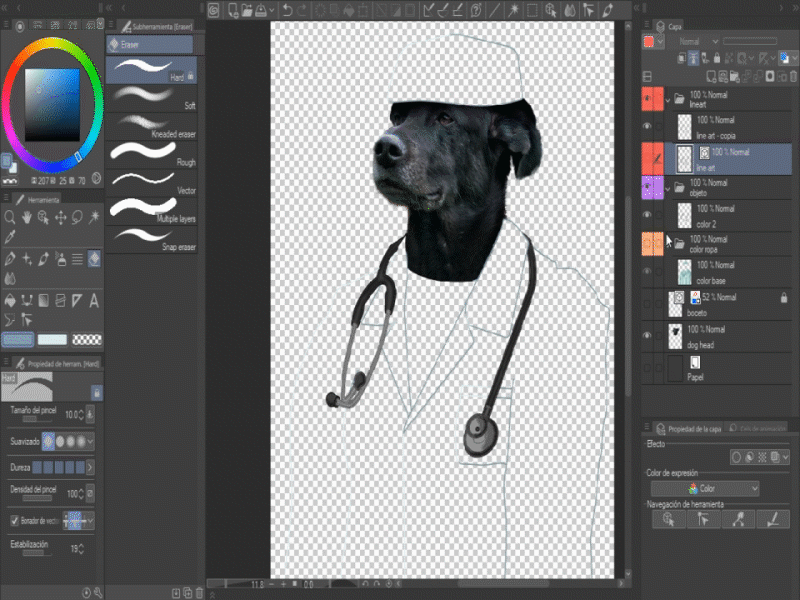
6 - Smart Lineart
- We create a new raster layer on our line work and activate the option "adjust to lower layer" and paint the lines respecting the color of each site.
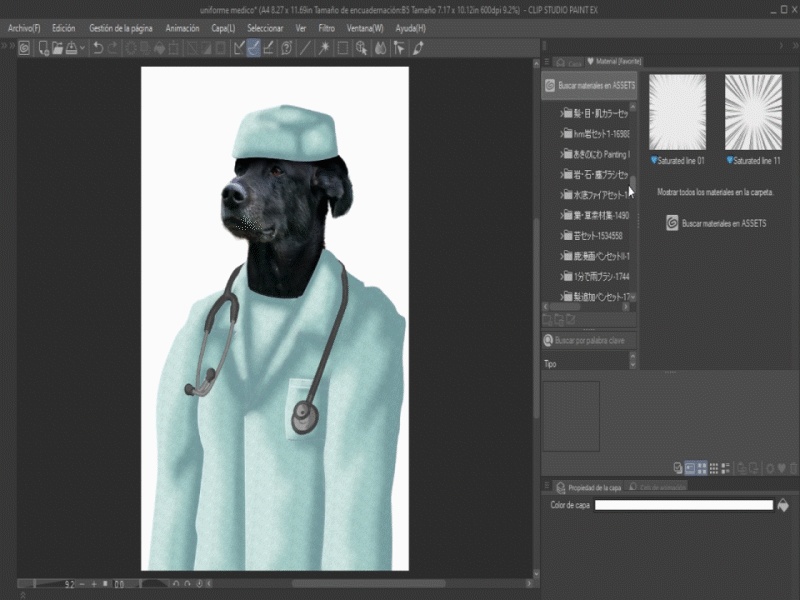
7 - Texture
- We select the clothes in the line layer, we will go to materials and drag the texture you like the most to the canvas, we will reduce its opacity to 5% approx.
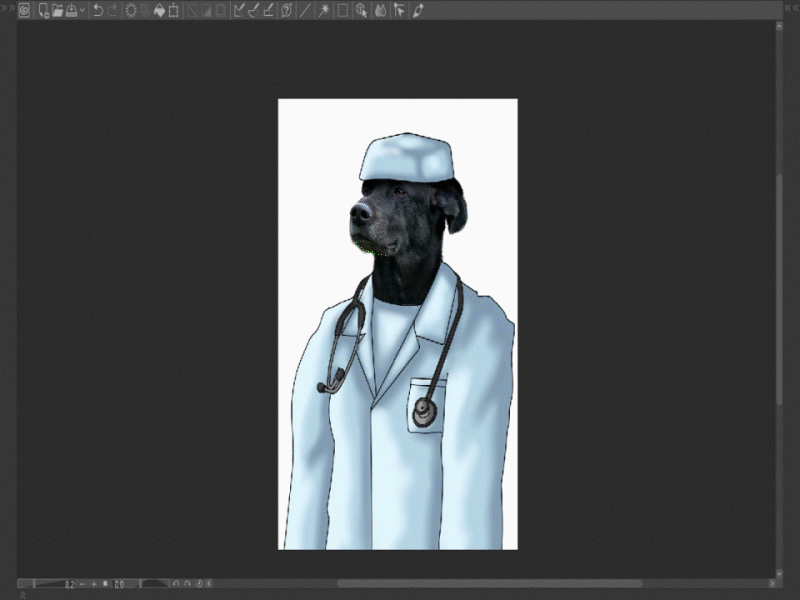
8 - Background and Details
- From the materials we drag the old paper texture and with the brushes and blur we create an old effect at the edges in a new layer above all the layers, we can also add noise with minimal opacity.

Social networks
Users who liked this post


Comment