5 Ways to Shade - in Clip Studio Paint
- Video tutorial.
- Introduction.
- Hello my name is Rocko and today I will show you 5 different ways to add easy shadows to your drawings. With different techniques and tools, at the end of the tutorial you will be able to discover which shadow style you like the most and apply it to your works.
- G - Pen
Create a raster layer for the shadows over the base color, select the G-Pen tool and in "tool properties options", make sure that the "do not exceed the lines of the reference layer" box is checked and place the layer of vectors with the lines working as a reference layer.
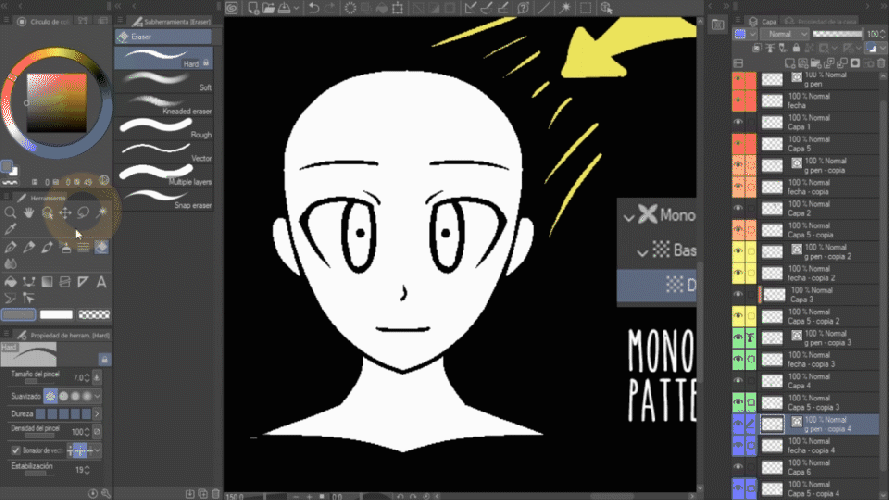
Taking into account the direction of the light we will draw the shadows on the opposite side all over the face and with the "eraser" tool we will correct the surpluses, with the Gpen we will obtain hard lines and edges.
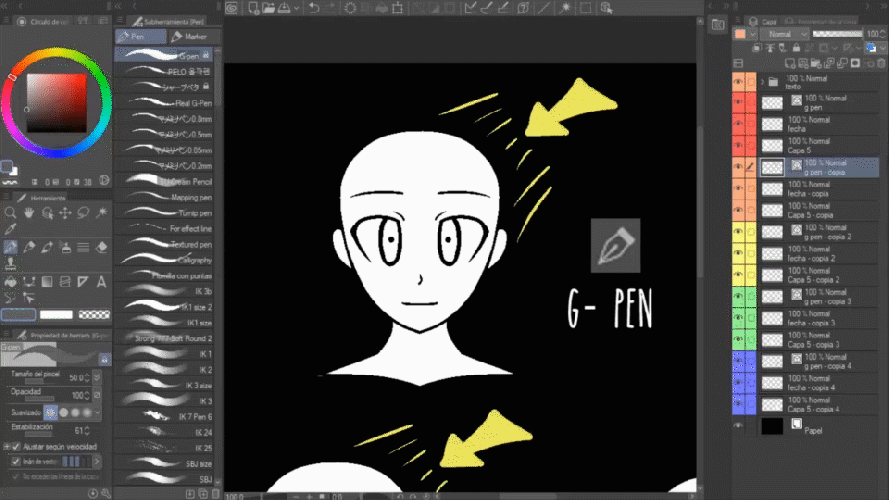
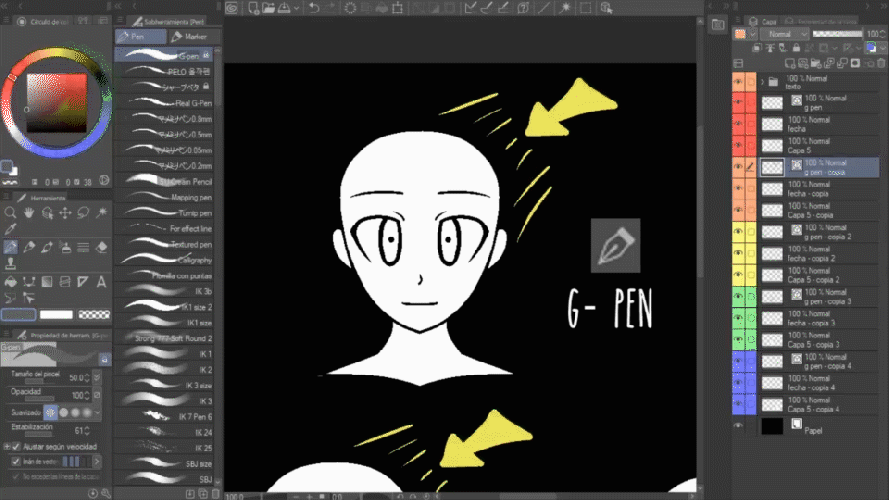
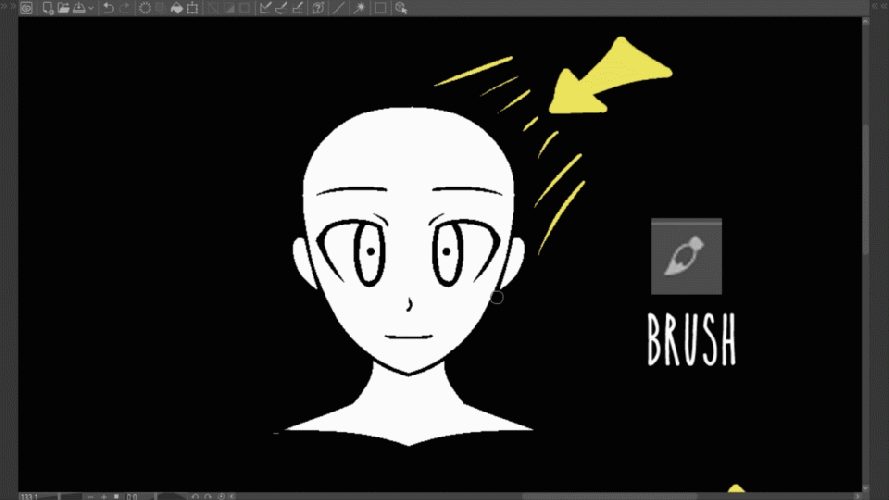
- Brush - Dense whatercolor
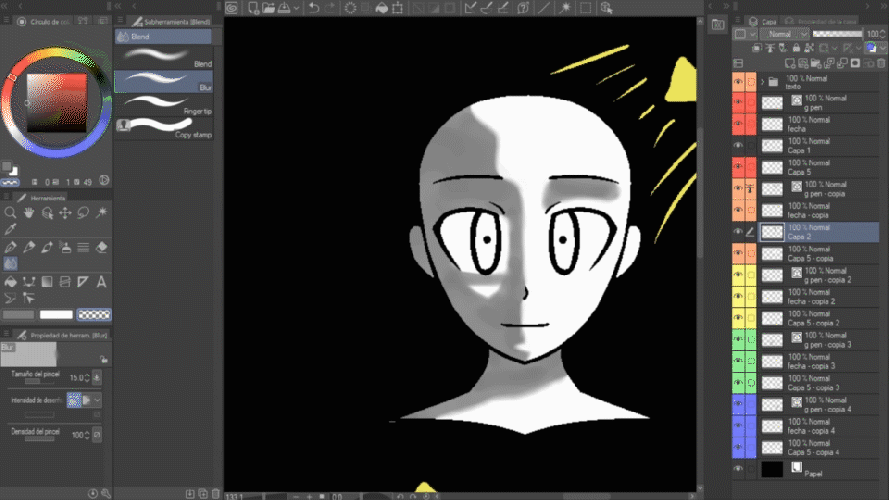
We repeat the steps, create a raster layer on a base color and this time we will use the "Brush" tool and select Dense Watercolor to place the shadows on the face, then with the "Blend" tool we will select Blur to break the pixels and give it a more clean finish and even, placing different shades of shade creates more interesting finishes, be sure to experiment with it. With these tools we will obtain oil textures and fuzzy edges.
- Give yourself transparent whatercolor to erase and correct.

- Blend > Blur
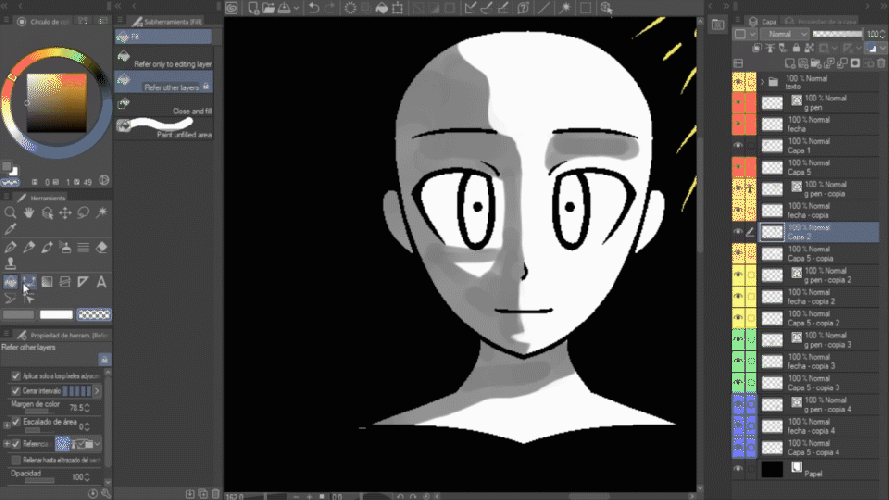
- You can add more than one shade shade, be sure to experiment.
- Airbrush - Hard
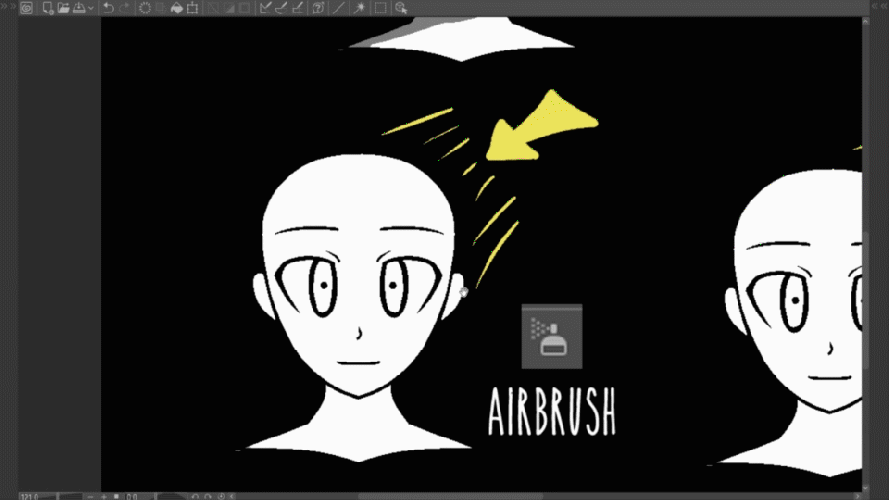
Now it is the turn of the Airbrush hard, we will place the shadows in a new layer over the base color and activate "adjust to lower layer". With the airbrush in transparent mode we will correct the surpluses and we will use the "Blend" Blur tool to smooth the edges, this tool will give us spray-like finishes and diffuse texture.

- Fill
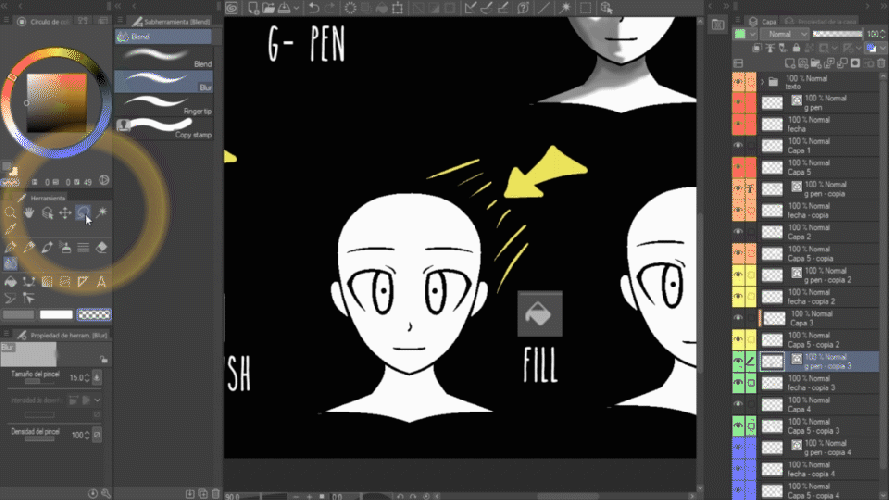
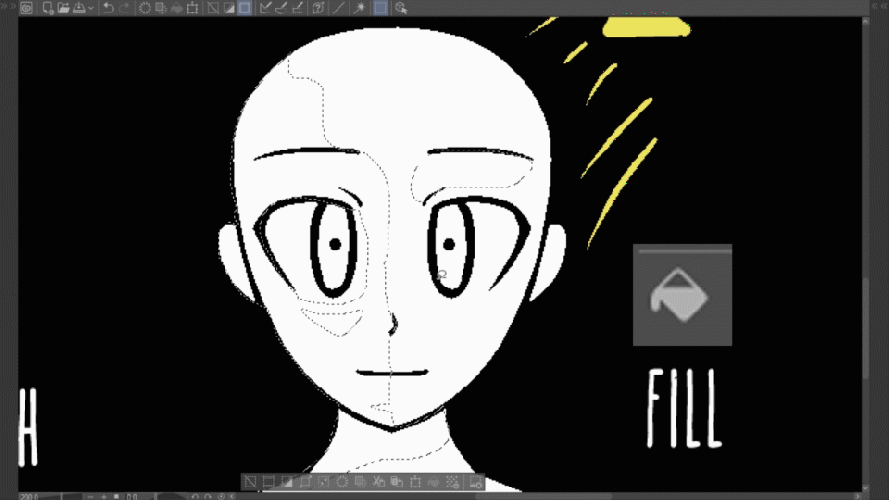
To use this tool we must first create a selection in the line layer, for that we choose "lazzo" and in tool properties we activate the "add to selection" mode. When finished, we stand on the shadow layer and the Fill tool will paint only the selected one. This tool gives us hard shadows with firm edges.
- Monochromatic Pattern - Dot
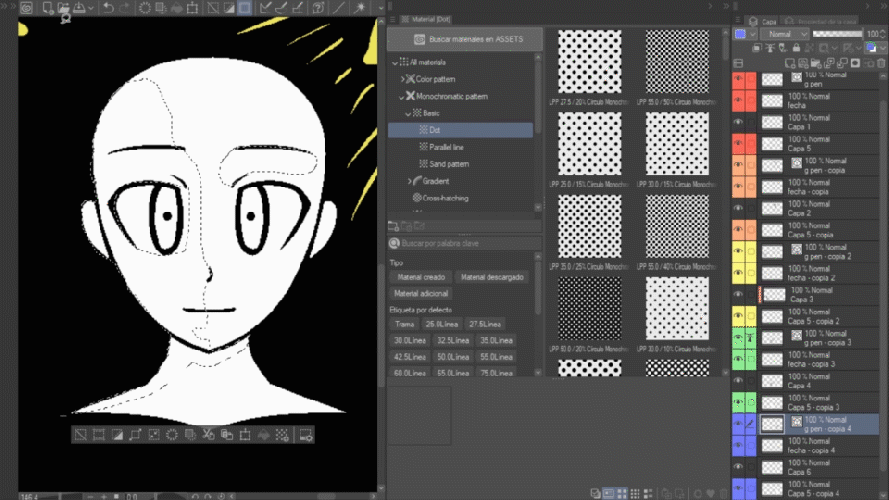
This tool is found within the "materials" that comes with clip sudio paint by default, you will find it in window> materials. We create a select for our shadows with the "lazzo" tool and choose Monochromatic pattern - dot and drag the one you like the most to the selection. In layer properties you can modify the "frequency" to change the size of the circles.
- Conclusion
Now practice in your drawings, experiment with the different tools that clip studio paint has to make shadows, these are 5 ways to work but there are many more, find your favorite style and most importantly, keep it fun!


Comment