

- Video Tutorial
- Introduction and goals to fulfill
Hello my name is Rocko and I am going to show you a super easy way to create Whatapp Stickers drawn by you. We are going to create 3 characters from scratch, we will export them and load them to the cell phone to share them in your groups of friends and family.
1- Create Canvas
We create a new 512px x 512px artwork canvas and create a new vector layer for our line work.
2 - Symmetrical Ruler
We create a symmetric ruler in our vector layer and place it in the middle of the canvas, to obtain symmetry in our drawing.
3- G pen
We use Gpen for the lines of 3 characters, take the time to create them and feel comfortable. (I made some quick drawings just for example) surely you will make them prettier. : D
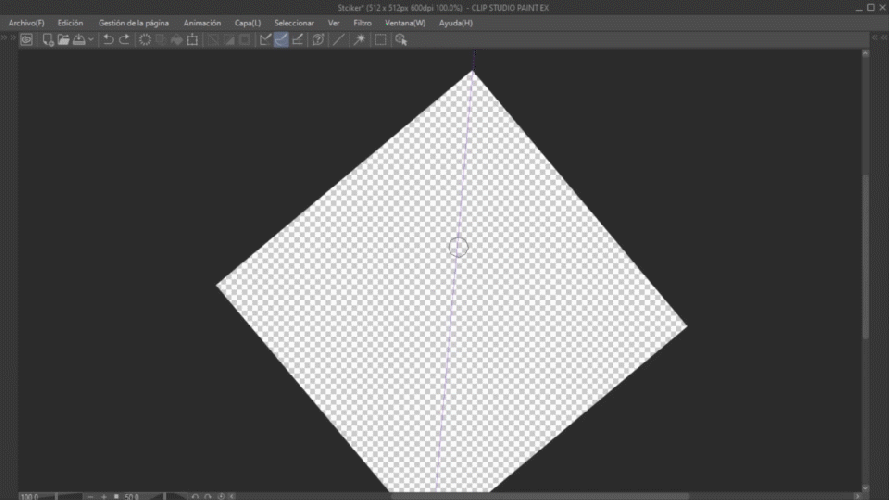
4 - Color
We create a new Rasterized Layer below our line work and fill it with color using the Fill and Gpen tools.

5 - White borders
We create a new raster layer below the color layer and with Gpen we create a white border so that our sticker contrasts better with the background
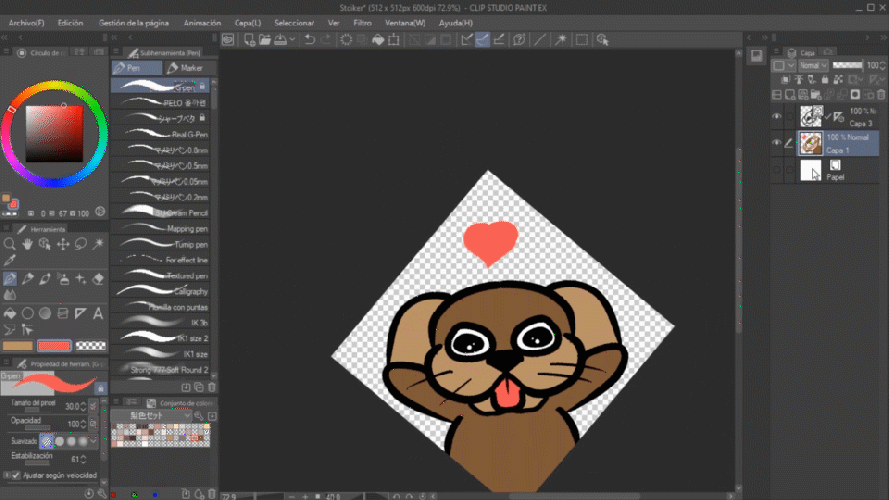
6 - Export .PNG
With the finished character it only remains to export it, for that we go to file> export layer> .PNG
(Make sure you have the layer of paper turned off, so that the background of the sticker is transparent.)

7 - Download Stickers PNG to Cell Phone
When you have your 3 characters ready, we have to transfer the .PNG files to the cell phone, for that use the cloud (google drive), you can also use the USB cable of the cell phone or the way that is most comfortable for you, they are 3 light files.
8 - Download Free App
In order to upload your stikers to the WhatsApp application, use a free App that I found in the app store (Google Play in my case) you can find it as
"Personal stickers for WhatsApp" By downloading and opening the application it will recognize our .PNG files, a new folder of new Stickers will be created, and they will be ready to use in the stickers section of whatsapp.
Social networks
Users who liked this post









Comment