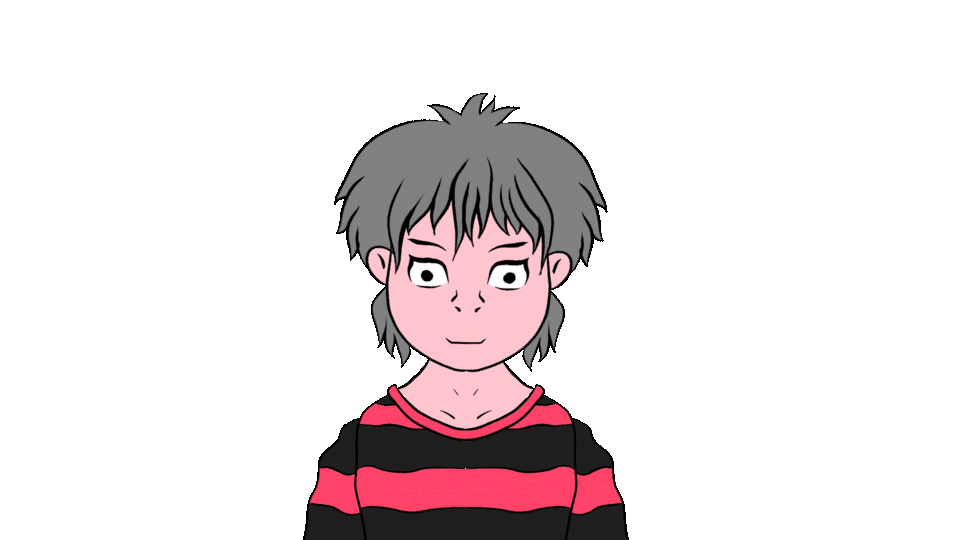
Animated flat puppet for your Streams.
Hello my name is Rocko and today we will create and animate a puppet for your streams from scratch easy and fast, using CLIPSTUDIO PAINT to create the puppet and ADOBE CHARACTER ANIMATOR for the animation.

1- Simple sketch
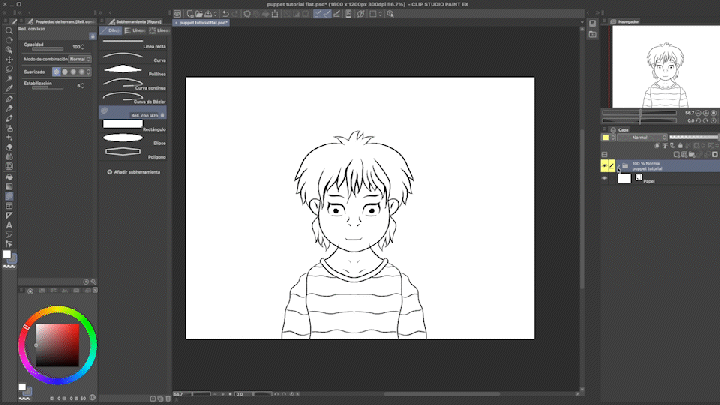
First I usually create a sketch of my character as a sketch in clipstudio paint of 1080px x 1080px at 300dpi, in this part we must imagine what characteristics our character will have. As this will be a basic animation we will only animate the head, hair, eyebrows and close the eyes, later in character animator.
2- Create folders and subfolders
We will create the main folder with the name of our character, in my case it is called "puppet tutorial" and inside we will create 2 sub folders, one for the elements of the head and another for the body.
The order of the folders is essential and giving the folders and layers the correct name, this helps the character animator to understand the folders optimally.
Inside the "+head" folder create sub folders for each element of the face I want to animate
3- Line art y color
Once our line work is ready, separated into folders, we will paint in a new layer below the line art giving it the colors that you like best, always try to paint within the corresponding folder.

4- Export the drawing in .PSD and open it in Adobe Character animator
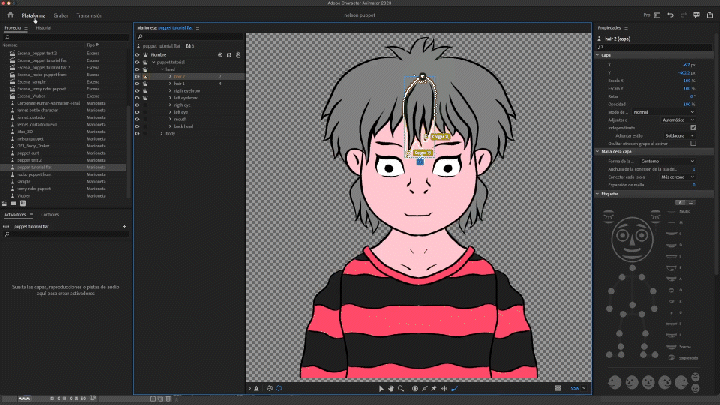
Drag the .PSD file of our character to the projects window in character animator, and by double clicking on the name of our file, we will have it ready to label each folder with its part of the puppet.
folders with a crown next to their name will have movement. and those with an empty box will be quiet.
We select the "+head" folder and the default support point will be in the middle of the head by default, you must lower it to the neck so that this is the support point for our head and it turns correctly. We label the circle of the head on the puppet on the right.
5- labels, positioning and hanging
For the program to detect the folders correctly, we label the folders one by one by selecting the parts in the puppet located on the right.
To the folder "hair 1" and "hair 2" with the crown on, we will apply the "positioning tool" to fix a fixed point to the strand of hair at the top, and the "hanging tool" at each bottom of the lock of hair. This will create a movement effect to our locks.
"positioning tool"
"hanging tool"
"hair 2"
"hair 1"
we label the left and right eyebrows
the eyelids must be turned off, when you mark them on the puppet the eyelids layer will turn on when you close your eyes in front of the webcam.
The body will not have animation so there is no need to tag it
6- Record and export our video
We switch to the record tab, where our webcam will work with the AI to capture the movements of my face and translate them to the puppet.
make sure to click "calibrate" to center the puppet and hit record when you're done.

We can add a green background to use the chroma effect in OBS in your streams. by clicking on the bottom right icon.
We can modify the intensity of the movements by selecting our character, its properties will be shown to us, take your time to adjust before recording.
Then we must record by pressing REC and the results will be displayed on the timeline.
To export we go to File > Export > Video with Alpha with Media Encoder.
media encoder opens ready to export our video with transparent background
select the destination folder and press play to export as Quicktime - apple ProRes 4444 with Alpha. that you could use in your videos or for your streams with OBS using green background and the chroma effect to erase the background.
- Thanks for getting to the end, watch the video if you need it that I explain this process step by step.
You can ask any questions that I will gladly try to help you, if you like I will create new more complex puppets. share your results!


Comment