
Hello everyone, I'm a Illustrator, concept artist, mangaka and 2d animator freelancer
Today I'll show you how to Shade for beginners
In this tutorial I will use the Galaxy Tab s7 to work. But don't worry, basically clip studio is the same on all devices like (Tablets, smartphones, Mac and PC)
1 - SKETCH
This is the template I created and use when I want to create a character, you can download and use it as you wish (I hope it don't lose quality when you download) 😬
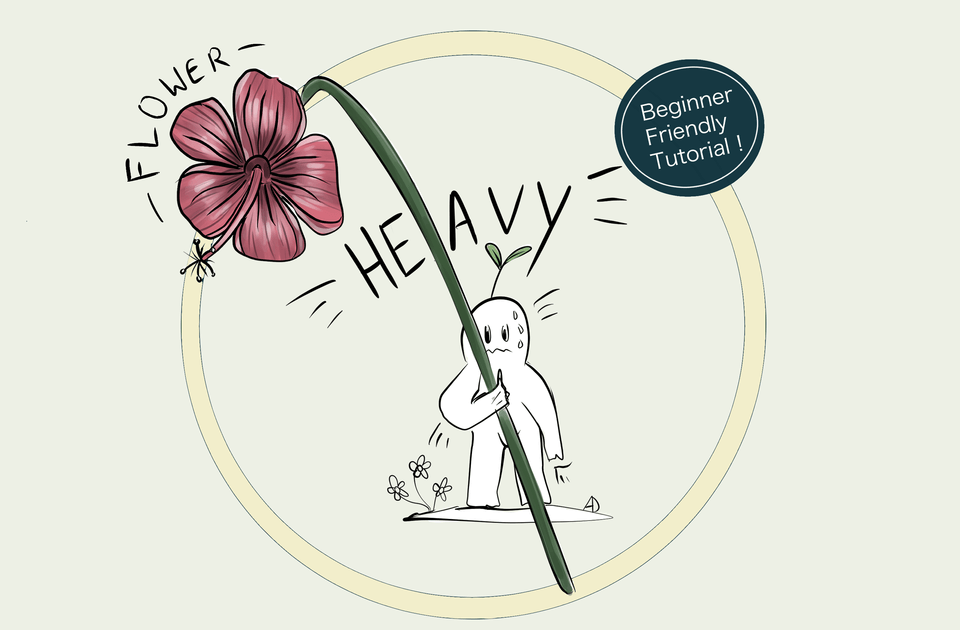
Shading, We all go through this headache, including the professionals. Trying to understand light direction and realistically shading each region is tiring I know, I go through it too 🤣
So I decided to use a technique that will allow us to use the same shading in any environment without looking strange (believe me, it works)
2 - SHADE AND THEY FUNCTIONS
The 3 additional shadings (the smallest ones) are for when you want to use the shadings in a more dramatic scene for example:
SIDE - if you want to show a new character and he suddenly appears from the shadow (just an example). You can use them when the light comes from the left or right side of the character (don't forget to invert the shading if the light comes from another direction)
ALTERNATIVE ENVIROMENTAL - It is basically as the name says, an alternative to the base shadow, in this case this type of shading serves to represent a more serious and strong expression.
LOW LIGHT - Maybe I should look for a more attractive name 😅... moving on, this shading is more used to represent a villainous expression (more used for the antagonist or you can be more creative and use it for a comic relief scene)
3 - USING SHADE IN PRACTICE
Let's see how these shadings would look in a more detailed drawing
Don't forget to adjust your shading according to your character's structure
After finishing the shading let's add a little blur to give it more life
And leave it at the default setting and click "OK" (Remembering that you can adjust the intensity to your liking)
basically this is how your design will look, The shading I used a lilac color in the "Overlay" function I know that many professionals use it in "Multiply" but I think that in "Overlay" it matches better with sunlight in a design
4 - FINISHING
For a better finish, we'll add a light effect to the drawing to make it more dramatic. 🥰
Let's use the "Airbrush" to add the light effect, I think it's the best brush for these occasions
Create a "Layer" on top of the entire drawing and leave it in the "Glow dodge" function for a more vivid lighting
Pass the brush lightly on the areas where the shading is not and your design will be finished (try to decrease the opacity for a better framing with the environment around it, if you have the Background done)
Remembering that you can use these shadings (especially the "BASE") in any environment, night and day, which will make your drawing vivid
PS: I know that learning light and shadow seems like a 7-headed beast when you're a beginner, so I decided to create this shortcut to help you have a vivid and convincing drawing, but always take a part of your free time to improve your knowledge about art, because the more we practice the stronger we become, because the best weapon we have is knowledge, knowledge is power!!!
Yes I can be deep too!!! 😎😏
INSTAGRAM: @Angosketch
TWITTER: NickStizzy
BONUS
Clip Studio's Users - Wait... What about the full body drawing? won't you show us how the drawing can look using basic shading too? 😩
Me - sure... sure... 😌👇
Users who liked this post


Comment