Easy coloring with Reference Layer
Hi everyone!
This tip will talk about Reference Layer!
It will focus more on coloring flat color, coloring technique and efficient background color that is useful for manwha or comic
I am using Clip Studio Paint PRO mobile application
Let's Start!
Reference Layer
If you guys want an efficient way of coloring, Clip Studio got you covered!
Reference layer can make you color faster if used correctly and there are many ways to use it. This layer function allows you to easily color, fill and draw on others layers while referring to a specific layer or folder.
How to set up Reference layer?
There are two ways to set up reference layer.
1. Using one layer
Click the layer you want to use as a reference. In most cases, it is "line art". It can either be a raster layer or a vector layer.
2. Using folder
If you want multiple layers to be set as reference, the best method is to use a folder. This way, all layer under the folder will be considered as reference layer.
Create folder > Click the set of layers you want to use > drag layers to the folder
Then Click folder > [reference layer]
Using Reference layer with Fill tool - for flat color
Fill tool is best use for base color. Even if you have gaps on your line art Clipstudio got you covered. Utilizing the reference layer with the Fill tool will make it more efficient
For a brief introduction, Fill tool have 4 option [Refer only to editing layer], [Refer other layer], [enclose and fill], and [Paint unfilled area]. Any option can be use with reference layer setting
Go to [tool] > [Fill tool] > [Refer other layers]
I usually just use [Refer other layers].
Make sure to check [Apply to connected pixel only] and [Refer multiple] > [Reference layer]
This is the difference of unchecked and checked [Apply to connected pixel only]
For the tolerance I usually use around 70%
Here's a short gif on for coloring flat colors
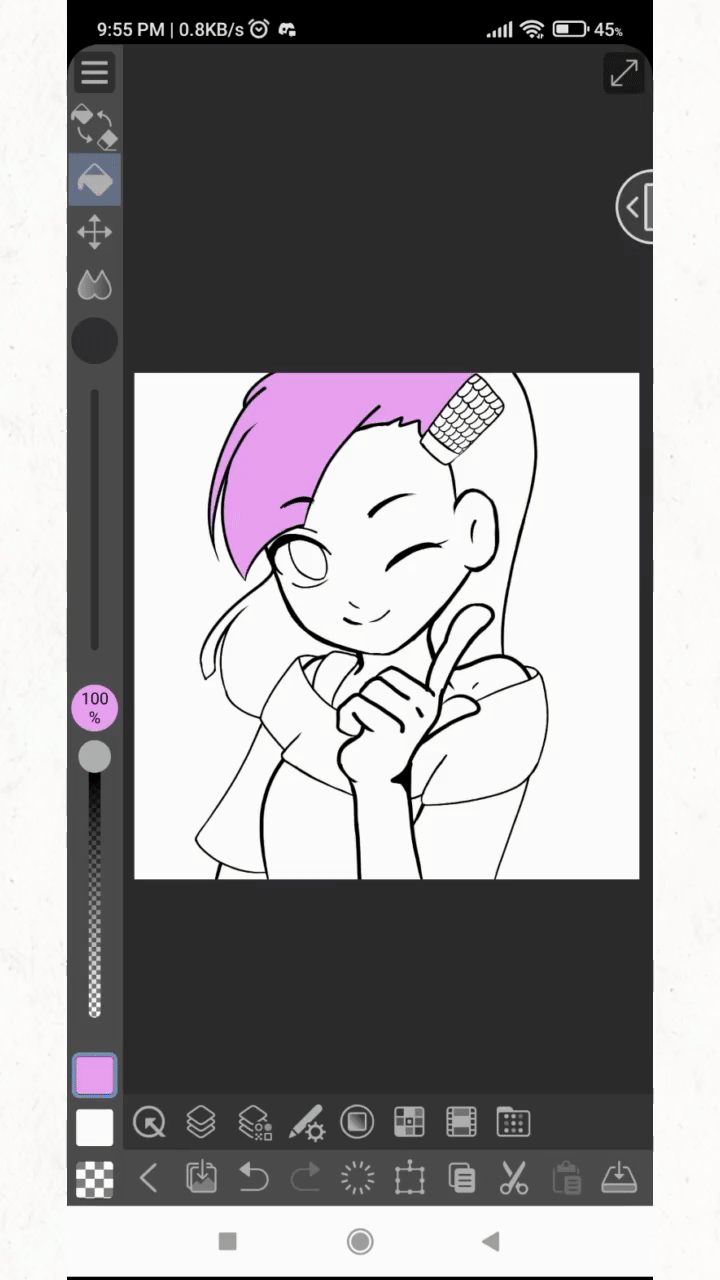
Usually I organize my flat color to [skin], [eyes], [hair] and [clothes]. However, for this tip I will minimize my layers as much as I can.
Using Reference layer with Brush and Pen tool
You can also use Reference layer with brush and pen tool.
Click any brush you want, in my case I chose G-pen > [Sub tool detail] > [Anti-overflow] > Check [Do not cross lines of reference layer]
Don't forget to adjust the tolerance!
This way no matter how big your brush size it will stay within the line
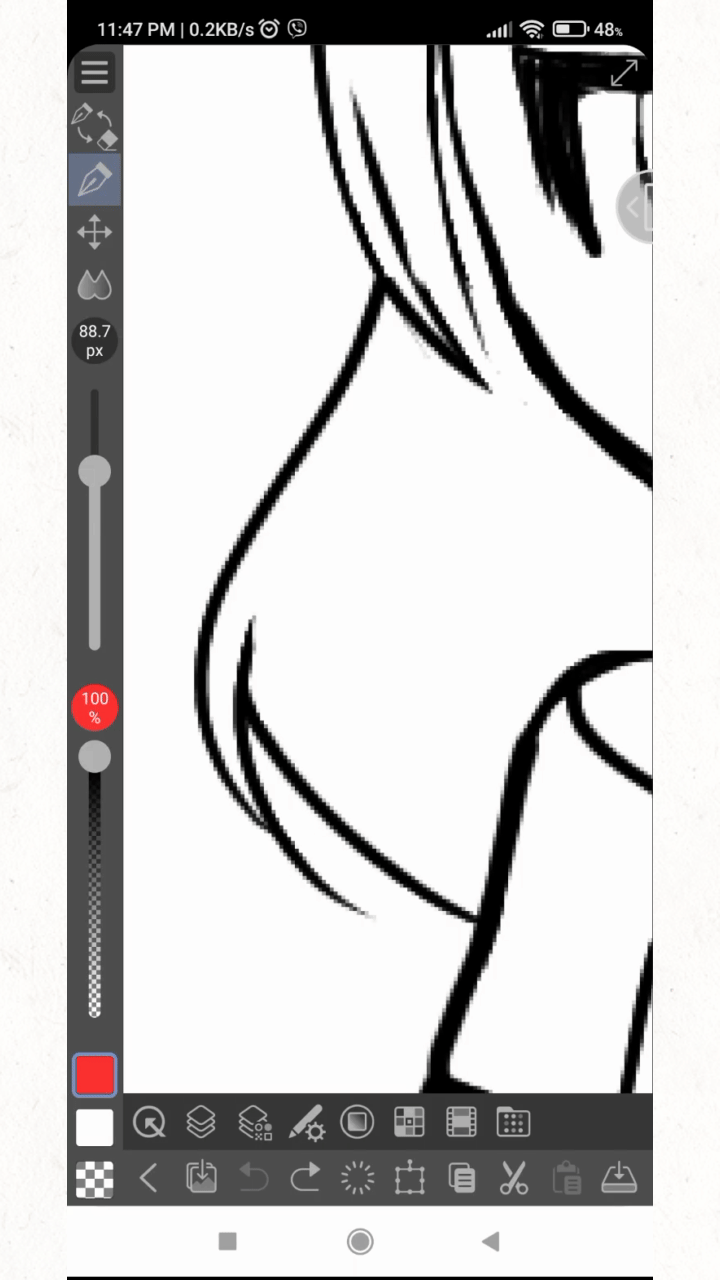
The only downside is that compared to Fill tool it doesn't have a close gap function. So you have to make sure you have a proper line art ready.
This is an example with a line art with gaps.
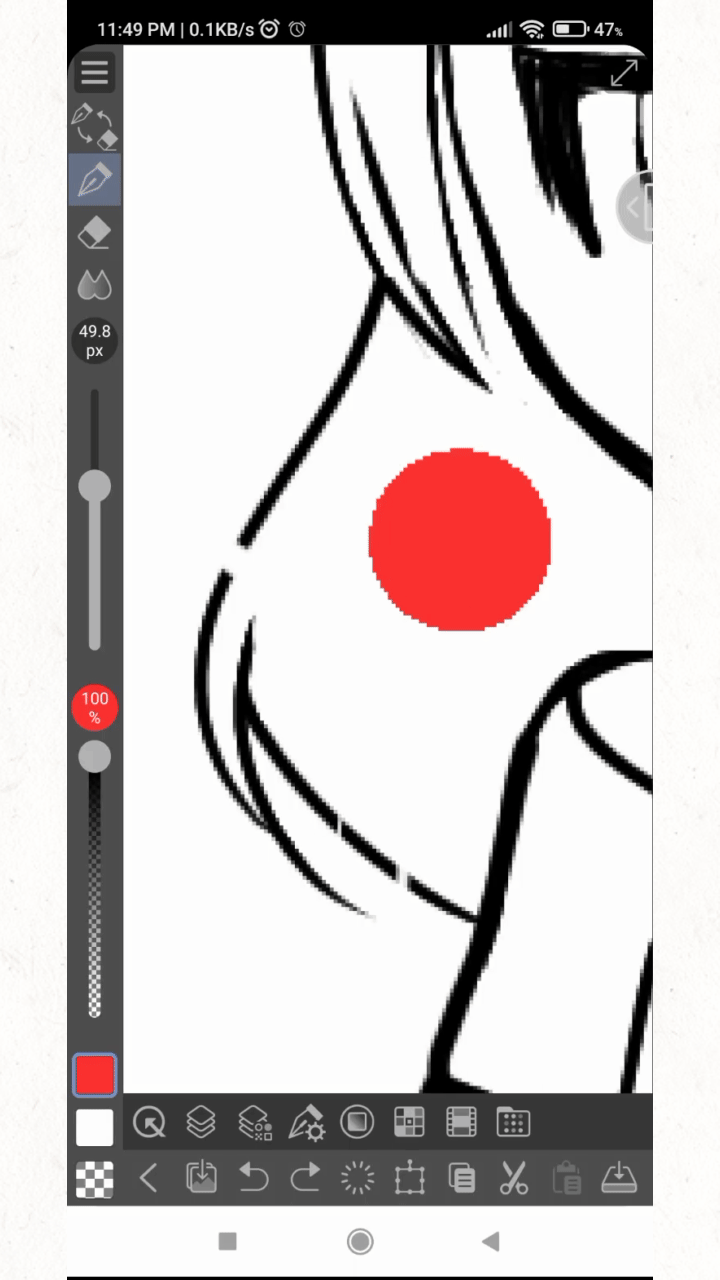
I usually use this for shadows and details. It's a good function if you want to minimize your layers instead of doing [Clip layer].
Make a [new layer] > [change to multiply blend] > [make opacity around 40%]
Use dark violet color for shadows.
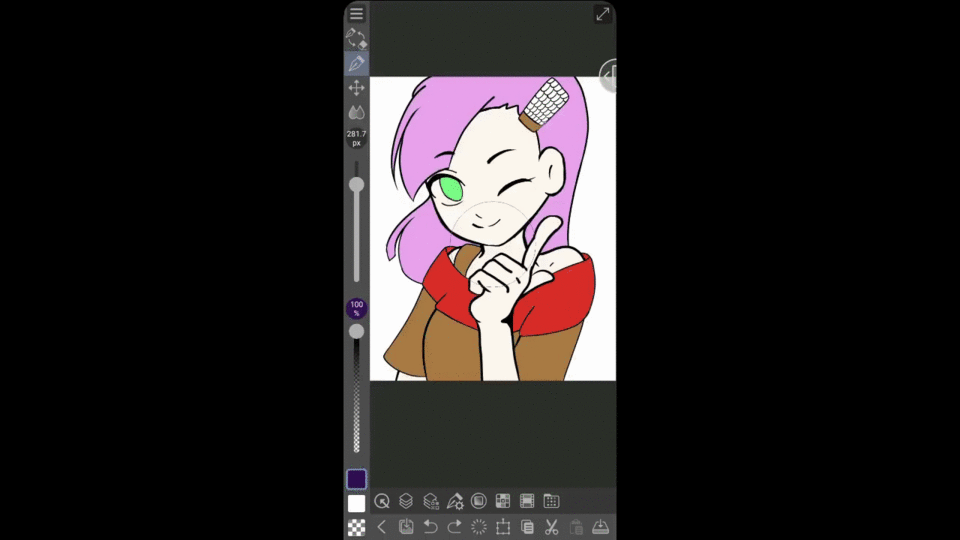
For details blur a BIT of the shadow lines to show depth.
Add a new layer to apply some brightness and elasticity for the skin and clothes.
Make a [new layer] > [change to Add (Glow) blend] > [make opacity around 50%]

Here's how I did the a simple eye color.
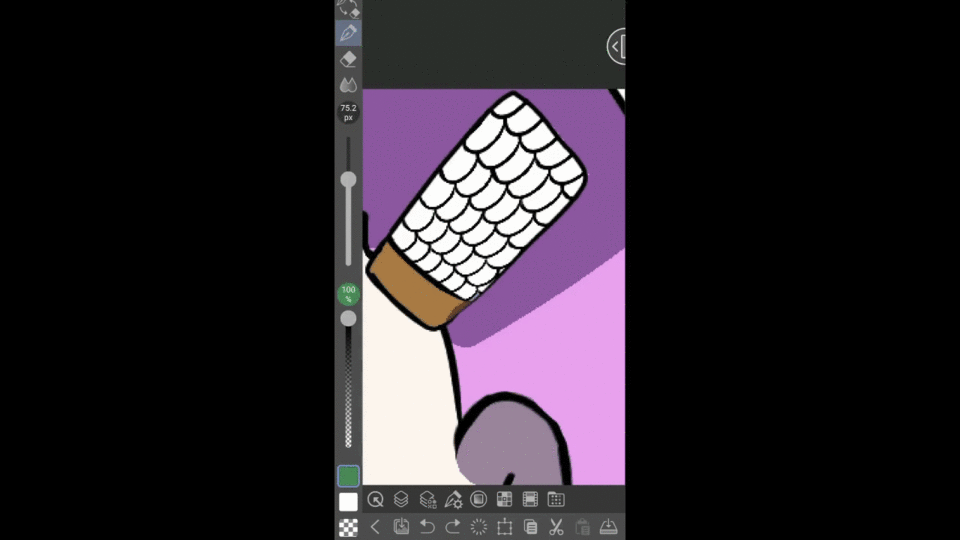
Color Jitter brush
Color Jitter is good certain details for clothes, pin, or even for background like roof or trees depends how you will use it.
To be on the safe side, duplicate [G-pen]
note:
*For this to work, you still need to make sure that the G-pen is check [Do not cross lines of reference layer] which you can find at the... G-pen > [Sub tool detail] > [Anti-overflow] > Check [Do not cross lines of reference layer]
*The line art should still be under a reference layer.
Click [G-pen2] > [Sub tool details] > [Color Jitter] > check [Change brush tip color] >then randomize some setting
This way while the brush is refer to the reference layer, you can randomize the hairpin's color detail.
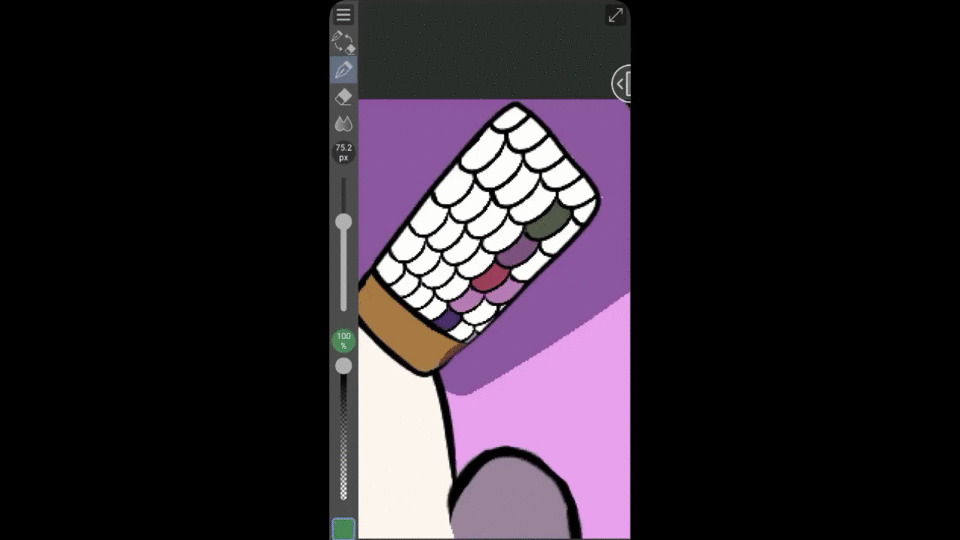
If you want gradient or similar colors instead of randomize color. You can also adjust Hue, saturation to the middle part, make luminosity a bit higher.
Using Reference Layer with Auto Select
Reference layer with auto select have many uses for coloring like using it as another Clip layer function.
However, I prefer using it for background. A good example is creating a simple background like shadow.
Click [Auto Select] > [Selection for refered layers]
Make sure the refer multiple is on reference layer
This way you can only select the layer that you refered even if you have a background.
You can use this set up for simple shadow background.
Click [Auto Select] > [Selection for refered layers] > Click outside the character > [Inversed select]
Now pick bucket tool [Refer only to editing layer] and deselect.
This is what it looks like if the shadow layer is the only visible layer.
Drag the shadow and you're good to go.
Here is some example shadow background.
Freeform gradient
You could use freeform gradient for coloring or for background.
Go to [tool] > [Gradient] > [Freeform Gradient] > [Check Refer Multiple] > [Refer Multiple should be Reference Layer]
Adjust Output Setting if necessary.
Create colorful lines for background.
Click on blank spaces and you can now create your own gradient.

Using Reference layer with Colorize
Colorize is a Clip Studio Function where the application itself can color your drawing. You can either give some color hint by using some brush on another layer or just click [Colorize All] where the application itself will decide what color it will use.
Also make sure that the background line art layer is set as a [reference layer] for it to work.
Go to [Menu] > [Edit] > [Colorize]
Colorize is useful for coloring backgrounds. Flowers are one thing and can be used for manwhua or comics.
Use some flower brushes > set the layer as reference layer > add new layer > Colorize [use hint image and colorize]
While the function itself is not perfect, it can be adjusted by adding some shadow details and increasing some brightness using airbrush and Add (Glow).
Here are the finish background that I use with colorize.
-----------------------------------------------------------------I hope the tips were helpful to you.
Thank you for reading!


Comment