[Color Set] - Master Color Palettes in ClipStudioPaint

-
 MVP ◆This user has contributed greatly to the management of the community, by posting many great responses to the questions asked. Once every three months, MVPs are determined based on the points earned during that period and will be recognized accordingly.
 -
 New Valuable Player (NVP) ◆These are the next-best contributors to the community after MVPs. This is awarded to users who have not yet won an MVP award, based on the number of points they have earned.
 -
 Official Expert ◆Chosen out of all MVP awardees, who are already proof of excellence, this is a testimony of outstanding correspondence in the community. After careful screening, they are appointed by CELSYS and assume their position.Note: Formally called “Evangelists”
 -
 CELSYS official moderators ◆Moderators are official CELSYS staff members who are fluent in Japanese as well as various other languages. As moderators are not experts on software or creative work, they will not be able to directly answer your questions. However, moderators will provide communication and language support to ensure that everyone can smoothly communicate with each other.
 -
 CELSYS officialThis is the official administrator account.
Color Palette Basics
In Clip Studio Paint, there are multiple Color Palettes. They are are functions that allow you to select color to paint with. Let's look in detail what Color Palletes are available in Clip Studio Paint.
They are :
- Color Wheel
- Color Slider
- Color Set
- Intermediate Color
- Approximate Color
- Color History Palette
- Color Mixing
This series of tutorials will discuss each color palette, one by one.
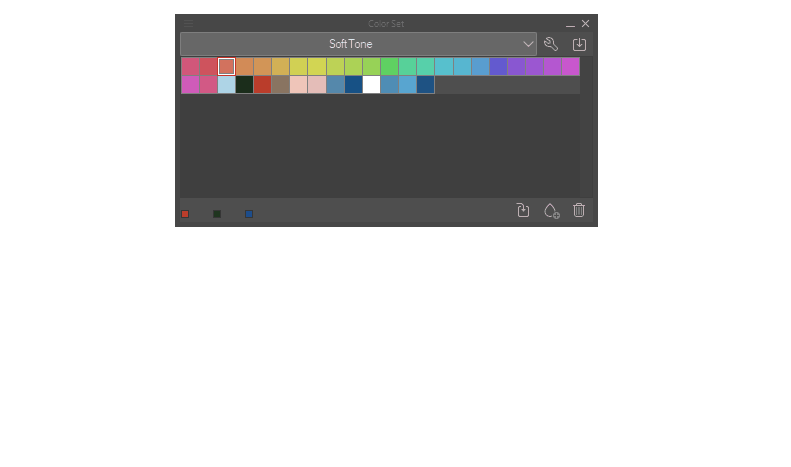
Color Set Palette
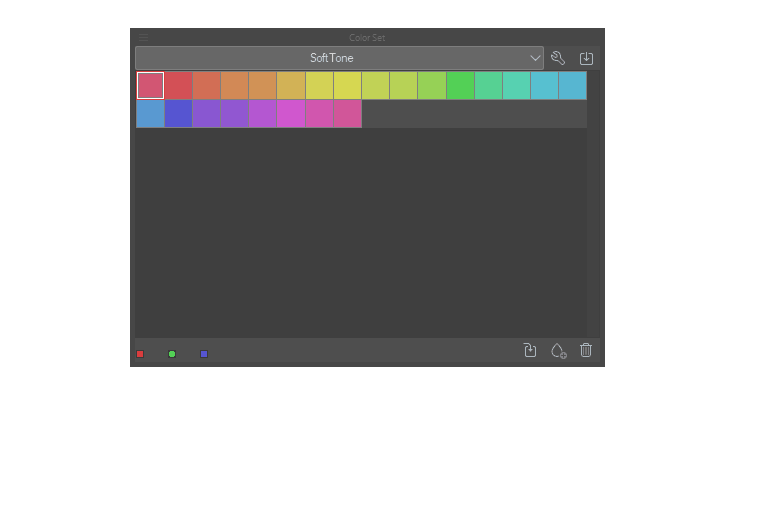
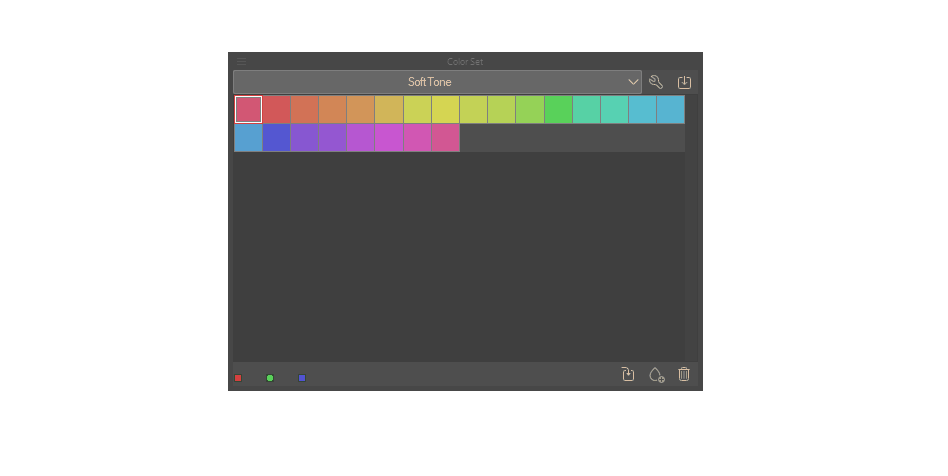
In this first tutorial, let's take a look at the [Color Set] Palette. A "color set" is essentially a collections of colors.
In Clip Studio Paint, there are multiple default palettes (below are examples). You can also create custom palettes.
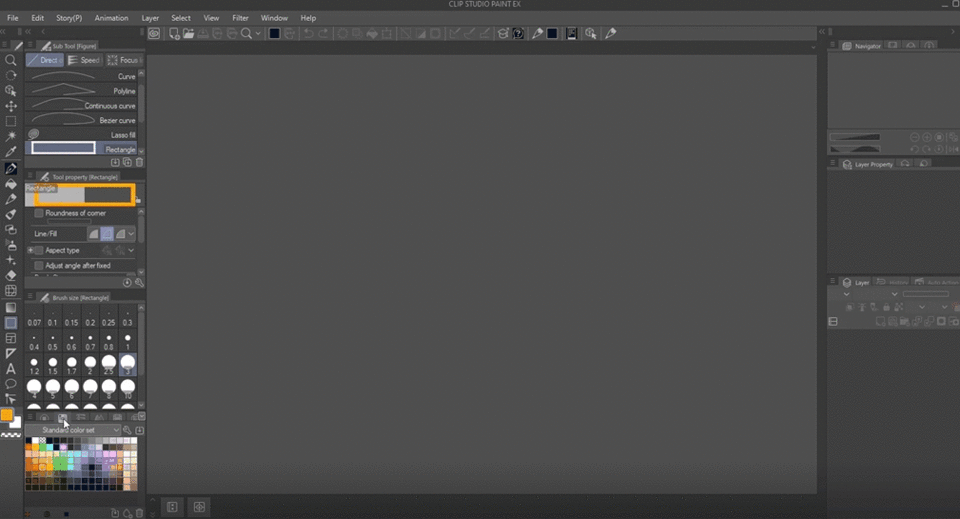
Let's first see how to access the color palettes;
To access the [Color Set] palette, you can
A) Go to the lower right corner, and click on the [Color Set] button
or
B) Go to Window -> Color Set
Assigning a Keyboard shortcut
For the sake of practicality, you can also set a shortcut.
Go to File -> Shortcut Settings...-> Select Category "Pop-up palettes" -> Select "Color Set"
Click "Edit shortcut" and type your chosen keyboard combination. I set my shortcut to "Alt+Num5". Click "OK".
Color Set Palette explained
With the [Color Set] palette you can :
Select colors of your brush. This palette is very useful when you want to organise colors that you frequently use. Not only there are many default color sets included in the software, but you can also make custom color sets, export them, and even import other artists' colors sets.
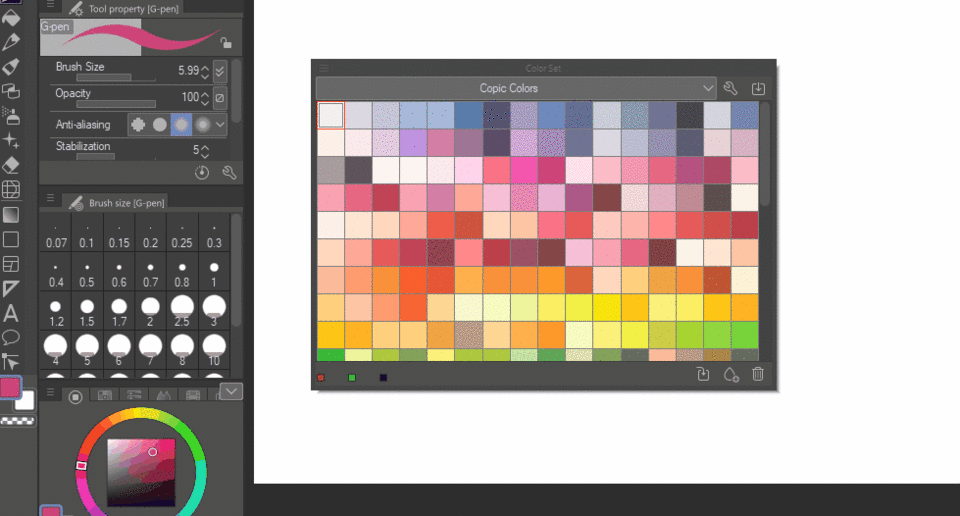
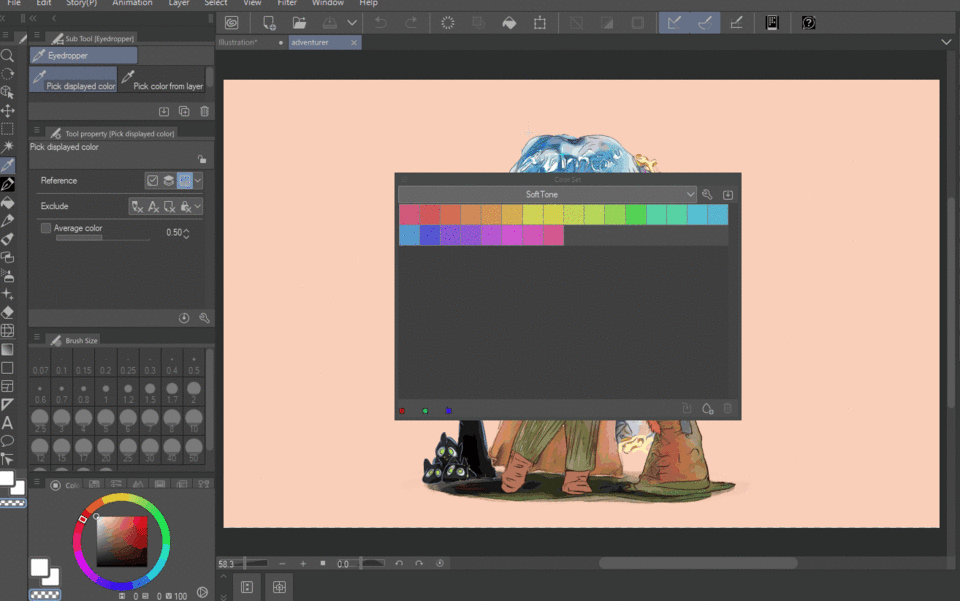
To explain the features, I will click and drag the Color Palette to the side and enlarge it:
(the colors are bad quality due to my screenrecorder, sorry...)
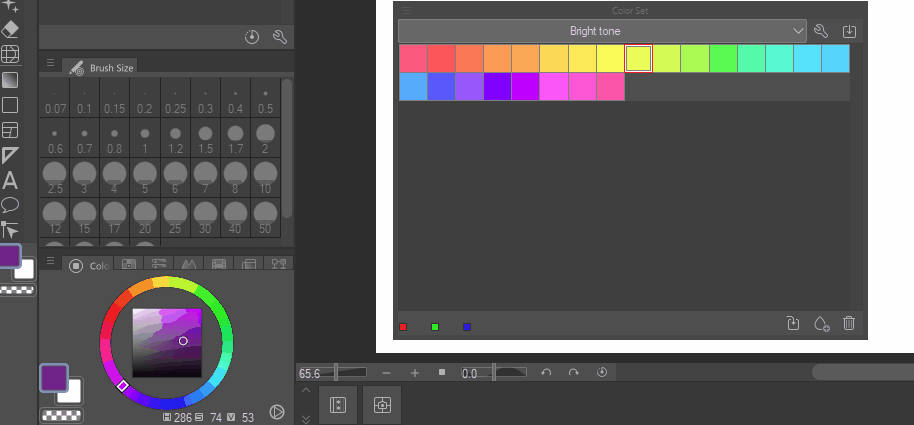
Click on the arrow icon to open the dropdown menu. This will show you all of your active color sets.
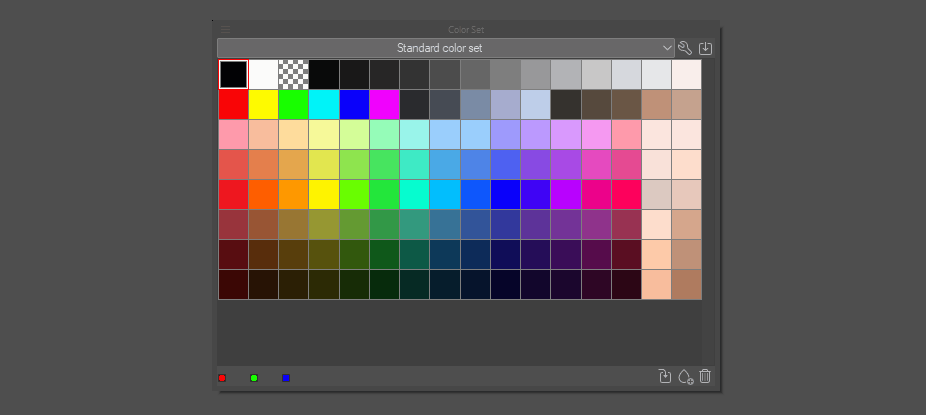
Click on the wrench icon to open the settings of the color sets. Now you can edit the color sets :
You can create a new set (which will be empty and will not have any colors).
You can add a standard color set, which will have color tiles of the standard set.
You can Duplicate the selected color set, delete it, and rename it.
Finally, you can change the order of color sets by moving them "Up" or "Down" in the list.
Next to the Wrench icon, you have the Upload button.
Click on it to import color sets downloaded from CLIP STUDIO ASSETS :
Remark : By default, when you load a new color set from assets, it will appear at the end of the list.
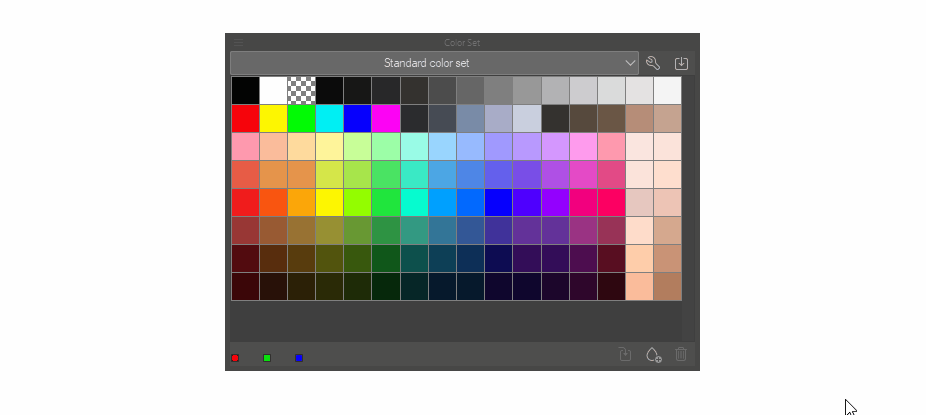
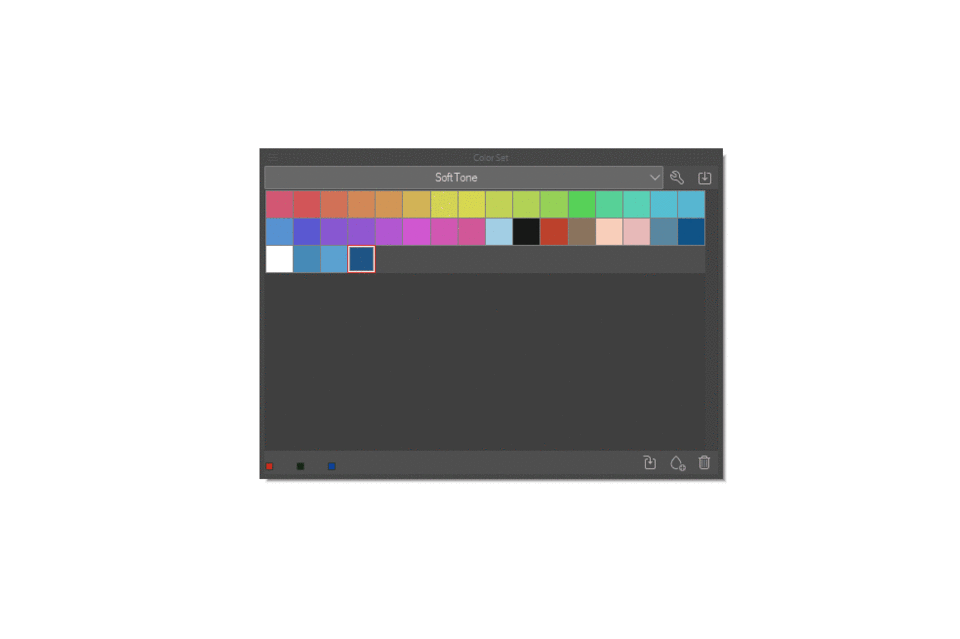
To select colors, you just need to click on them.
When the mouse hovers over the color, it displays the value of the color; you can also see the name of the color tile :
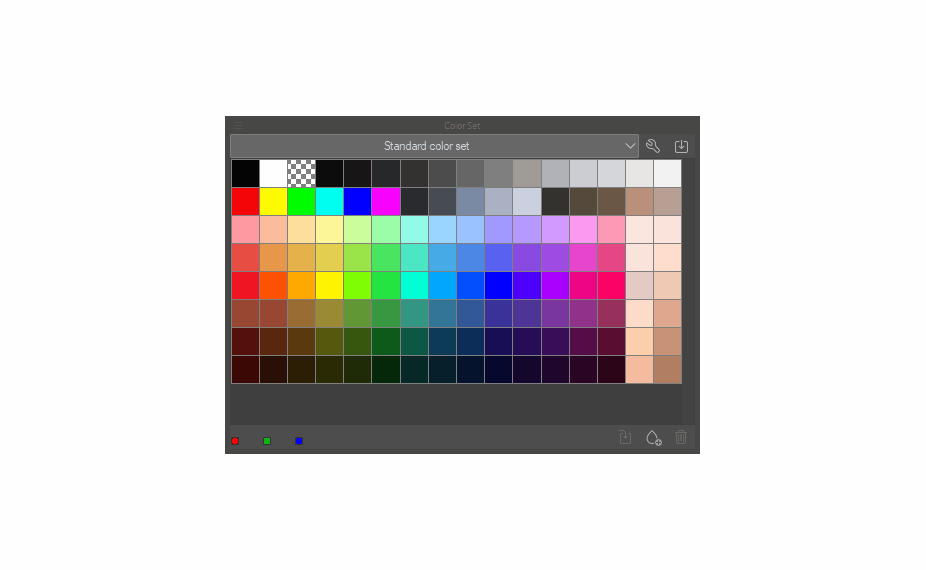
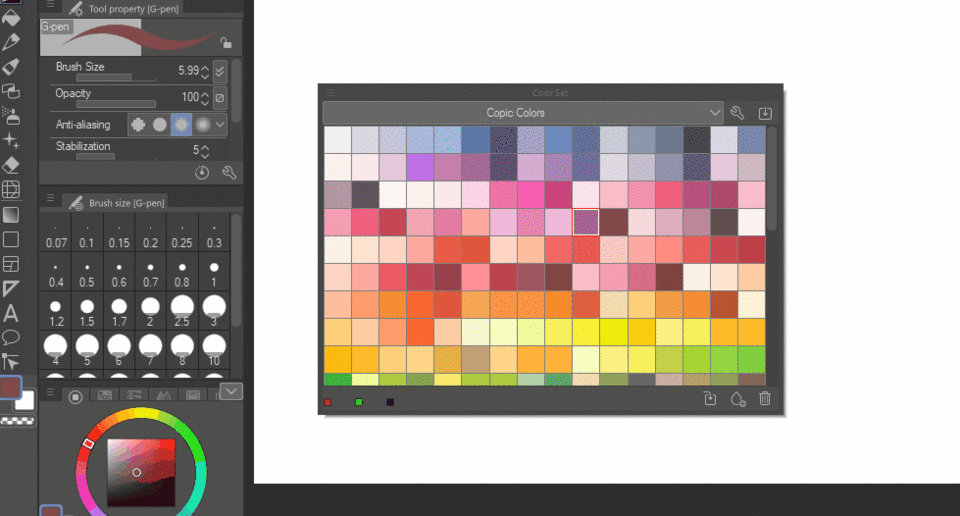
Hold the "Alt" keyboard key and click on a color tile. This will change the color tile to the active color:

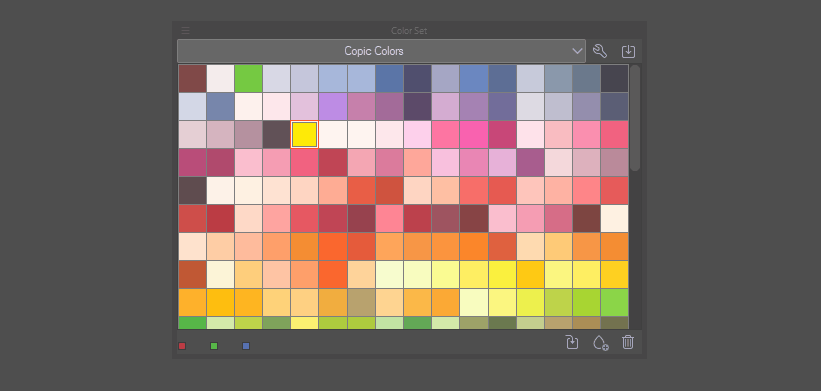
Hold the "Ctrl" keyboard key and click on the color tile. Now you can change the order of color tiles, by dragging the tiles:
In the lower left corner, the value of the color is displayed. By clicking on it, change the RGB value to HSV value:
In the lower right corner, there are three icons : Replace color, Add color, and Delete color.
"Replace" color overwrites the color tile to the one you have currently active. "Add color" adds the current active color as a new color tile. "Delete color" deletes the color tile.
You can access these three actions by right-clicking on the color tile.
Also, when you right-click on the color tile, you can change its name.
Color Set Palette Menu
In the upper left corner, there is a hamburger menu icon (three horizontal lines). Click on the icon to open the Palette menu.
Some of the features are the same to what we saw before. So now we will look at most important features :
The following describes the functions included in the menu that is displayed when you click [Palette menu] on the upper left corner of the [Color Set] palette.
"Import color set..." You can import a color set in :
.cls file
.aco file from Adobe Photoshop (Photoshop color swatch)
This is similar to "Export color set..." . You can export a color set in :
.cls file
.aco file from Adobe Photoshop (Photoshop color swatch)
"Register color set as material..."
You can register the selected color set as a material, and later upload it to CLipStudio Assets.
Remark : be sure to select a destination folder when registering the color set.
"Auto-register color in eyedropper"
Click on [Auto-register color in eyedropper] to automatically register colors picked up by Eyedropper:
You can also change the way color tiles are displayed :
For example, change the size of color tiles, or how many color tiles are in displayed in one row. Finally, you can also display the name of the color.
Finally, you can hide or show the color set bar, and the command bar:
And this is it for the [Color Set Palette] !
Users who liked this post


Comment