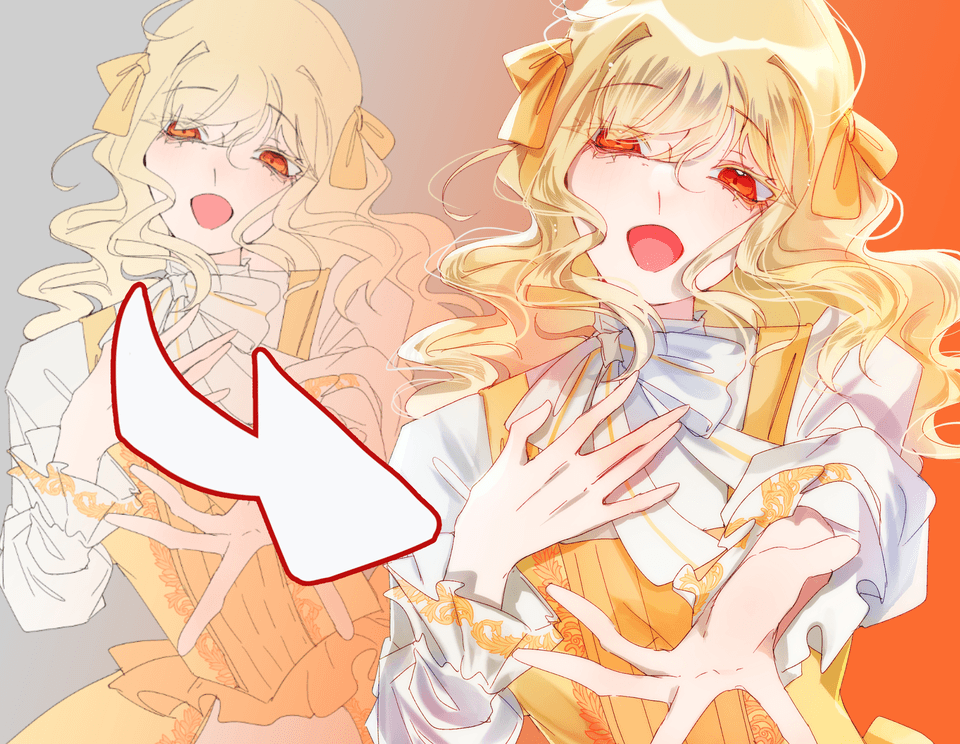
How to use Clip Studio Paint Tablet Version
Let's talk about how to use the tablet version of Clip Studio Paint (for Android)
In this tutorial I'll go over the basics and give you tips on getting started.
The tablet version of Clip Studio Paint is my favorite way to draw and create. With this version you'll enjoy the ability to draw directly onto the screen with a tablet pen or even with your finger.
You can decide which actions to perform with the tablet pen vs. touch in settings.
If your tablet didn't come with a pen you can still use any generic stylus for improved control when drawing.
Let's get started drawing. Launch the app then go to the drawing screen by tapping the icon in the top left corner.
Next, tap or hover over "file" and a menu will drop down. Select "new" then select the appropriate shape, size, and resolution of your canvas. I recommend choosing "screen size".
You can turn your canvas or zoom in and out anytime. Just use your fingers to zoom the same way you would zoom in on a photo or web page. To turn the canvas, use the same motion but twist in either direction as you zoom.
Now we can add reference material (if needed) and start to sketch.
To add reference material, select "file", then "import". If you've saved your reference material to your tablet you'll select "import from device".
To add 3D material, tap the folder icon in the left margin named accordingly.
Be sure to add a new layer for your sketch so that you won't effect the reference material when you draw and erase. I recommend using the pencil or pastel sub tool for this stage. Sometimes I also use the pen sub tool.
If you'd like, you can adjust the opacity of the reference material so that you can see your sketch better.
When you no longer need the reference material or sketch layer, you can delete them by tapping the layer icon and then the trash icon next to the layer you'd like to delete.
When you're finished with your sketch and you'd like to refine your work, you can browse through the available brushes, pens, and other sub tools to find one that best suits your needs. If you don't see what you're looking for, try browsing for more in Clip Studio Assets. If you find something you like, simply tap download. Once you're back in the app you'll need to add your new sub tool.
Once you've chosen a brush you can adjust the size and other settings like opacity or density. This is where preference comes in. Personally I enjoy using bright colors on a dense brush.
You'll likely need to use a blending tool, especially in the finishing process. There are several options but I recommend trying the painterly blender.
Once you're finished be sure to save your work. You can choose the file type. If you'd like to export the file to your device, simply tap “export to photo library”.
Thank you for reading my tutorial! I hope you found it informative.
#CSPonTablet #MonthlyTIPS202403


Comment