
Hello guys. I am here to teach you how to add an extra bounce to your character animation in ClipStudio Paint EX using a very simple trick.
This is a tip for intermediate animators of ClipStudio Paint EX, so you'll be expected to know technical details like frames per second, adding animation folders, and to know the fundamentals of animation.
Without further ado, let's get started.
First of course, you have to create a character animation. For this sample, I animated a girl who is bouncing into frame.
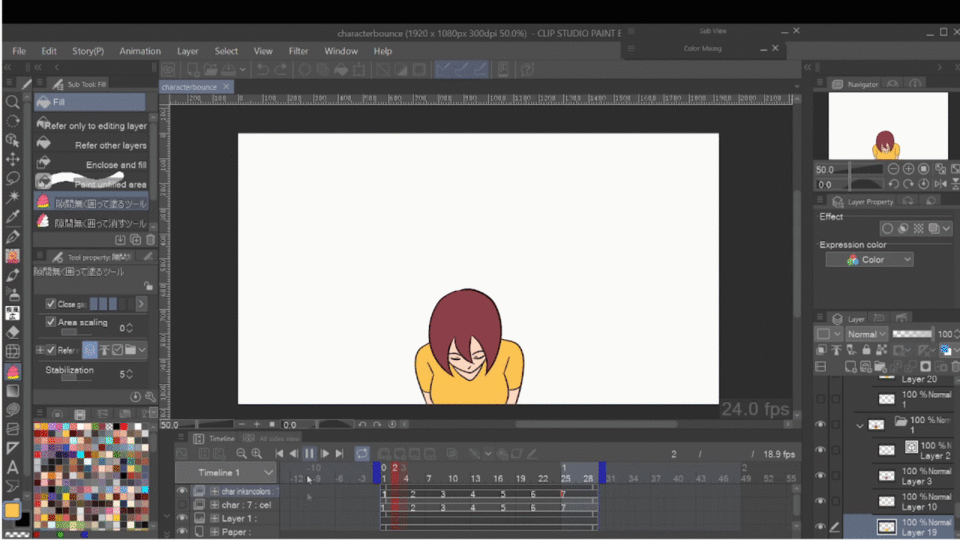
I animated in the standard 24 frames per second, and am also animating key poses in 4's. Meaning the next drawing is on the 4th frame after the previous. This will give me some room to work with when I add more frames in between for this tutorial.
For the sake of comparison, I will be duplicating this animation folder and adding bounce to the one on the right.
In order to add that extra bounce, we first need to duplicate the animation layers or frames that we already have. In my case, I placed these layers or frames into their own separate folders for organization purposes, so I will duplicate that.
After duplicating, I add those duplicated frames in the timeline in between the key poses. These "in-betweens" will mostly be used to add the extra bounce I had mentioned.
Once done adding the extra in between frames, we will start with the first frame by selecting the layer or folder of said frame and hitting Ctrl+Shift+T for free transform. We then "squash" down the first frame as part of the "anticipation" action.
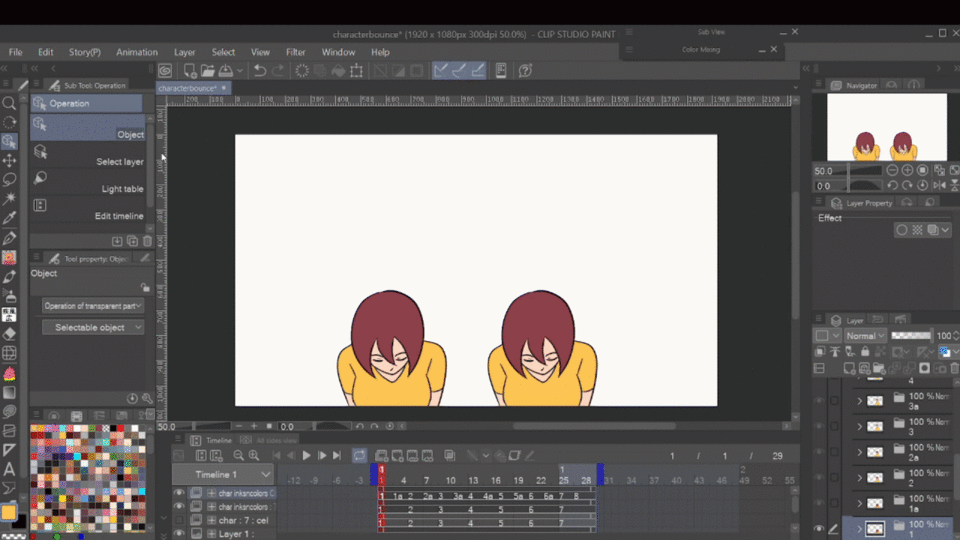
Then, we move towards the in-betweens (the duplicated frames from earlier), and hit Ctrl+Shift+T again to "squash or stretch" the character for that extra bounce.
Remember to turn on Onion Skinning when you're doing this, as it will give you an idea where to extend or limit your squashing and stretching of the character.
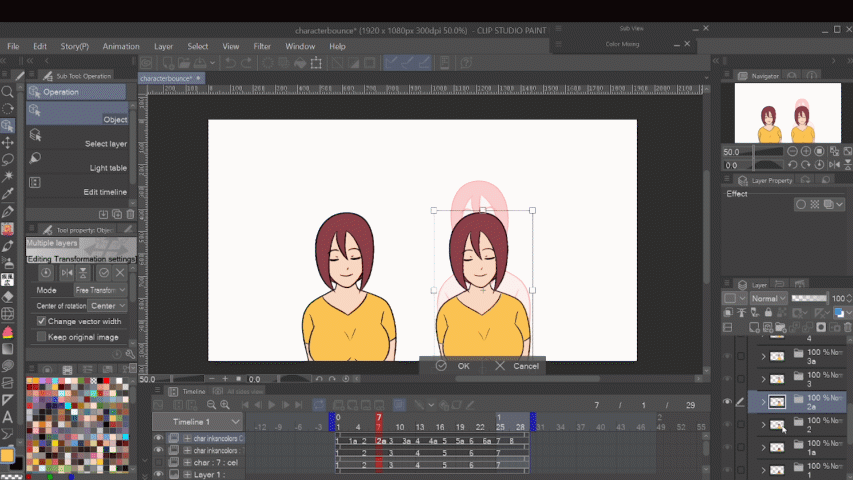
Feel free to experiment but as a general rule of thumb, the first frame has to be “squashed” in “anticipation” of the bouncing action, and the in-between frames have to stretch between key poses for a smooth transition.
You can also add a little bounce at the end by squashing the second to the last frame.
And here’s the end result:
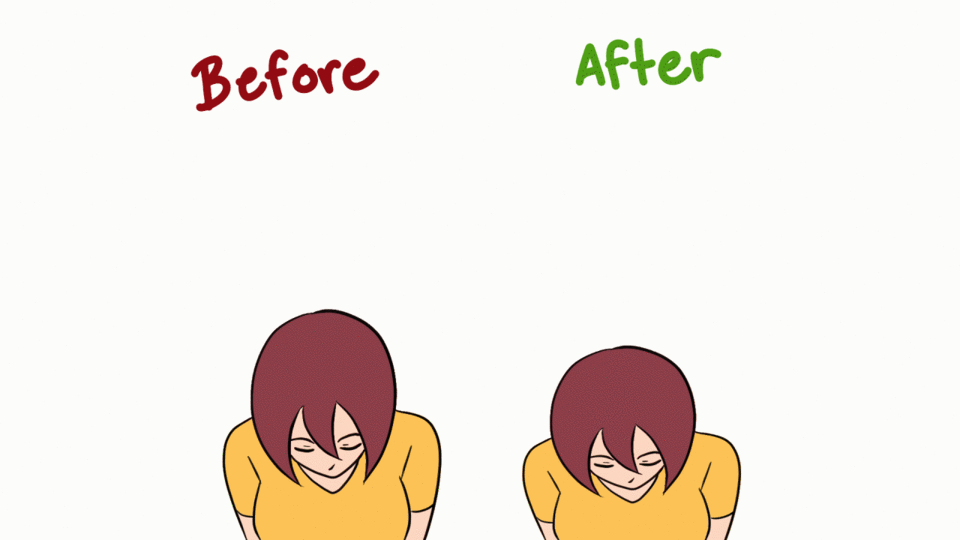
And that's a simple trick on adding a little extra bounce to your character simply by free transforming extra frames and squashing and stretching certain frames.
Users who liked this post


Comment